RECIPE: CHEESY BACON, SPINACH AND ARTICHOKE BITES

For some reason, mini quiches are not cool anymore. There was a time when there wasn't a party menu to be found without these little wonders: Crust filled with cheesy goodness... what's not to love? But for some reason, quiche has become un-hip. To paraphrase Will Shakespeare, a quiche by any other name will still taste as good. These cheesy spinach and bacon bites are easy to make and wayyyy to good to be frowned upon because they are quiche.. I like my own crust recipe but you can buy mini tart or Phyllo shells and fill them if you prefer or are short on time.

cheesy bacon artichoke and spinach bites

CHEESY BACON, SPINACH AND ARTICHOKE BITES (AKA MINI QUICHE)

INGREDIENTS

For the crust:

1 cup all-purpose flour

1/8 teaspoon granulated sugar

¼ teaspoon kosher salt

1 stick unsalted butter, very cold, diced

3-4 tablespoons ice water


For the filling:

6 bacon slices, chopped

1 shallot, minced

5 cups baby spinach

1 cup canned artichoke hearts, drained and chopped

3 eggs

1 1/2 cups milk

1/4 teaspoon salt

1/4 teaspoon freshly ground pepper

1/8 teaspoon freshly grated nutmeg

1/2 cup shredded Gruyère cheese

1/4 cup shredded Parmesan cheese


Directions:

For the pastry shells: In your food processor, add the dry ingredients and pulse to blend. Add the butter, a few pieces at a time and pulse quickly to incorporate. Once all the butter has been added (and looks kind of like uncooked grits) turn the food processor on ‘run”.  

Add the ice water quickly, one tablespoon at a time just until the dough comes together in a ball. Stop immediately. Turn the dough out onto a lightly floured piece of plastic wrap. Form into a disc and refrigerate for at least 30 minutes.  

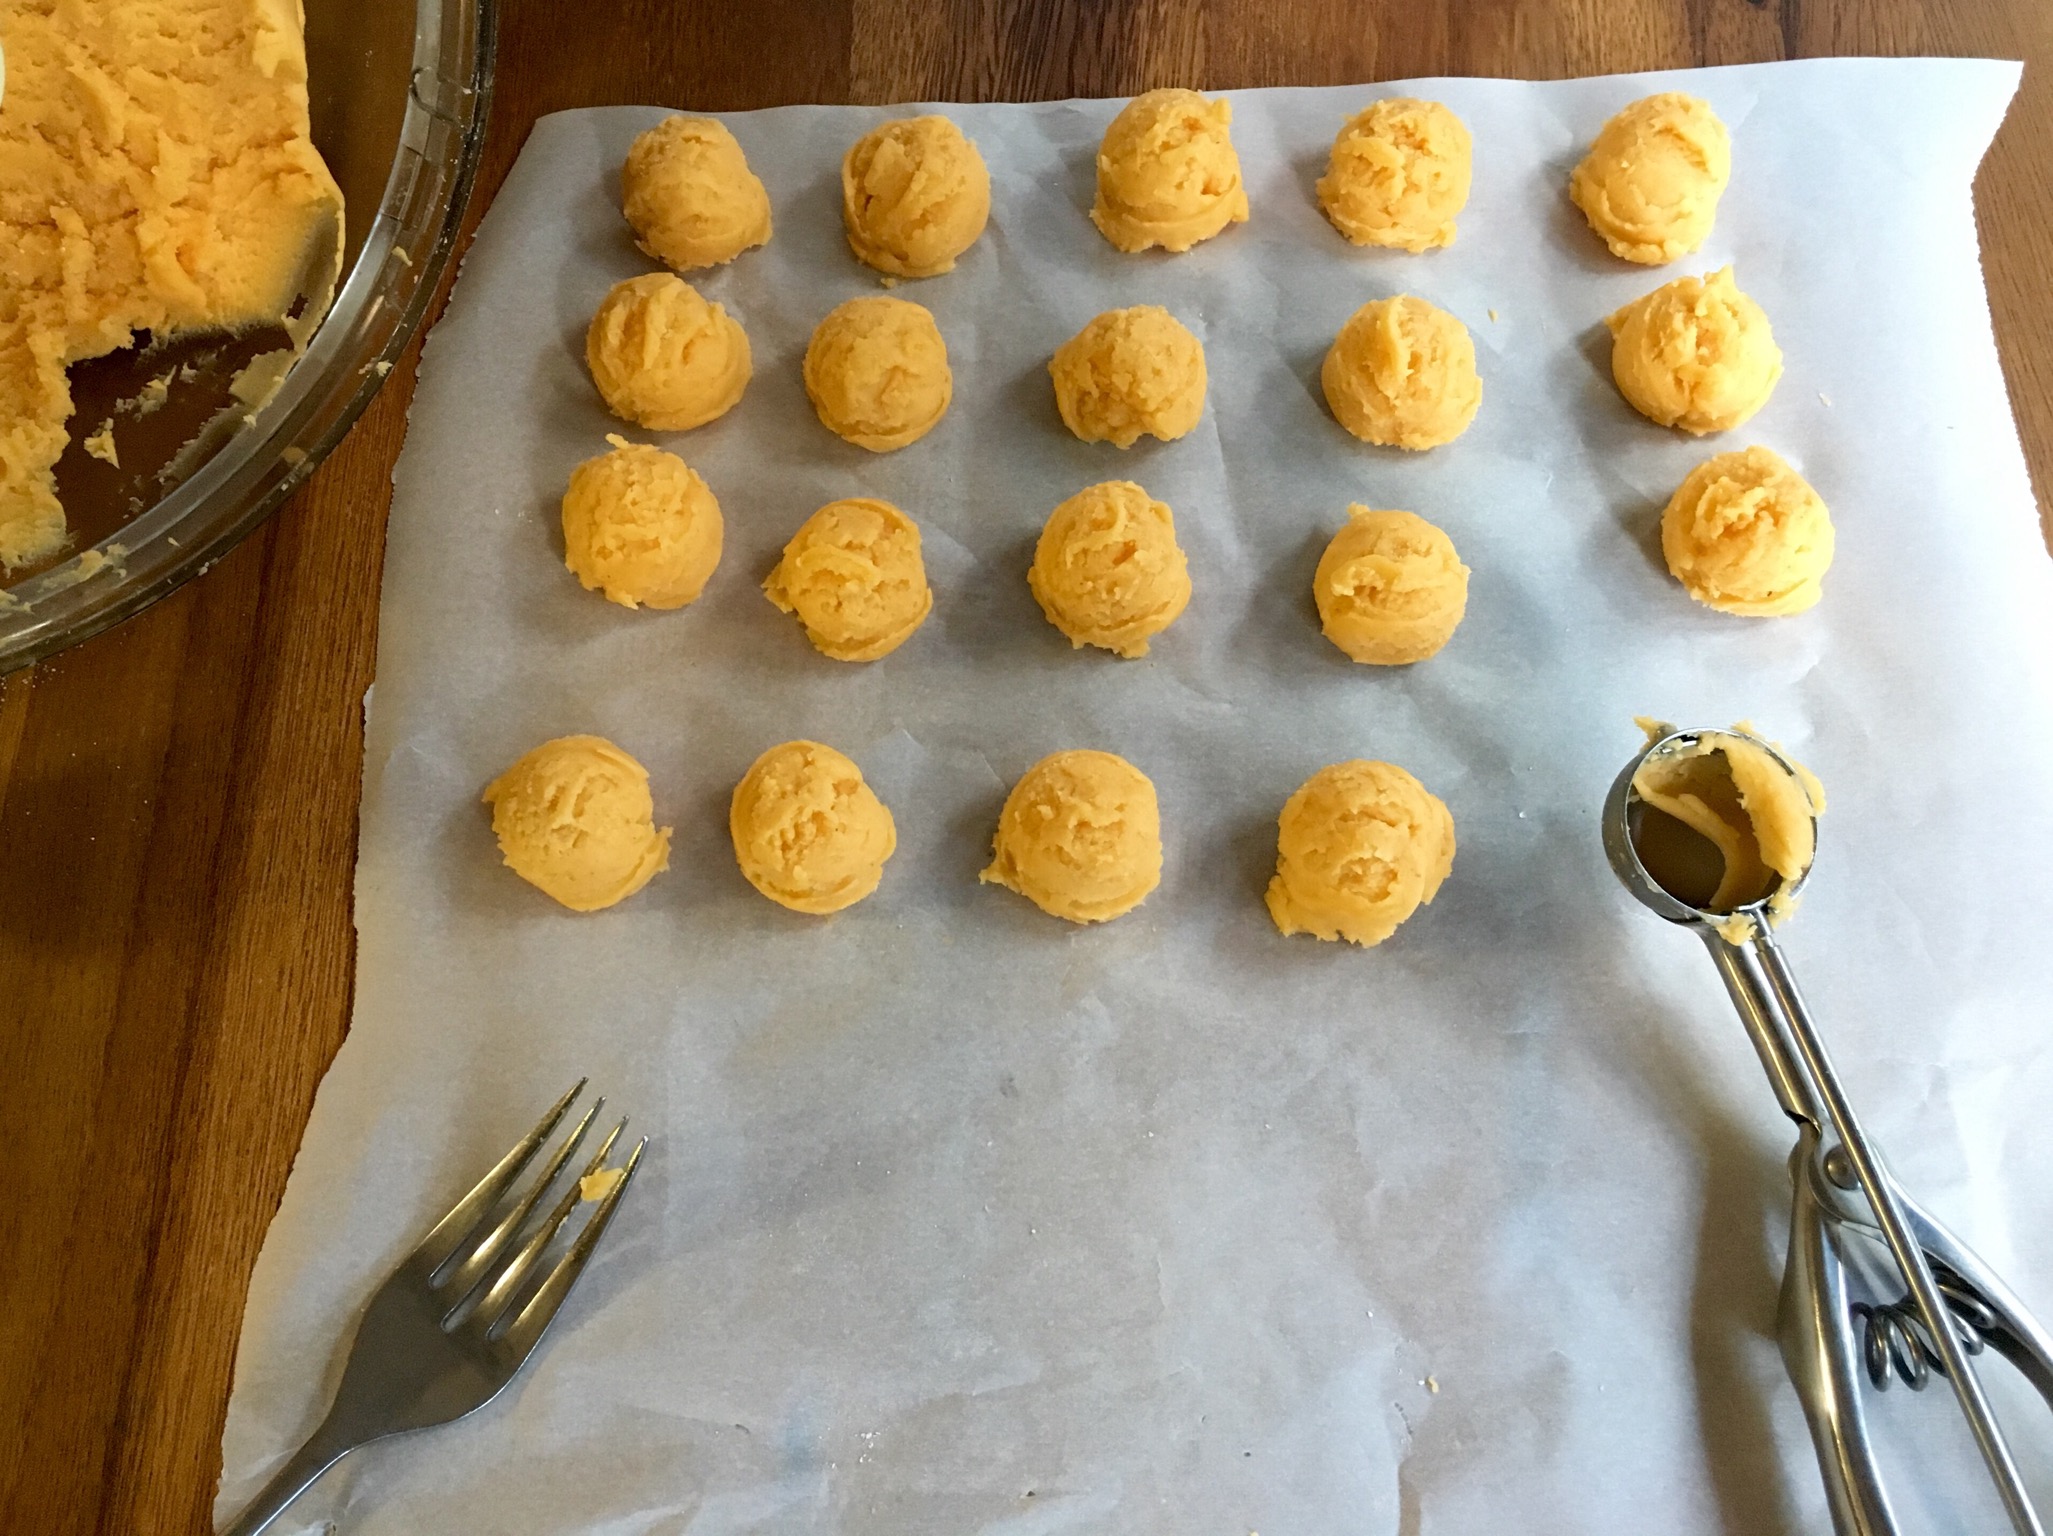
Roll the dough about 1/8” thick. Use a mini biscuit cutter (about 2 ¾” size) and cut 24 rounds. Or you can portion into 24 balls. Press them into tiny non-stick muffin tins and chill.  Also, I chill one same size muffin tin and then flour it lightly and press it into the shells to help make them smooth and uniform. Chill the dough in the tins for at least 30 minutes.  

For the filling: Grate the cheese. Set aside.

Cook the bacon in a skillet over medium-high heat until crisp. Remove to drain on paper towels. Pour all but 1 tablespoon of the bacon fat from the pan. Add the shallots and cook just until softened but not browned, about 1 minute. Add the spinach and the artichokes. Cook until the spinach is wilted; 2-3 minutes. Remove from heat. Allow to cool slightly.

In a bowl, whisk together the eggs, milk, salt, pepper and grate in the nutmeg. Add the cooled spinach mixture to the bowl and stir just to combine.

When you are ready to bake the quiches, preheat your oven to 375°F. Divide the bacon and the Gruyere cheese evenly between the pastry shells. Pour in the spinach mixture, filling each cup ¾ full. Top each with the Parmesan cheese. Bake until the filling is set and the crust is golden, approximately 25-30 minutes. Transfer to a wire rack and remove immediately from the pan. Serve warm.

You can freeze the crust and use it when you are ready. You can also freeze the cooled quiches and thaw on a cookie sheet, then bake when you need them. A perfectly easy make-ahead party bite!

Yield: 24 mini quiche bites

Print Friendly and PDF

RECIPE: MY MOM'S SPICY SOUTHERN CHEESE STRAWS

My mom would always make these spicy cheese straws for the holidays and was sure to have them waiting for us for almost every celebration. A Southern staple for teas, weddings and showers, you can make these as wafers, as shown, or use a cookie press to shape them into straws. I find the wafers faster and easier-- plus I can roll the dough into a log and freeze. That way I can just slice and bake when guests pop in or when I am in need of a quick bite to serve with a glass of wine or Champagne.

I want to mention that this dough always looks like it is not "wet" enough once you mix it. Do not be tempted to add additional butter or liquid. It will come together. Just use your hands to form it. You'll see.

Baked cheese straws are always on the table for parties and celebrations in the South. This is my mom's recipe- one I've used for 30 years.

Baked cheese straws are always on the table for parties and celebrations in the South. This is my mom's recipe- one I've used for 30 years.

SPICY SOUTHERN CHEESE STRAWS * Wafer version

Skill Level: Easy

Prep Time: 15 minutes        Cook Time: 10-12 minutes

 INGREDIENTS 

1 pound extra sharp cheddar cheese, grated

1 stick unsalted butter, cut into cubes*

1/4 teaspoon cayenne pepper

2 cups all-purpose flour

3/4 teaspoon kosher salt

Dash Tabasco or to taste

 DIRECTIONS:

Preheat oven to 350F. Line a baking sheet with parchment paper.

Chill the cheese well and grate it using a food processor or the side with large holes on a box grater. Set aside.

NOTE: I make this recipe in a food processor because I find it easier but you do not have to use a food processor. My mom never had one. Just mix in a bowl.

In a food processor, add the flour, salt and pepper and pulse 10-12 times to blend. Add the butter. Turn the food processor to "run" for 10 seconds. The result should be like coarse cornmeal. If it is not, pulse a few more times. Add the cheese and the hot sauce. Pulse just until the cheese is incorporated. Turn the food processor to "run" for 5-6 seconds. 

*NOTE: If you intend to pipe the dough into straws, you may obtain a better/easier to pipe result if you melt the butter rather than use cold butter and leave the cheese at room temperature. See directions for piping into straws below. Many of the old school southern recipes call for melted butter or margarine. Margarine results in a crisper straw.

(Note: If you do not have a food processor, mix the dry ingredients together. Use a pastry cutter or two forks to cut the butter and the cheese into the flour. Add the hot sauce and mix well.)

For wafers: Turn the dough out onto a sheet of plastic wrap for wafers. Shape it into a log using your hands and roll the dough up in the plastic. Twist the ends of the plastic wrap to secure and put into the refrigerator for at least 30 minutes. To bake, remove the plastic wrap and slice into discs, place about 2 inches apart on the prepared baking sheet and bake for 10-12 minutes or until lightly browned. Cool on a rack.

(Note: Another option is to use a very small ice cream scoop to portion uniform balls onto the prepared pan. Using a fork, (which you may need to flour) press each one, creating the design shown above.)

Easy homemade Southern cheese straws

For straws: Place the dough into a cookie press or pastry bag fitted with a star tip. Push the dough into one corner of the bag and press the air out. Snip the tip and pipe them into 3” long strips about 2 inches apart. Bake for 10-12 minutes or until lightly browned on the bottom and edges.

Yield: 2- 4 dozen depending on the size and shape. You can get 55-60 wafers from this recipe using a small ice cream scoop or melon baller.

Print Friendly and PDF

RECIPE: ARANCINI (ITALIAN RICE BALLS) WITH HOMEMADE MARINARA SAUCE

I have to tell the story of this recipe. During taping for Food Network Star, my cast mate, Michele Ragussis made her mom's Arancini for us one night and let me help her make it. A few days later when my team had to create a food court restaurant with an Italian theme, I asked Michele if it was okay if I made it for the competition but with my own twist. Yes, she gave me her blessing but choked back a laugh since I'd only watched it made once and had never actually made it myself. It came out pretty well, I guess. We won. And I even got a marriage proposal on set from an Italian guy in the audience who told me these arancini and the marinara I made to accompany it was better than his Italian mother's. (That is why I call it “Marriage Proposal Marinara”) Thank you, Michele and Mama Phyllis, for sharing your family tradition with me.

Arancini is the perfect party dish. If you use ground beef, it is very inexpensive to make for a crowd and you can easily double the recipe. I make them early in the day and just drop them into the fryer right before serving. You can even make them in advance and freeze them- just thaw and fry just before guests arrive. These are cheesy and delicious. Try them and let me know how you do.

ITALIAN RICE BALLS --ARANCINI WITH SPICY MARINARA

INGREDIENTS

2 tablespoons olive oil

1 medium onion, diced small

5cloves garlic, minced

1 pound ground beef

1 pound ground veal (optional- you can sub ground beef or pork)

1 cup Italian flat leaf parsley minced

2 tablespoons fresh thyme, minced

1 tablespoon dried oregano

2 teaspoons kosher salt

1 teaspoon black pepper

1/2 teaspoon red pepper flakes

1/4 teaspoon cayenne pepper

1 ½ cups tomato sauce

2 cups grated Parmesan cheese grated

2 cups cooked and cooled Arborio rice

5 eggs

3 cups breadcrumbs with Italian seasoning (I make my own but store brands are good)

Canola oil for frying

3 tablespoons minced fresh basil

Marinara Sauce (see recipe below or use store-bought)

Special equipment: #10 (small-medium) ice cream scoop

DIRECTIONS:

Cook the rice according to package directions but you want the rice to be sticky so I cook a bit longer than I should and don't add butter or olive oil to the water. You don't want it to be mushy. Set aside.  

Heat 2 tablespoons olive oil in a large skillet over medium heat and sauté onions and garlic for 2 minutes until softened. Add meat and cook until browned, breaking up large pieces as it cooks. Strain off excess fat from the pan. Add parsley and cook 3 minutes. Add thyme, oregano, and pepper, and salt, cayenne, red pepper flakes. Taste and add more seasoning if needed.

Keep in mind that rice and cheese contain salt so be careful not to over salt the meat mixture. Let the meat mixture cool a bit. Add the tomato sauce. Combine rice with cheese but be careful not to mash the rice. Add the rice mixture to meat mixture and stir gently to combine. Check the seasoning. Add additional salt and pepper if necessary.

Line a baking sheet with parchment paper. Use ice cream scoop to shape the balls so they are a consistent size, then hand roll the balls as tightly as you can.

Pour enough canola oil into a deep skillet or Dutch oven to reach 5”. Heat oil over medium heat to 350-degrees. Use a thermometer to check the oil temperature.

Whisk eggs in a small baking dish. Place breadcrumbs in another baking dish. Roll rice balls lightly in the eggs then immediately roll in breadcrumbs to form a coating. Shake off the excess breadcrumbs. Place them on the baking sheet and refrigerate or freeze until you are ready to fry.

To fry:

Carefully drop rice balls into the hot oil a few at a time, taking care not to overcrowd and lower the oil temperature. Cook until golden brown, about 2-4 minutes per batch. Bring oil back up to 350-degrees before cooking each batch. Drain rice balls on paper towels before serving.

Serve with homemade or store-bought marinara for dipping. Garnish with the basil leaves.


“MARRIAGE PROPOSAL” MARINARA SAUCE

INGREDIENTS

1 tablespoon olive oil

1 onion, chopped

4 cloves garlic, minced

3 large cans (28 ounces) whole peeled tomatoes, including liquid

1 cup fresh whole basil leaves, loosely packed

1 1/2 tablespoons fresh thyme leaves (about 1/2 tablespoon dried)

1/2  cup fresh whole oregano leaves, loosely packed (about 1 tablespoon dried)

2 teaspoons kosher salt

big pinch granulated sugar (optional)

½ teaspoon black pepper

pinch cayenne pepper

splash Balsamic vinegar

DIRECTIONS:

Heat olive oil in the bottom of a large pot. Add onion and cook for 5 minutes until translucent and softened. Add the garlic and cook for 1 minute. Use some of the liquid from the tomatoes to deglaze the pan, and then add the remaining ingredients. Use an immersion blender to puree, taking care to leave the tomatoes slightly chunky. (If you don’t have an immersion blender, you can add everything to a blender or food processor)

Bring to a boil and cook for 5 minutes, stirring frequently to keep from burning on the bottom. Reduce heat to low and cook for 1 hour or longer so that the marinara thickens as some of the liquid cooks out. Check seasoning prior to serving. Add salt or a pinch more sugar as necessary.

Print Friendly and PDF