HOW-TO: CLEANING AND RE-SEASONING CAST IRON COOKWARE

HOW TO CLEAN AND PRESERVE YOUR CAST IRON

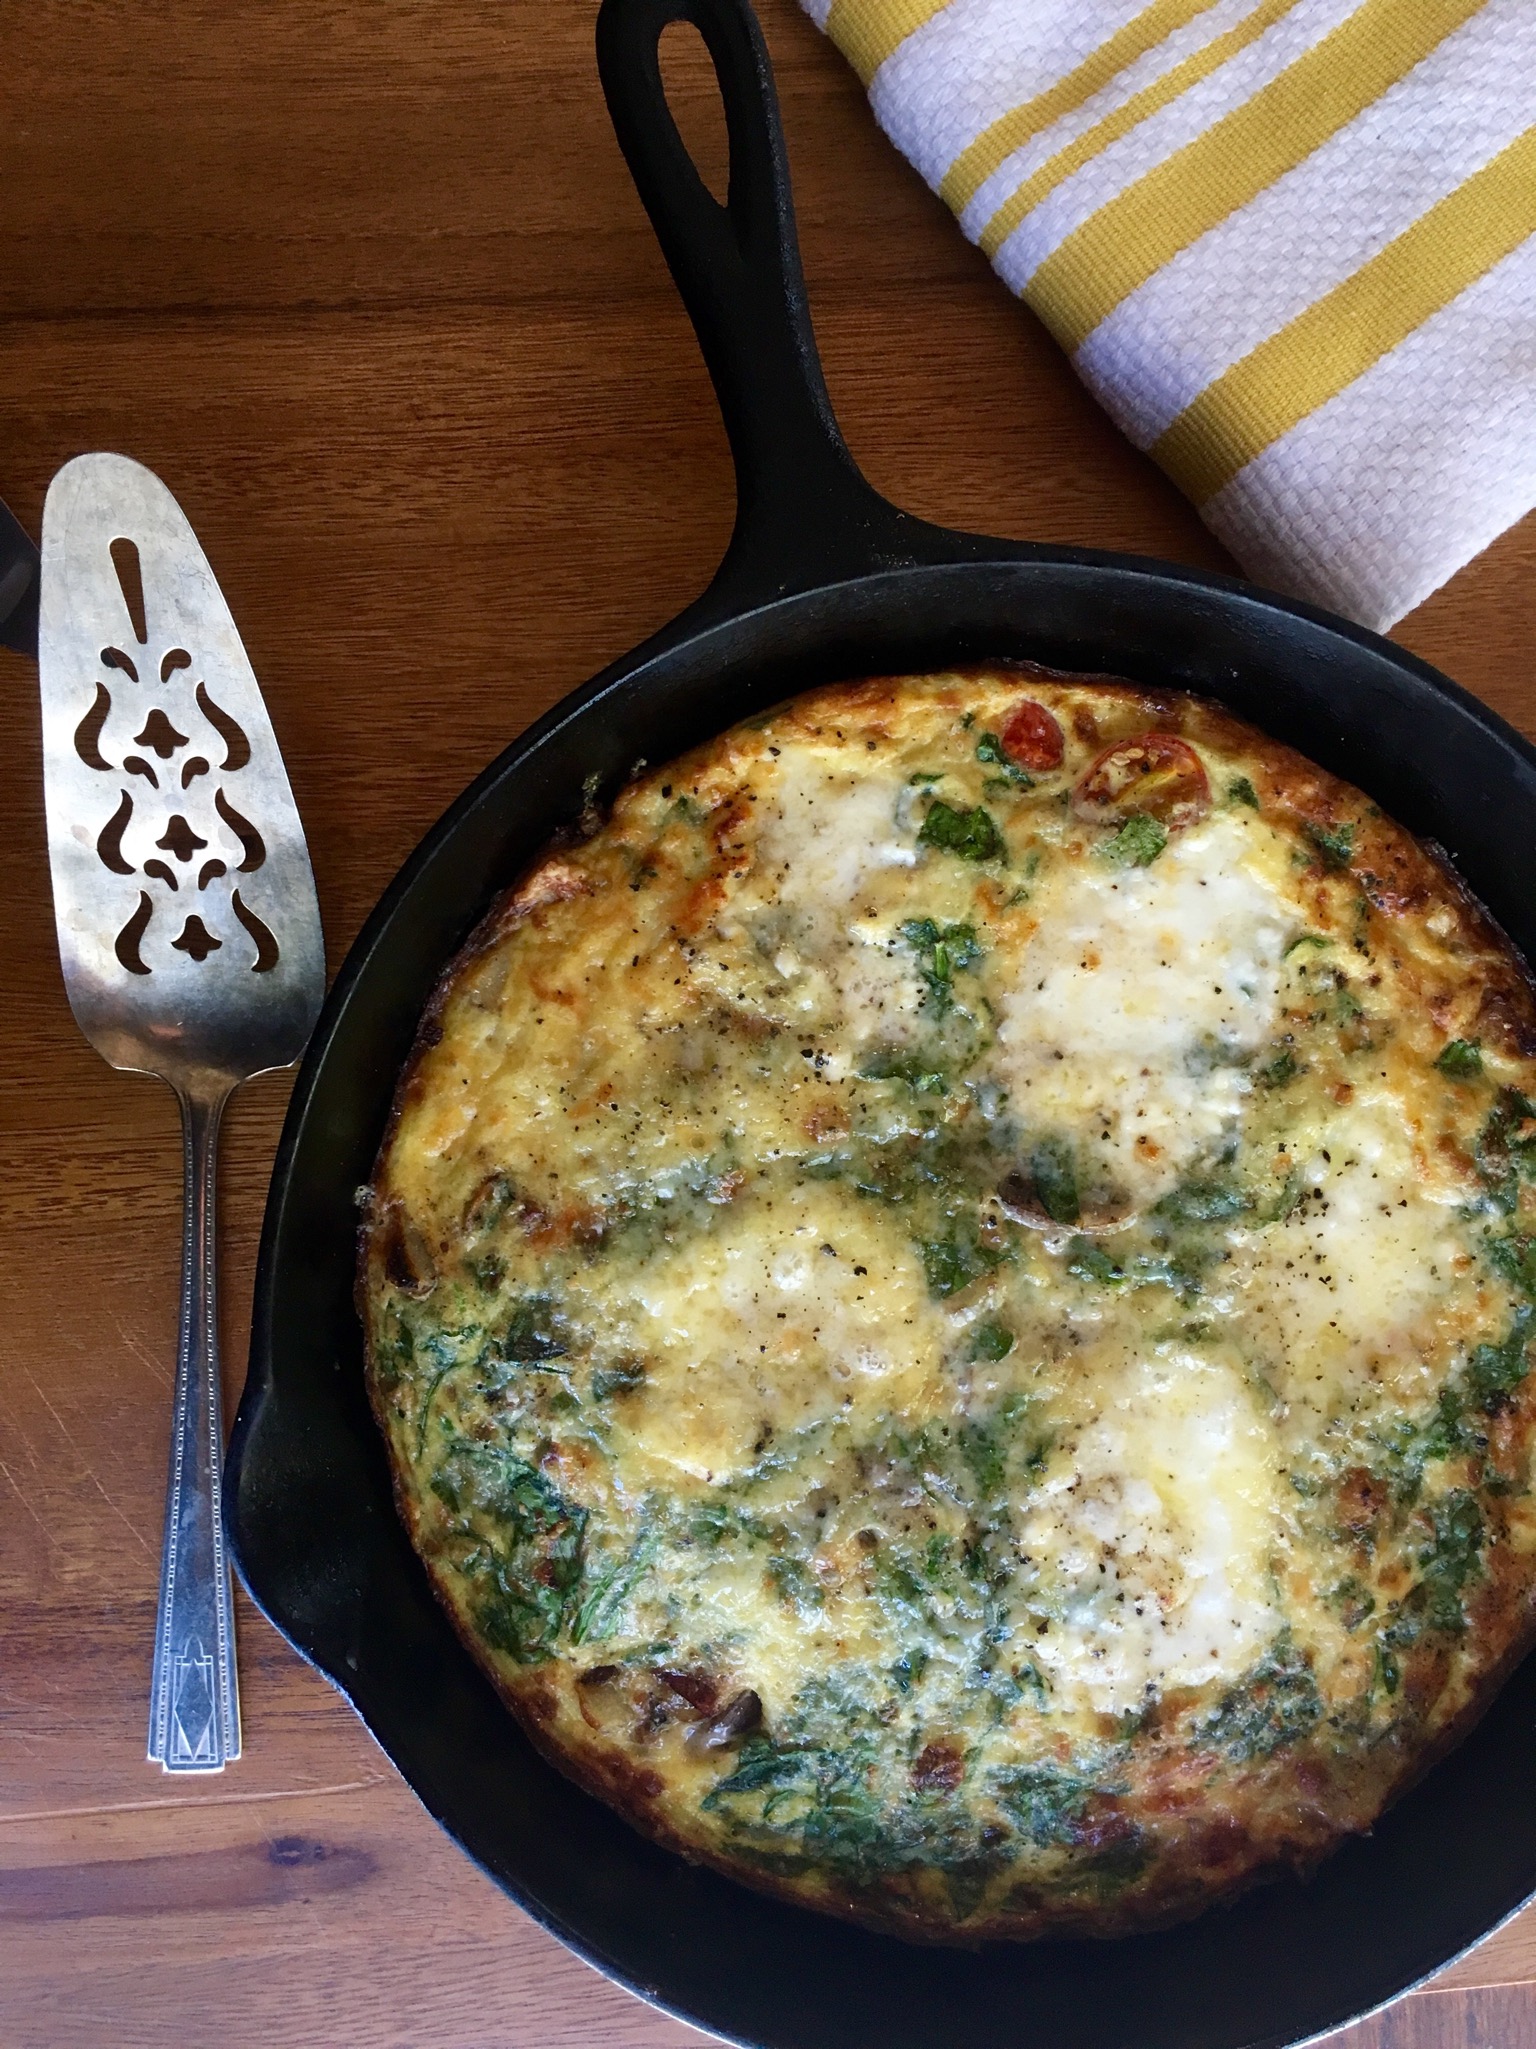
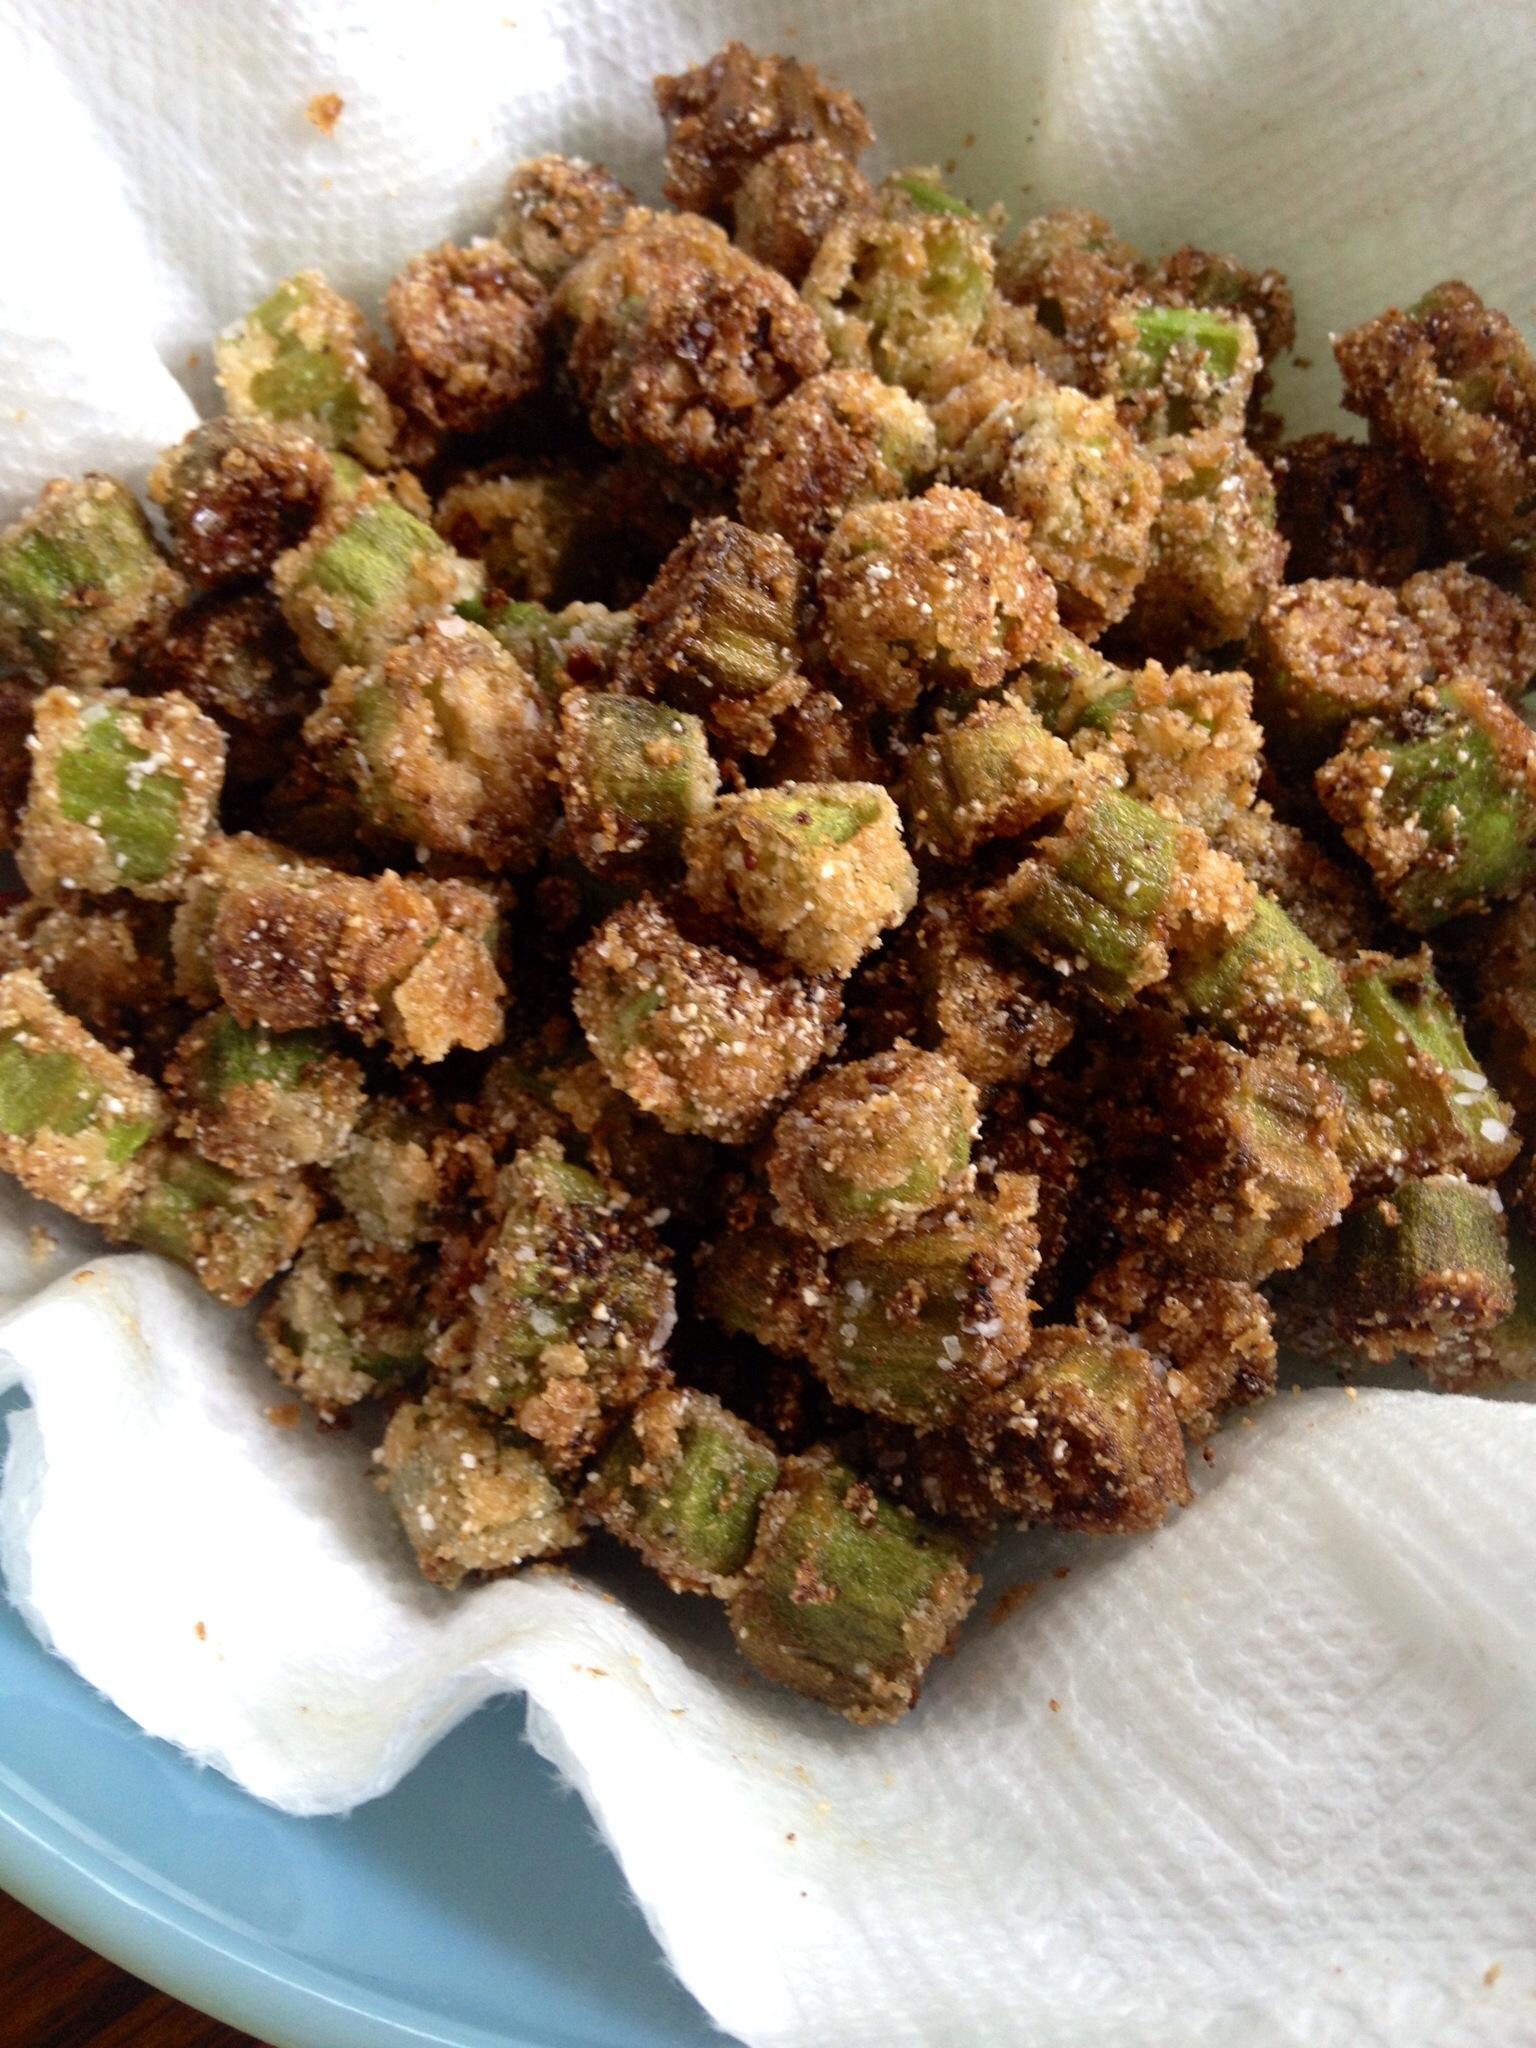
I am so fortunate to be in possession of some of my mother’s cast iron skillets, probably the most precious thing I own besides the tiny diamond engagement ring my father gave her when they married. I remember as a kid, on Sundays after church, standing on the wobbly kitchen stool beside the stove, hovering over that big cast iron Dutch oven, just waiting for my mom to signal for me to turn the fried chicken. The menu rarely changed: fried chicken, rice, gravy, biscuits, and English peas or string beans.

How to clean and reseason cast iron

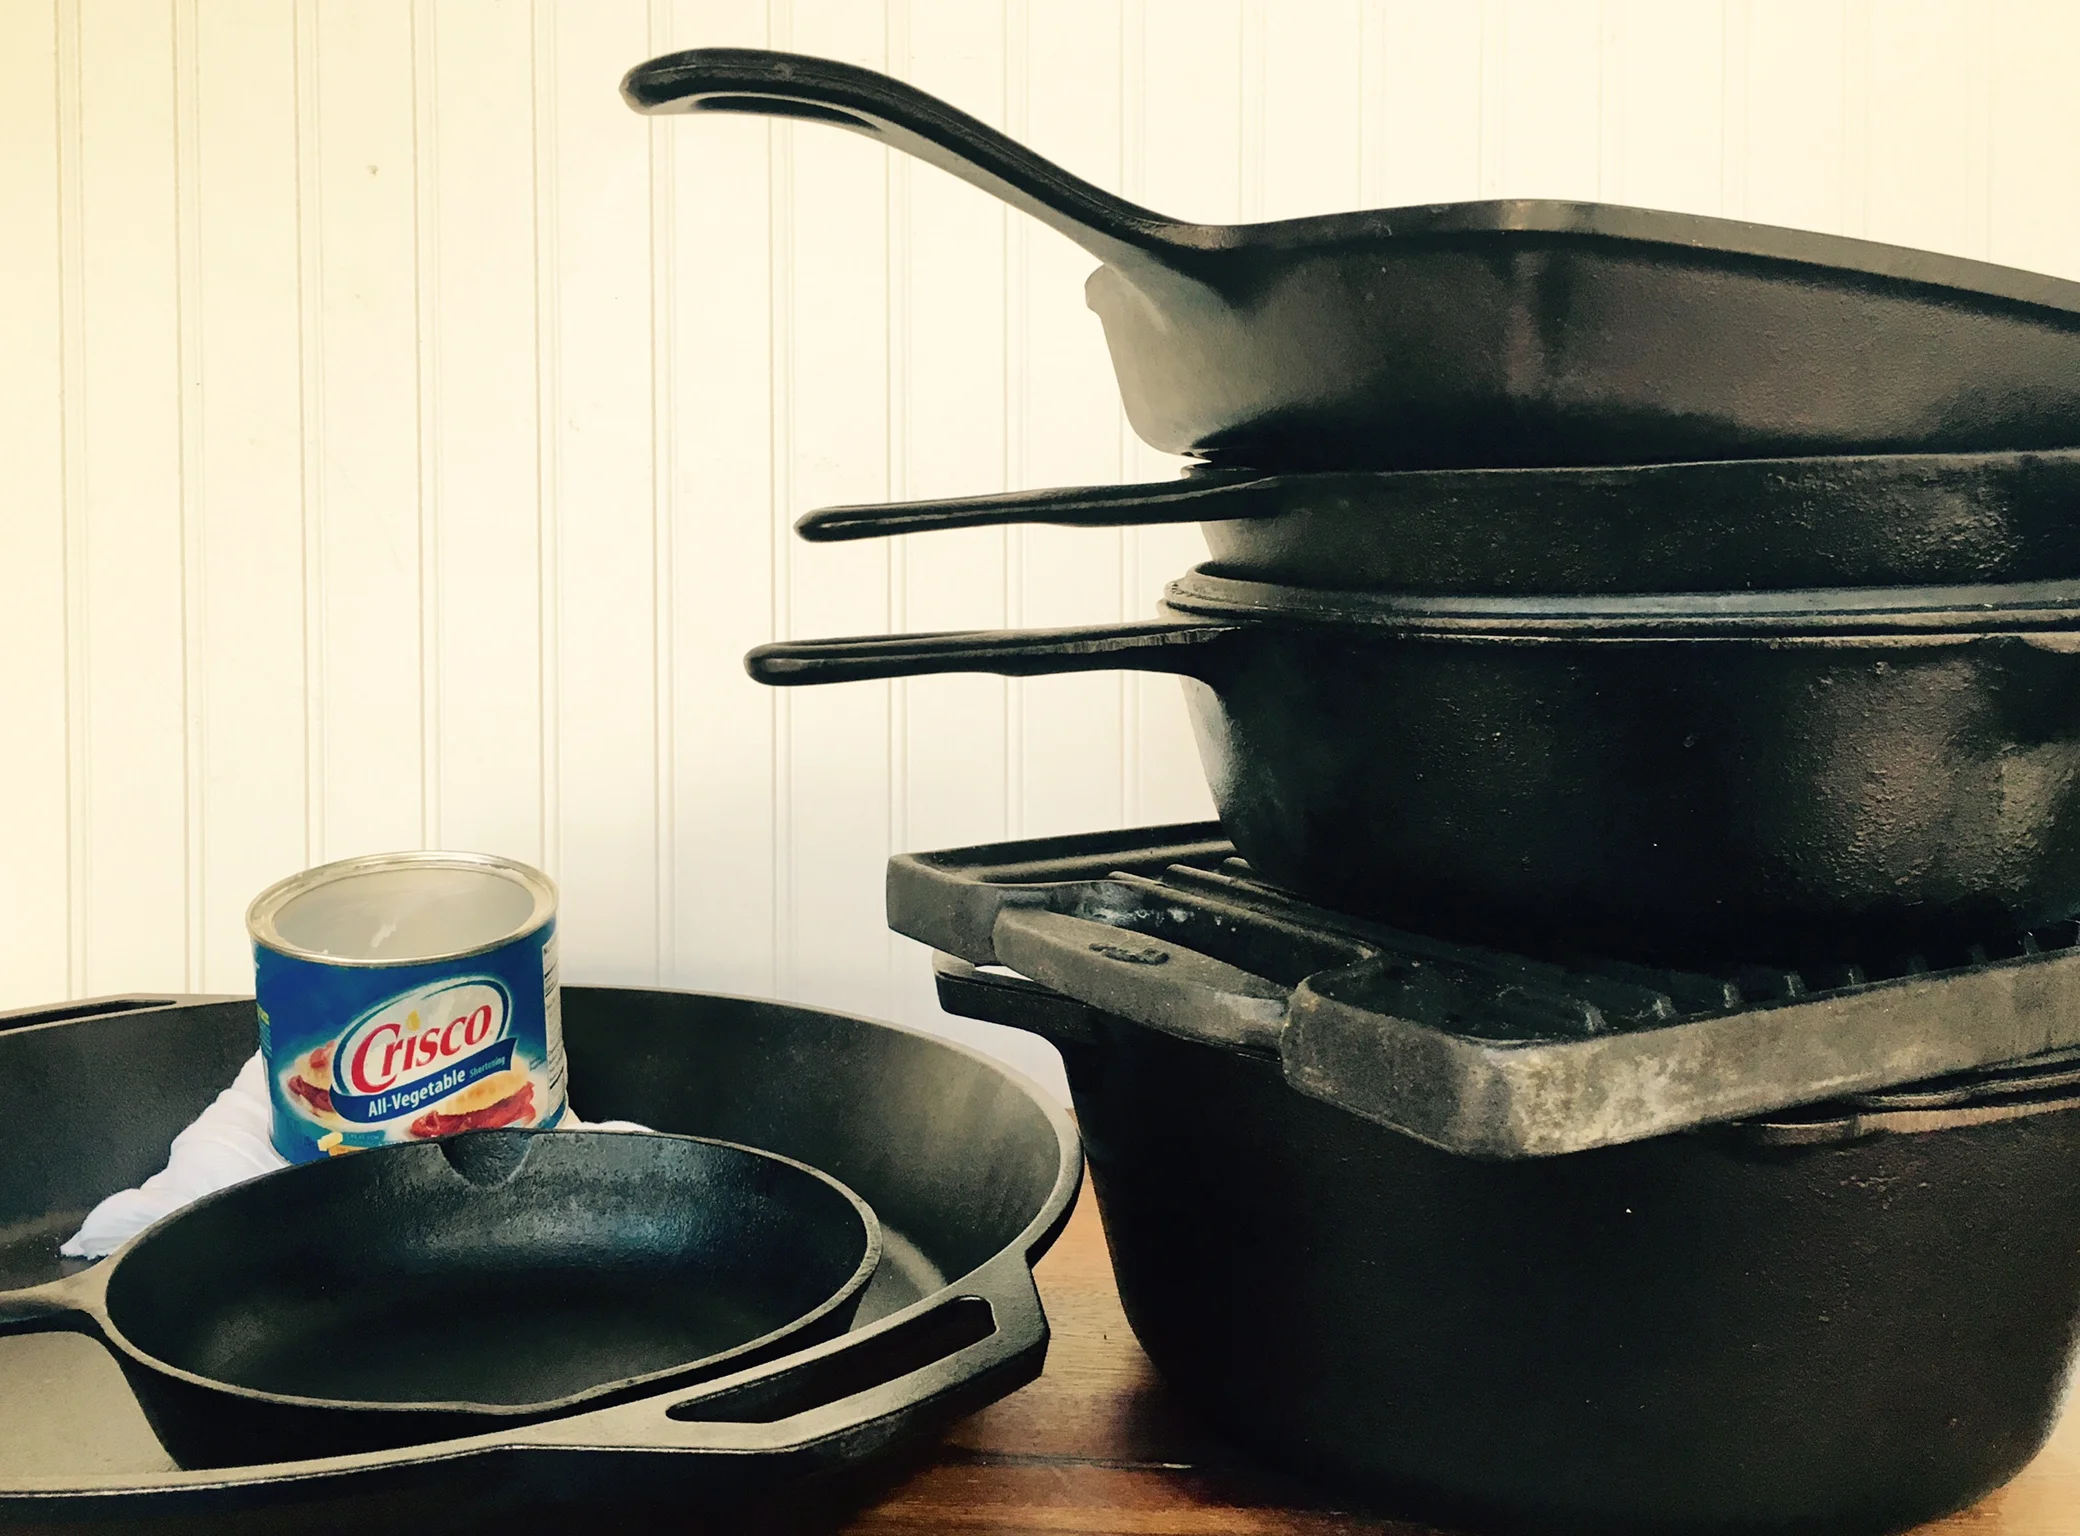
My collection has grown over the years… and because I have so much, I don’t use all of it like I should. That is the key to keeping your cast iron in perfect condition, my mom taught me.

Every winter, I find an afternoon to go through my collection of cast iron. I wash, dry, and oil it well, re-seasoning the pieces that need it. I’ve been asked many times how I do it---here’s the way I was taught (and a few tips from Lodge and Southern Living, too). Hope this helps you keep your treasured heirloom cast iron pieces in perfect condition to hand down to your own kids someday.

CLEANING CAST IRON

  1. Always hand wash your cast iron with a very mild soap with a sponge or cloth. Never use harsh soap, a metal scrubber or rough scouring pad on cast iron unless you intend to re-season it.

  2. If there is baked on food residue, place the warm pan under running water and use a plastic spatula to gently push the residue from the surface.

  3. Dry immediately.

  4. Apply a very light coat of vegetable oil (I use Crisco shortening). Wipe it onto the pan, making sure to get into the corners or curves of the pan.

  5. Wipe the excess away using a lint-free cloth or towel. Paper towels leave a residue. You want a light coating of oil, not a sticky surface. The oil helps protect the pan from moisture.

WHAT TO DO WHEN YOU FIND RUST OR DISCOLORATION

  1. Use a scouring pad to scour the rust from the pan.

  2. Follow steps 1-3 above.

  3. If the situation doesn’t improve, re-season the pan to restore it to its original condition.

How to properly clean a cast iron skillet

RE-SEASONING CAST IRON

If food begins to stick to the surface of your cast iron or if you see a discoloration as shown on the image above on the cooking surface, you will need to re-season the piece. You may have to do this more than once to achieve a glossy, smooth black surface.

How to clean cast iron cookware
  1. Preheat your oven to 400°F.

  2. Clean the surface of the pan or piece with hot water and a stiff wire brush.

  3. Rinse and dry completely using a lint-free cloth.

  4. Add a thin coat of melted Crisco shortening (use a solid shortening only) to all of the inside and outside surfaces of the piece. Too much shortening will result in a sticky surface.

  5. Place a sheet pan or piece of aluminum foil on the bottom rack of your oven.

  6. Invert the pan and put it directly onto the top rack.

  7. Bake for one hour and then turn the pan over. Turn the oven off and allow the oven and pan to cool completely before you remove it.

  8. Repeat as necessary.

How to reseason a cast iron skillet
Print Friendly and PDF

RECIPE: MAKE AN EVERYTHING IN THE FRIDGE FRITTATA

When I was growing up, my mom would often make breakfast for Sunday supper. It is something I like to do even now. Another thing I like to do is to find a way to clean out some of the odds and ends in the fridge so they don't go to waste. This recipe accomplishes both of those things... plus it is super simple! Why not look around your fridge, see what you have, and make a frittata for supper tonight? It is also a perfect dish for brunch or lunch- just add a salad.

The basics for this dish are eggs, potatoes, and vegetables... any kind. I always throw leftover potatoes into the frittata but if you don't have leftovers, dice the potatoes, toss them with olive oil, salt and pepper and then roast them a bit to soften them before you add them to the eggs. You can toss in asparagus, zucchini, squash, mushrooms, or any other vegetable you happen to have around.

How to Make a Frittata with Ingredients in Your Fridge

EVERYTHING IN THE FRIDGE FRITTATA

INGREDIENTS

6-7 eggs (the number of eggs depends on the size of your skillet. I have a large 10" cast iron skillet so it requires more eggs)

2 tablespoons olive oil

1/2 cup onion, diced small

1/2 cup red bell pepper, diced

1/2 cup green bell pepper, diced

1 medium potato, diced (use a pre-cooked potato or cook it before adding)

1 tomato diced or cherry tomatoes, halved

1/2 cup cheese + more for the top--use any kind of cheese, grated or crumbled (I often use several different kinds to use up the little bits left in the fridge)

Bacon, pancetta, or sausage, cooked

1 teaspoon kosher salt

1 teaspoon fresh thyme, chopped fine

1/4 teaspoon ground black pepper

DIRECTIONS:

Preheat oven to broil.

Beat the eggs until frothy. Set aside. Heat up the oil over medium-high heat in a cast iron or oven-proof skillet. Add the onion, veggies, and sauté until golden brown. Add the potatoes, if you've roasted them or had leftovers. Add the eggs. Swirl the eggs around the pan to make sure they evenly cover the other ingredients.

As the edges start to cook, loosen them with a spatula or butter knife to disperse the liquid in the center. After the eggs start to firm, put the pan into the oven and broil 3 minutes or so until the eggs are almost completely set. Remove the frittata and add a bit of cheese on the top, if you like... and who doesn't... return to the oven until it is golden brown, about 1 minute or less.

Remove and slice into wedges. Garnish with bacon crumbles, scallion, or anything else you've used in your frittata.

Print Friendly and PDF

RECIPE: FRIED OKRA

You know those "you might be a redneck" jokes by Jeff Foxworthy? Well, I am sure there is one about growing and eating okra. Yes. I grow okra. And yes. I cannot wait to fry up the first batch each summer. Right now, I've got more okra than I can give away, in fact. Okra is a lot like zucchini. At first, you think it isn't going to grow and then you have so many, you cannot eat it all or give it away. People actually run when they see you coming with a basket full of zucchini or okra because they probably have more than they can eat at their house, too.

You really have to watch the okra in the garden. It can quickly get away from you if you are not careful and go from perfect to tough in a day. Whether picking it yourself or shopping for it at the store or farmer's market, you want the tender, young okra. Bigger is not better. The larger okra pods have tough husks and are too chewy.

Growing up, fried okra was always a real treat. To me, a freshly picked homegrown tomato, a pile of fried okra and a deviled egg or two on my plate is all I need to make a perfect summer supper. Growing up, my mom would put a bowl of fried okra on the table and we'd fight over it like candy. There was never enough.

Most folks use buttermilk for frying okra but I might use heavy cream if I have it in the fridge. Either one works but the buttermilk creates a different taste than the heavy cream does.

SOUTHERN FRIED OKRA

INGREDIENTS

4 cups fresh okra, sliced into 1/2" pieces (this is probably about a pound of okra)

1 1/2 cups buttermilk, heavy cream or whipping cream

1/2 cup all-purpose flour

3/4 cup self-rising cornmeal

1 teaspoon kosher salt

1/4 teaspoon ground black pepper

scant pinch, cayenne pepper

Vegetable oil for frying

DIRECTIONS

Cut the tips and stem end off each okra pod and slice into 1/2" pieces.

Put the buttermilk or heavy cream into a bowl. Add the sliced okra. Let it soak for 15-20 minutes.

Make the dredge in a large bowl or zip top bag by combining the flour, cornmeal, salt, pepper, and cayenne. Shake or whisk to combine.

Working in small batches, use a slotted spoon or a strainer to remove the okra from the liquid. Add the drained okra to the cornmeal mixture. Toss well to coat evenly. Remove from the cornmeal mixture using a slotted spatula or a slotted spoon and shake it a bit to allow the excess cornmeal to fall off. (otherwise this excess will fall into the oil and burn as you are frying the okra) You want a light coating on the okra, not a heavy, solid breading like you often see with fried okra at restaurants. You want to be able to see the okra.

NOTE: I have frozen the okra at this point by spreading it out in a single layer on a sheet pan. Once frozen, I put it into single serving zip top bags and it is ready to fry when I need it. I doesn't keep well for a long period of time- use it within a month or so.

To fry: Add vegetable oil to 2" deep on your frying pan, cast iron skillet, or Dutch oven. I like canola oil. My mom used Crisco vegetable oil. Heat the oil to 360 degrees or test it by dropping a piece of okra in the hot oil. You want the okra to sizzle when you drop it into the oil but not too hot that it burns up before the okra is fully cooked.

Again, working in small batches, add a single layer of okra to the hot oil in the pan. Fry until golden brown and drain on paper towels. Repeat.

Check the seasoning- I usually add a sprinkle of salt when the okra comes out of the hot oil.

Print Friendly and PDF