RECIPE: POTATO LEEK SOUP

There isn’t anything much better than a bowl of warm, comforting potato soup. It warms you up from the inside out… and it is also fast, easy and filling if you are trying to feed a big crowd. Potato Leek soup is a rustic peasant recipe with origins that have been debated forever; the Irish, Welsh, and the French all claim it as their own. Regardless of its origin, once you make it at home, you’ll put it in your soup rotation all winter long.

A big pot of homemade potato leek soup

POTATO LEEK SOUP RECIPE

Makes about 4 large bowls or 8 small ones.

Time: About 30 minutes or less

INGREDIENTS

3 leeks

5 pounds Russet potatoes

2-3 tablespoons olive oil

4+ cups low-sodium chicken broth (sub veggie for vegan)

1/2 cup heavy cream

1/2 teaspoon salt

1/4 teaspoon pepper

Garnish: Croutons, fried leeks, crispy fried onions, or chive

DIRECTIONS:

Clean the leeks by trimming off the root and any discolored leaves, slit in half longwise, and submerge in cold water to rinse the grit from in between the leaves. Dry on paper towels. Slice into thin half circles. Set aside.

Clean, peel, and cut the potatoes into large chunks. Set aside in a bowl of cold water.

Add the olive oil to a large, heavy bottomed pot. Add the leeks and cook over medium high heat, just until soft.

Add 1 cup broth and bring to boil. Cook for 1 minute. Add the remaining broth. Drain the potatoes and add to the pot. Bring to a boil and cook for 1 minute. Reduce to a simmer. Add salt and pepper. Cover and let cook until the potatoes are soft, about 10 minutes. You don’t want to over cook the potatoes or the soup will be gummy. Just cook until fork tender.

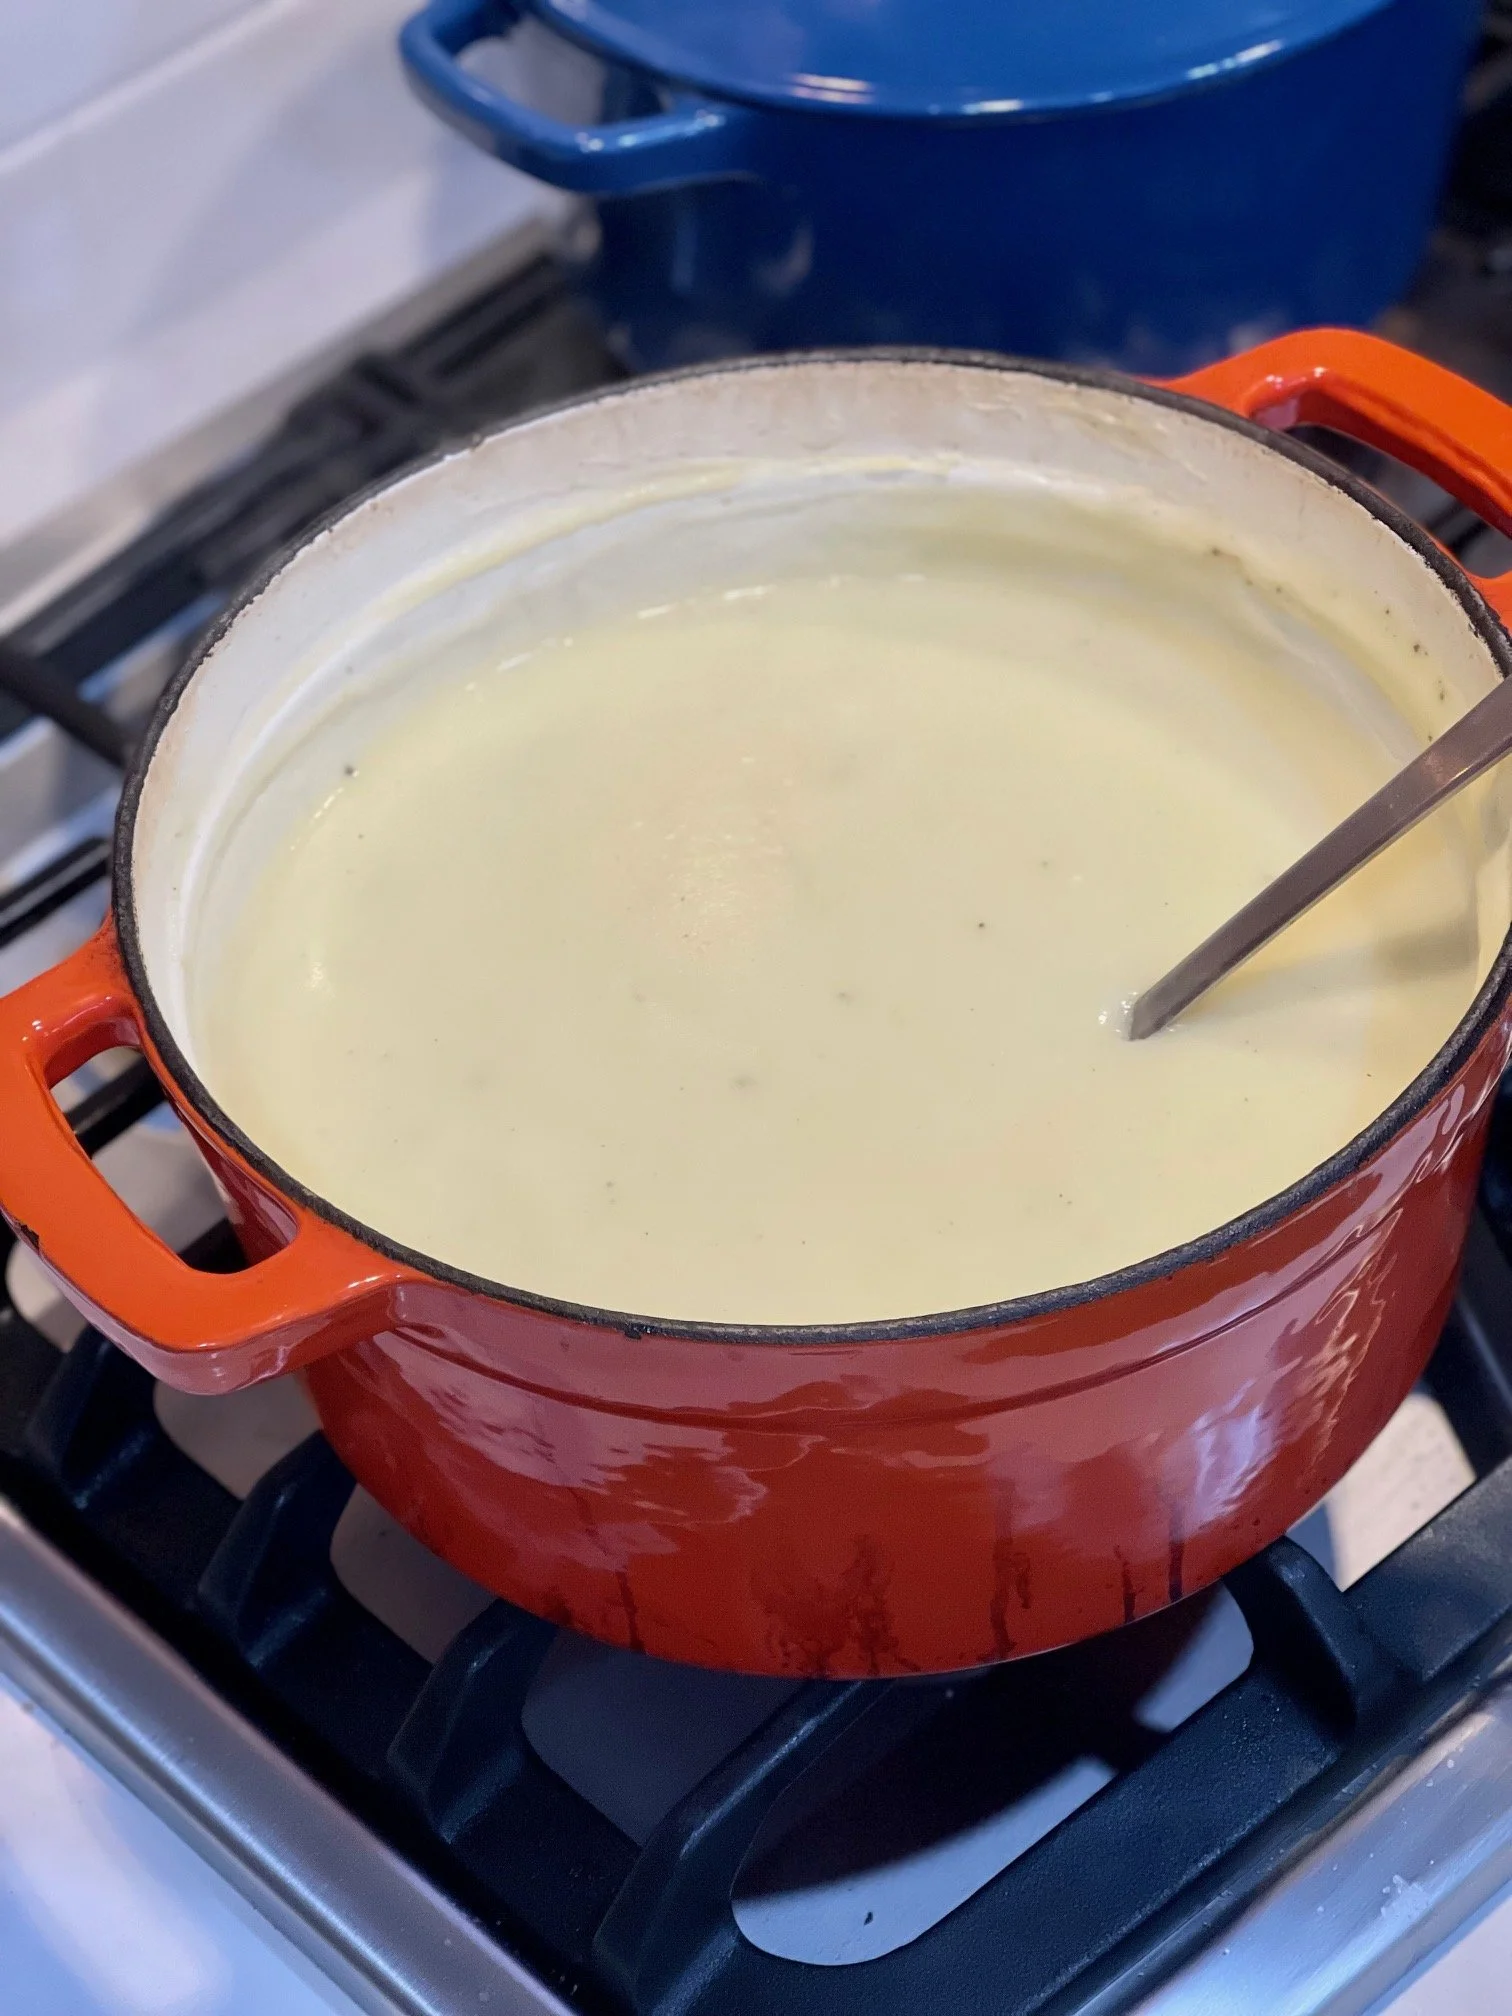
Puree the soup with an immersion blender until smooth. Add the heavy cream.

Check the seasoning; add more salt or pepper as desired.

Garnish with croutons, chives, fried leeks or crunchy fried onions. All are delish with it.

RECIPE: FRIED OKRA

You know those "you might be a redneck" jokes by Jeff Foxworthy? Well, I am sure there is one about growing and eating okra. Yes. I grow okra. And yes. I cannot wait to fry up the first batch each summer. Right now, I've got more okra than I can give away, in fact. Okra is a lot like zucchini. At first, you think it isn't going to grow and then you have so many, you cannot eat it all or give it away. People actually run when they see you coming with a basket full of zucchini or okra because they probably have more than they can eat at their house, too.

You really have to watch the okra in the garden. It can quickly get away from you if you are not careful and go from perfect to tough in a day. Whether picking it yourself or shopping for it at the store or farmer's market, you want the tender, young okra. Bigger is not better. The larger okra pods have tough husks and are too chewy.

Growing up, fried okra was always a real treat. To me, a freshly picked homegrown tomato, a pile of fried okra and a deviled egg or two on my plate is all I need to make a perfect summer supper. Growing up, my mom would put a bowl of fried okra on the table and we'd fight over it like candy. There was never enough.

Most folks use buttermilk for frying okra but I might use heavy cream if I have it in the fridge. Either one works but the buttermilk creates a different taste than the heavy cream does.

SOUTHERN FRIED OKRA

INGREDIENTS

4 cups fresh okra, sliced into 1/2" pieces (this is probably about a pound of okra)

1 1/2 cups buttermilk, heavy cream or whipping cream

1/2 cup all-purpose flour

3/4 cup self-rising cornmeal

1 teaspoon kosher salt

1/4 teaspoon ground black pepper

scant pinch, cayenne pepper

Vegetable oil for frying

DIRECTIONS

Cut the tips and stem end off each okra pod and slice into 1/2" pieces.

Put the buttermilk or heavy cream into a bowl. Add the sliced okra. Let it soak for 15-20 minutes.

Make the dredge in a large bowl or zip top bag by combining the flour, cornmeal, salt, pepper, and cayenne. Shake or whisk to combine.

Working in small batches, use a slotted spoon or a strainer to remove the okra from the liquid. Add the drained okra to the cornmeal mixture. Toss well to coat evenly. Remove from the cornmeal mixture using a slotted spatula or a slotted spoon and shake it a bit to allow the excess cornmeal to fall off. (otherwise this excess will fall into the oil and burn as you are frying the okra) You want a light coating on the okra, not a heavy, solid breading like you often see with fried okra at restaurants. You want to be able to see the okra.

NOTE: I have frozen the okra at this point by spreading it out in a single layer on a sheet pan. Once frozen, I put it into single serving zip top bags and it is ready to fry when I need it. I doesn't keep well for a long period of time- use it within a month or so.

To fry: Add vegetable oil to 2" deep on your frying pan, cast iron skillet, or Dutch oven. I like canola oil. My mom used Crisco vegetable oil. Heat the oil to 360 degrees or test it by dropping a piece of okra in the hot oil. You want the okra to sizzle when you drop it into the oil but not too hot that it burns up before the okra is fully cooked.

Again, working in small batches, add a single layer of okra to the hot oil in the pan. Fry until golden brown and drain on paper towels. Repeat.

Check the seasoning- I usually add a sprinkle of salt when the okra comes out of the hot oil.

Print Friendly and PDF

RECIPE: EASY, FAST, AND ALWAYS PERFECT GRILLED CORN ON THE COB

It's just about corn season! To me, nothing says summer more than fresh picked corn and I cannot wait to bite into that first piece of corn from the grill. Some of my friends think it is hard to grill good corn- that it gets dried out, etc. I've got a super easy way to grill corn for a crowd that is perfect every time. Here's how:

MARTIE'S PERFECTLY EASY GRILLED CORN

SUPPLIES

Large tub or bucket

Large Styrofoam ice chest

Grill (charcoal, gas, wood fire or whatever you like)

Long handled tongs

Oven mitt or heat-proof glove

INGREDIENTS

2 dozen ears of fresh corn in the husk (you don't have to remove the inner silks but it does make it easier for your guests if you do) Estimate 2 ears of corn per guest.

Butter

Salt

Pepper

DIRECTIONS:

Check the ears for any evidence of bugs, etc. Snip the silks off of the tip of each ear. I usually don't slice the bottom off so people have something to hold on to... but you can cut them level if you are using plastic corn holders.

Submerge the ears in cool water and let them soak for at least 30 minutes and up to 2 hours.

While the corn is soaking, fire up your grill. You want a medium heat and an indirect heat zone-so move some of your coals to the outer edge of the grill if you are using charcoal. so you can move the corn off direct heat. Make sure the grill rack is not down too low. You want indirect heat so the husks don't burn. A bit of charring is good but if the heat is too high or the grill is too low over the coals, you'll burn up the husks before the corn cooks inside.

Once the coals are ready, drain the water.

Place the corn on the center of the grill- stay away from the outer edge where there could be hot spots.

Cover the grill and leave it alone for 12 minutes. (you may need to adjust the time if you have a larger quantity of corn)

Open and turn the ears to char the other side. Close the grill and let cook for another 5 minutes.

Remove the corn and immediately put it in the Styrofoam ice chest and put the top on it as fast as you can. Put something heavy on top of the chest to keep the lid down tight.

Allow the corn to continue to steam in the chest until serving time- at least 15 minutes. I usually do this an hour or more before the party and it is perfect to serve when guests arrive. The ice chest keeps the corn steaming hot!

To serve: Put the corn in a big bowl and pass family or simply allow guests to serve themselves. Provide tongs and heat-proof mitts. Guests simply peel back the husks and the silks fall off with it. Set up condiments like butter, salt, pepper, lime, queso fresco, cilantro, or spices.

So easy, so fast, and soooo dang good! Have a trash can nearby where they can dispose of the husks and cob.

Print Friendly and PDF