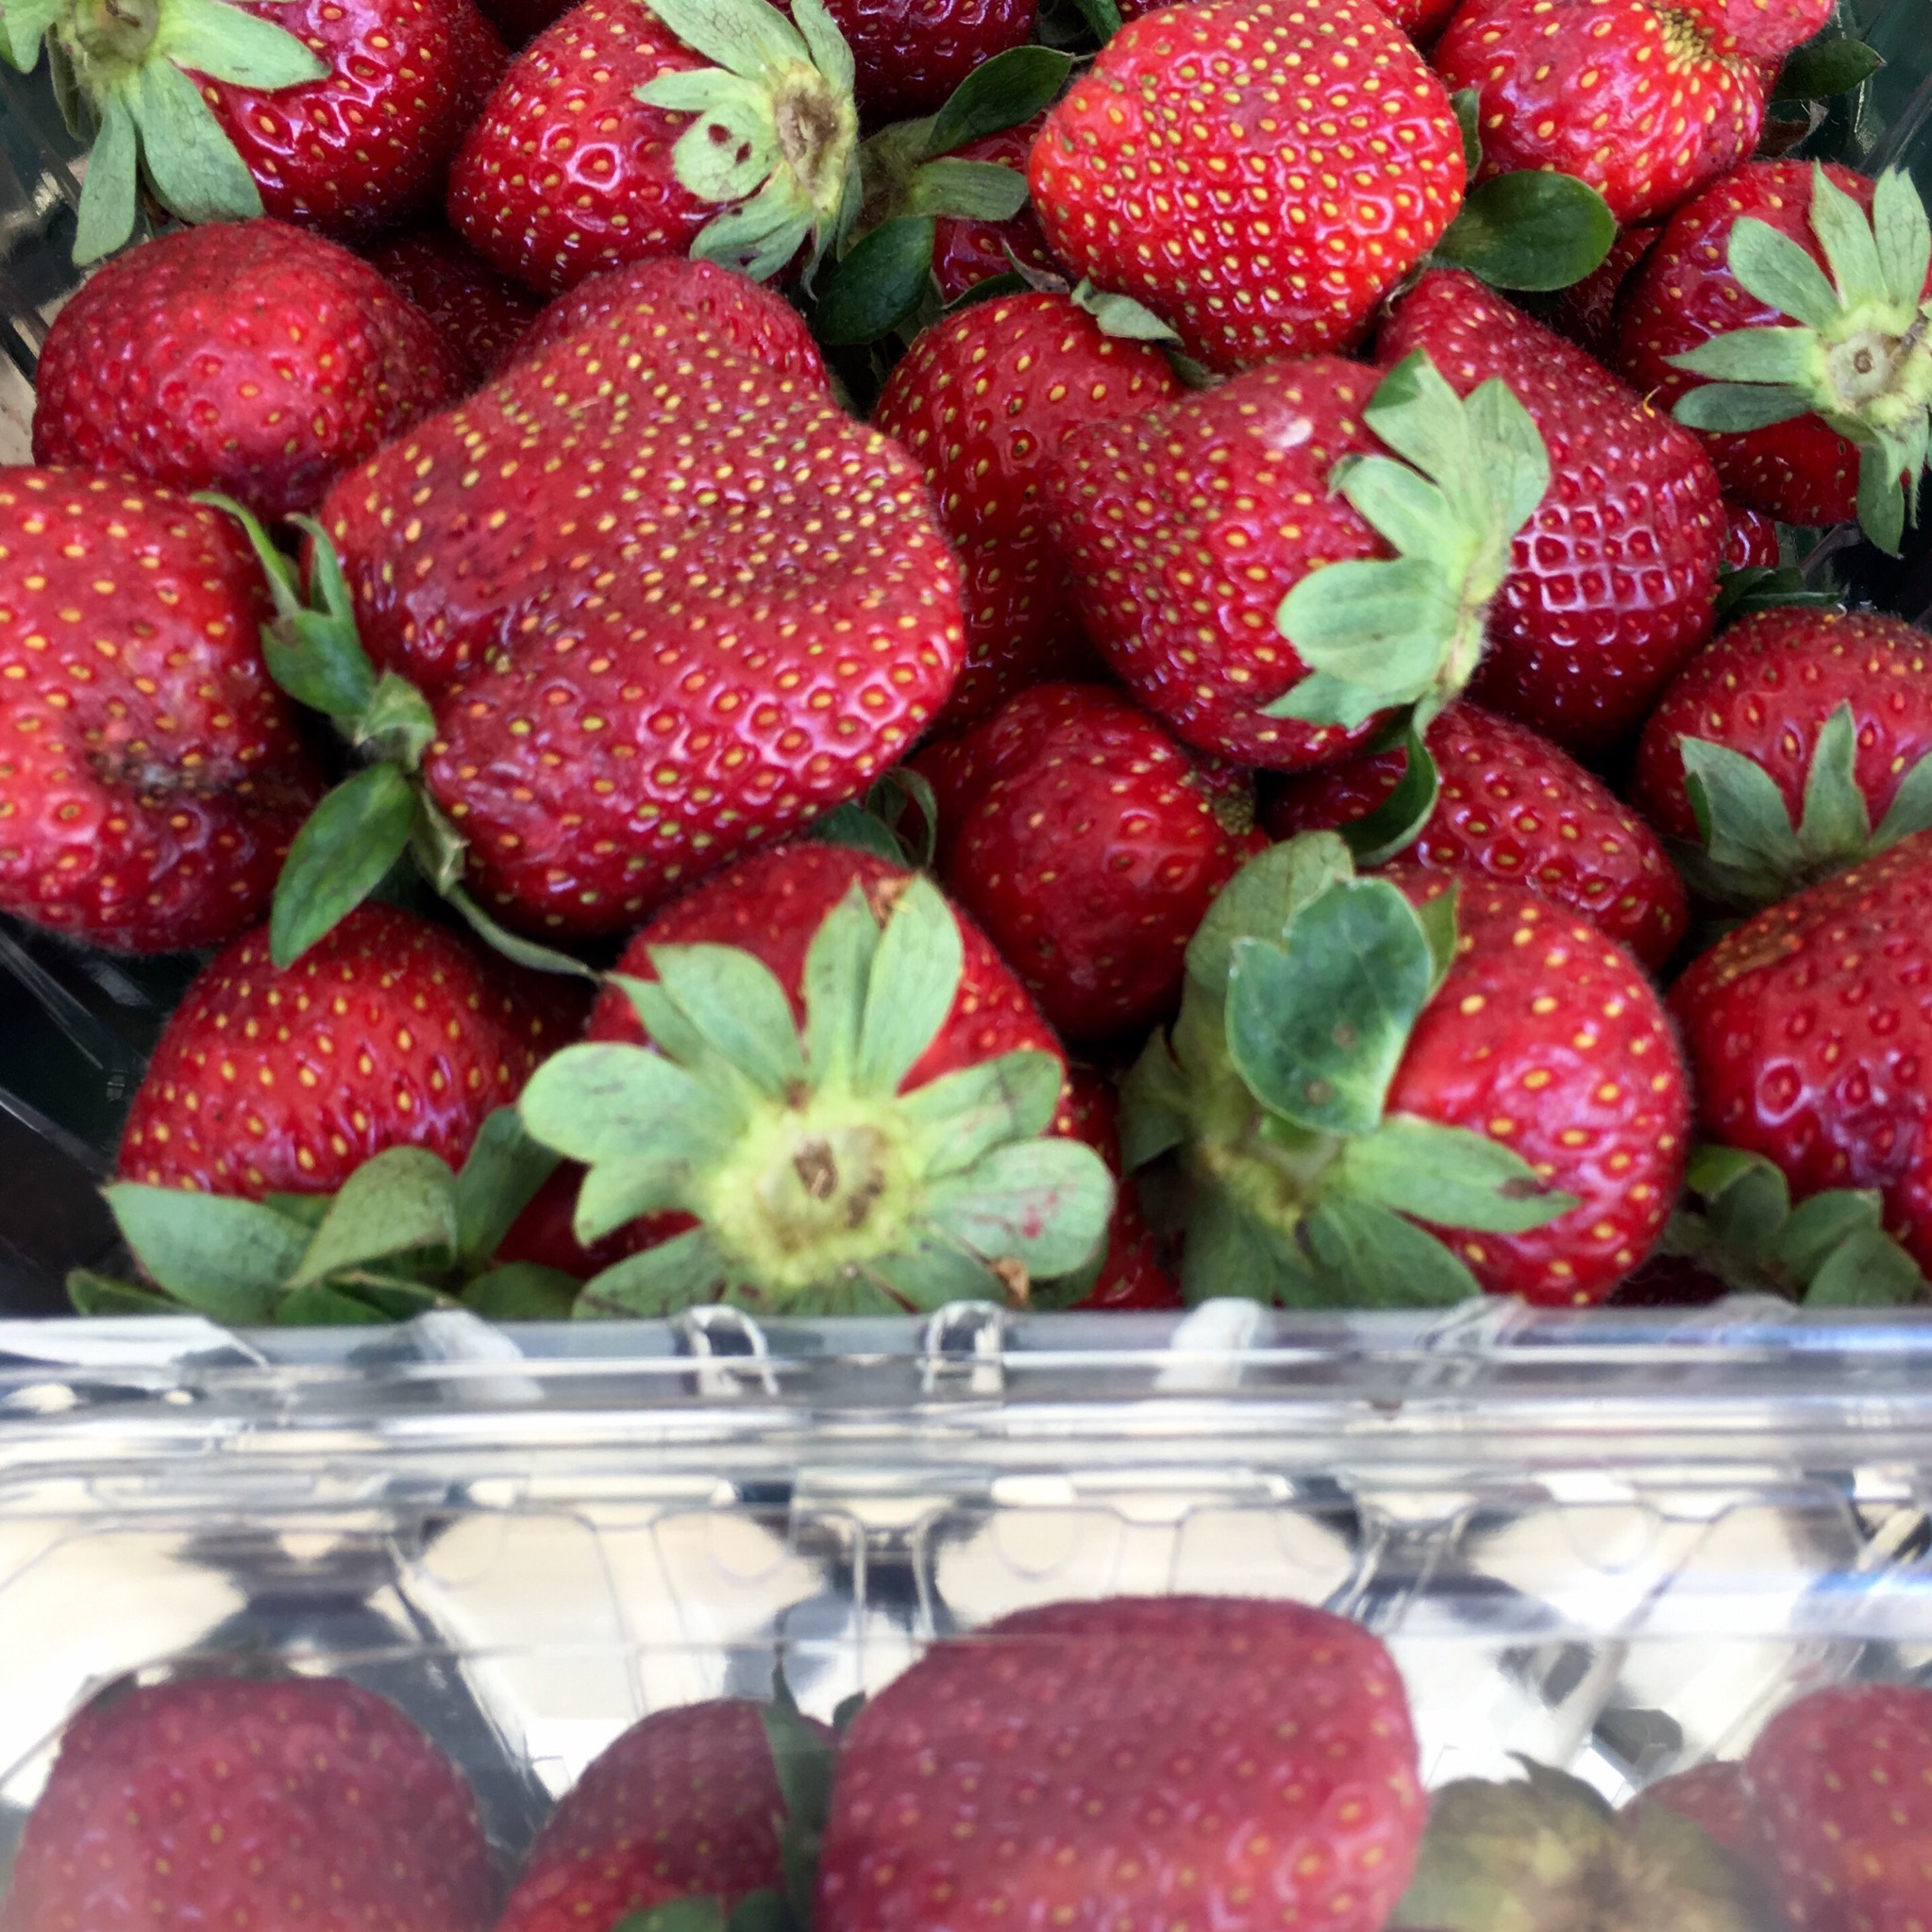
Anything in a homemade, buttery pastry crust is always a welcome treat but the crust is perhaps even more delicious (if that is possible) with the addition of ripe and juicy locally grown fruit. Late spring in middle Alabama is strawberry season... and we've been blessed with a huge, beautiful crop of perfect strawberries this year. Here's one of the best ways I know to enjoy summer's berries and fruit. FYI-The crust can be stuffed with just about anything. Leave off the sugar for chicken pot pie or other savory dishes.
I recently made these tarts for a benefit for the No Kid Hungry/Chefs Cycle event. Everyone asked for the recipe.... so here you go!
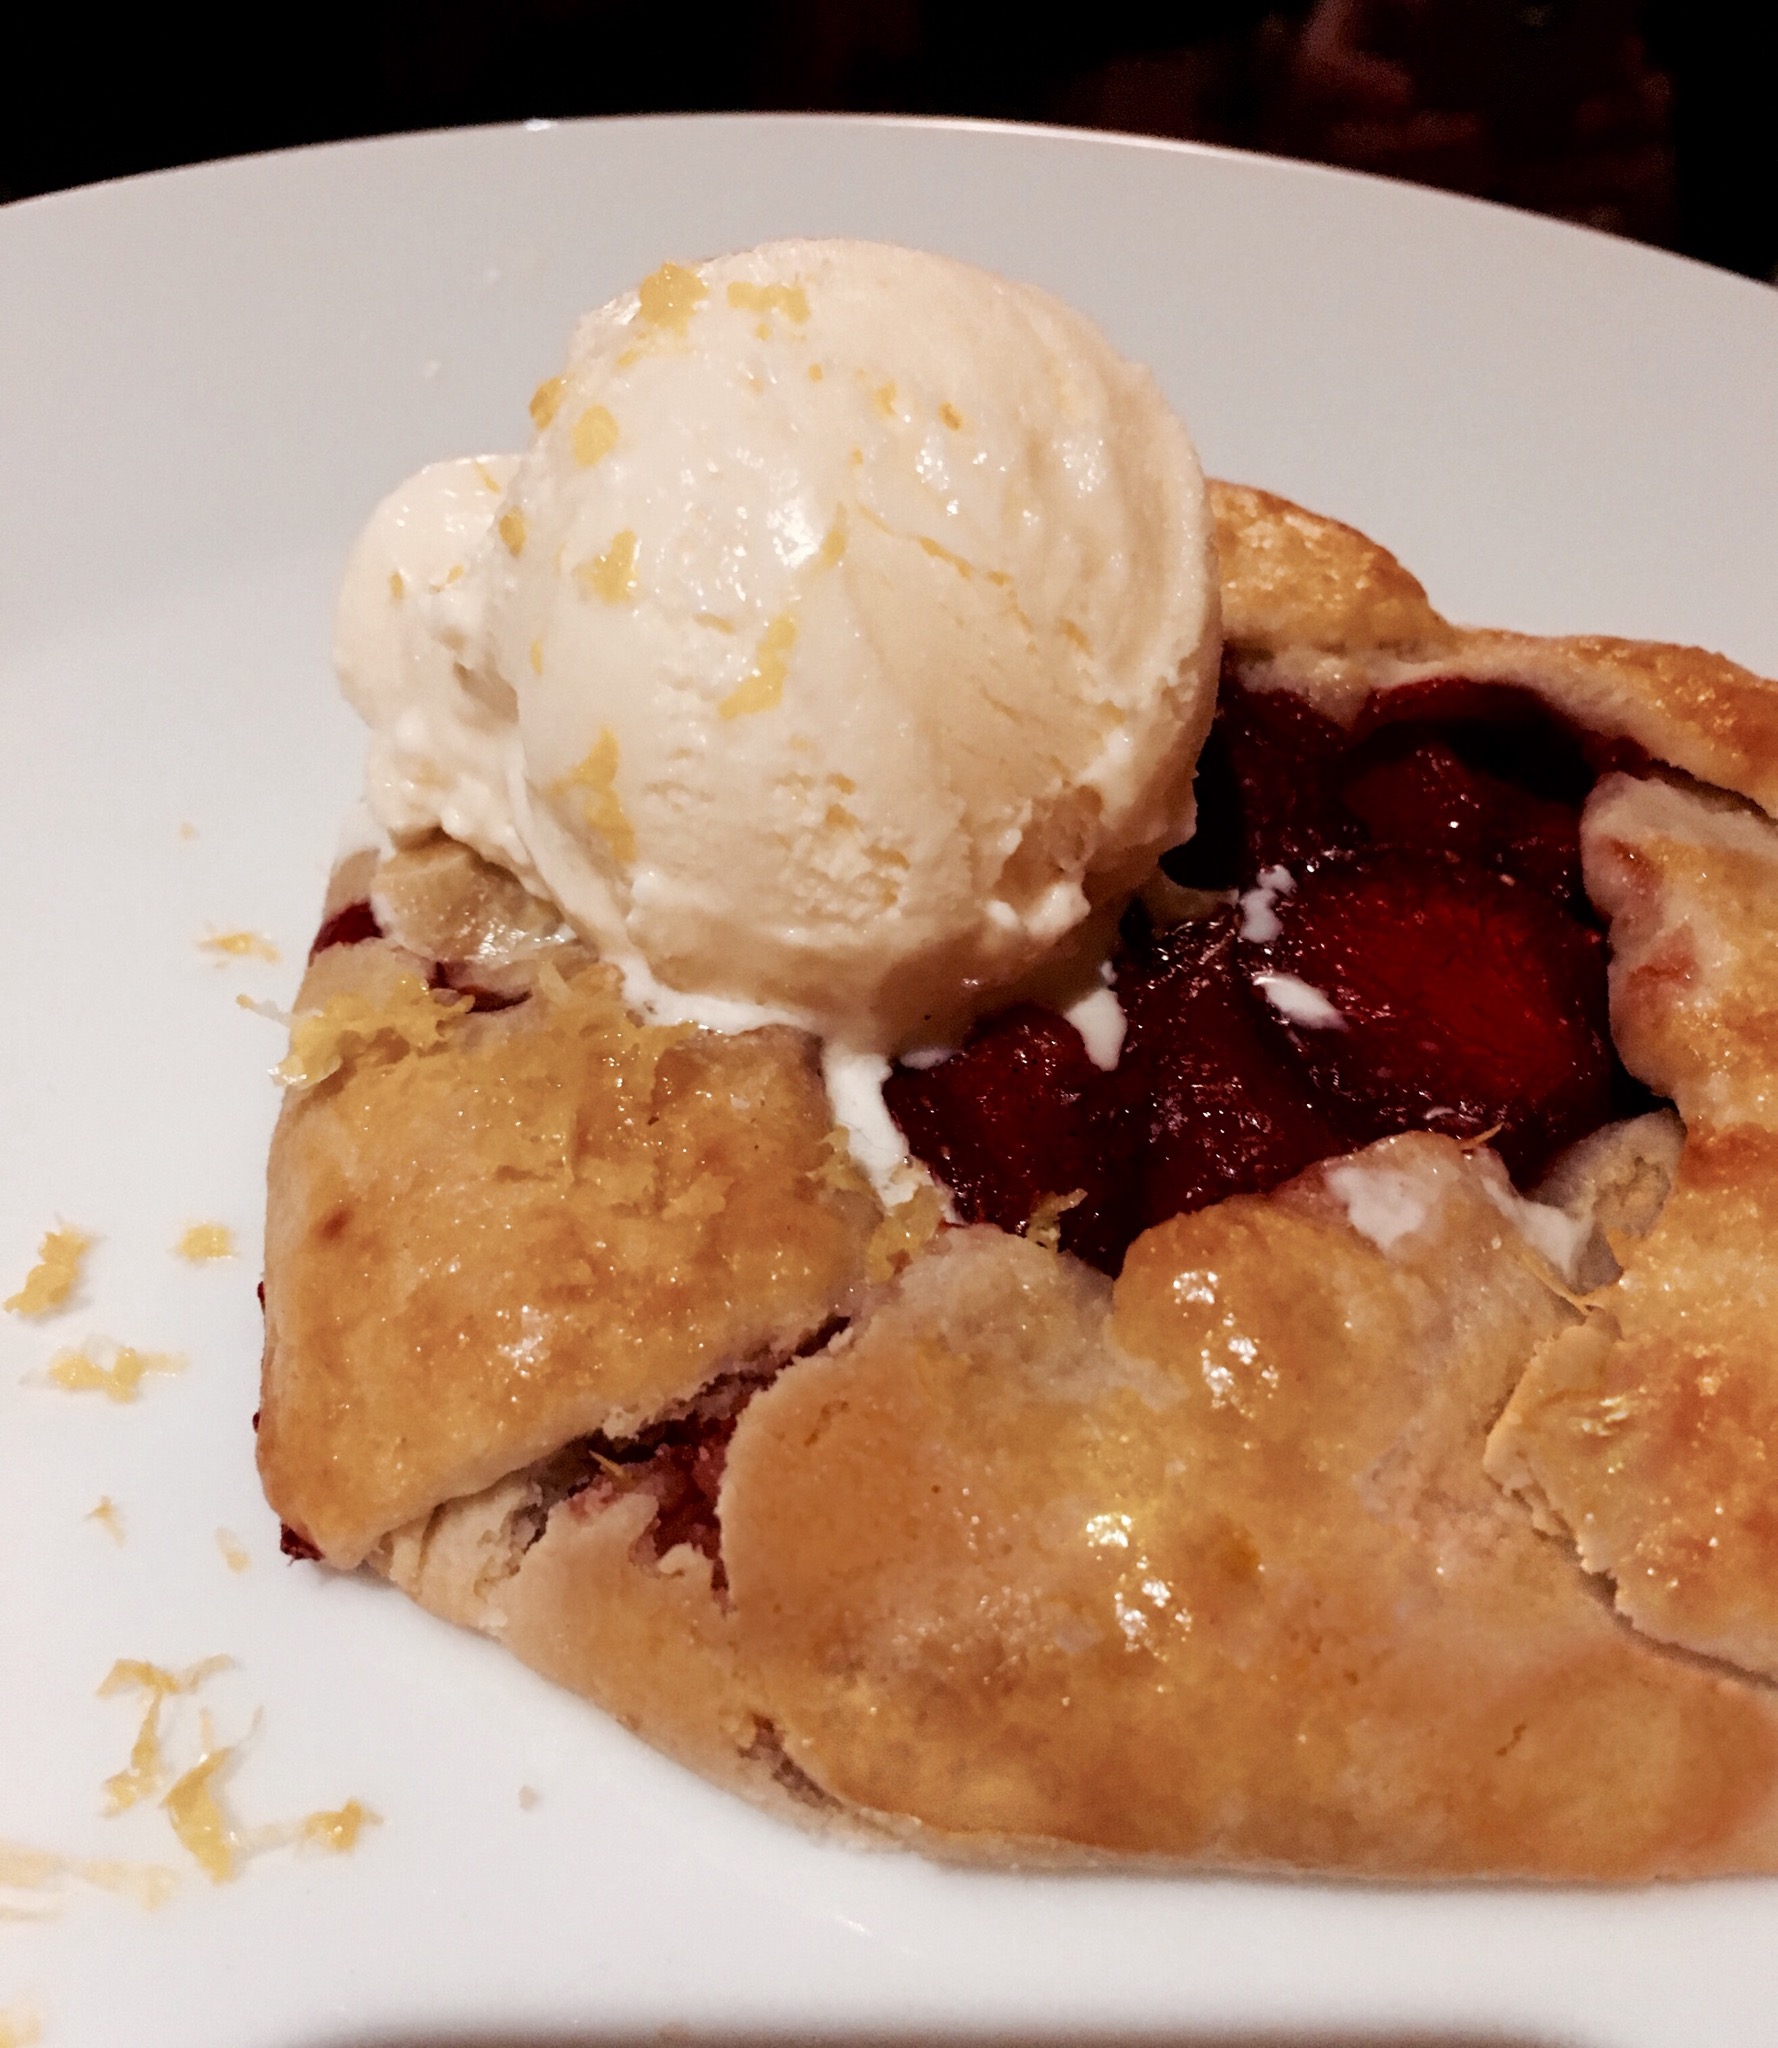

MINI STRAWBERRY TARTS
INGREDIENTS
For the crust
1 cup all-purpose flour plus extra for flouring work surfaces
2 tablespoons granulated sugar
1/4 teaspoon kosher salt
1 stick (1/2 cup) unsalted butter, very cold and cubed
3-4 tablespoons ice water
1 beaten egg (optional, for egg wash)
For the filling:
1/2 vanilla bean
2 tablespoons unsalted butter, room temperature
1 quart fresh strawberries, washed, hulled, and sliced
1-2 tablespoons granulated sugar (taste the strawberries to see how sweet they are and use just enough sugar to sweeten slightly)
pinch of kosher salt
pinch of black pepper
2 tablespoons fresh lime juice (or lemon juice if you prefer)
1 tablespoon all-purpose flour (you may need a bit more for extremely juicy berries)
DIRECTIONS
FOR THE PASTRY:
Use a food processor. If you don't have one, you can cut the butter into the flour by using a pastry blender or two butter knives as I did when I used to cook with my mom as a child.
Lay down a large sheet of plastic wrap on the counter. Sprinkle 1/2 teaspoon of the flour over the surface.
Add the flour, sugar, and salt to the bowl of the food processor. Turn it on run for a moment to incorporate. Begin to add the butter, 2-3 cubes at a time and pulse 10 times before adding the next. Once the butter has been incorporated, turn the food processor to "on" and add the ice water quickly, but add it one tablespoon at a time. As soon as the dough comes together in a ball, turn it off immediately.
Turn the dough out onto the prepared plastic wrap. Working quickly, shape it into a disc and cover with the plastic. Move it to the refrigerator to chill for at least 1 hour before using.
FOR THE FILLING:
Scrape the vanilla bean and add the seeds to the softened butter. Set aside.
Place the strawberries, sugar, salt, pepper, and lime juice in a glass bowl and mix together well. Sprinkle the flour over the top of the berries. Allow to sit for 10 minutes.
ASSEMBLY:
Preheat your oven to 420 degrees Fahrenheit. Place the rack in the center of the oven. Line a heavy sheet pan or baking sheet with parchment paper. Sit out a wire cooling rack.
Remove the pie crust from the refrigerator. Dust flour lightly over the work surface and also flour a rolling pin. Cut the pastry disc into 4 equal pieces. Working quickly, roll each into a ball and then press it down so you may roll each into a circle shape approximately 6" in diameter. Place each on the baking sheet.
Place a fine mesh sieve or strainer over a bowl. Pour the strawberries into the strainer to remove any excess juice. Add a heaping 1/4 cup of the strawberries to the center of each tart. Fold the crust over the berries, leaving the center open.
Using a pastry brush, brush the crust with the egg wash. I also sprinkle a bit of granulated sugar on the crust. Add a pinch of the vanilla butter to the top of each tart.
Place the assembled tarts into the freezer for 5-10 minutes to chill before baking so the tarts do not spread.
Bake for 12 minutes. Turn the tarts and bake for 4 more minutes or until golden brown and bubbly. Remove the pan to a wire rack and allow to cool for at least 15 minutes before serving.