HOW-TO: LEMON SIMPLE SYRUP

There is a lot of talk on social media about LEMONADE these days...  which has me thinking about my favorite summer beverage....  not Beyonce's record. Lemonade based drinks and cocktails are always part of summer fun so I'm sharing my secret that takes ordinary lemonade to another level. I use lemon simple syrup to sweeten it which is so much better than dumping in sugar and stirring until it dissolves. You can use lemon simple syrup in many different cocktails or to sweeten iced tea. During the summer, I keep some in the fridge- it will keep in a Mason jar for 2-3 weeks.

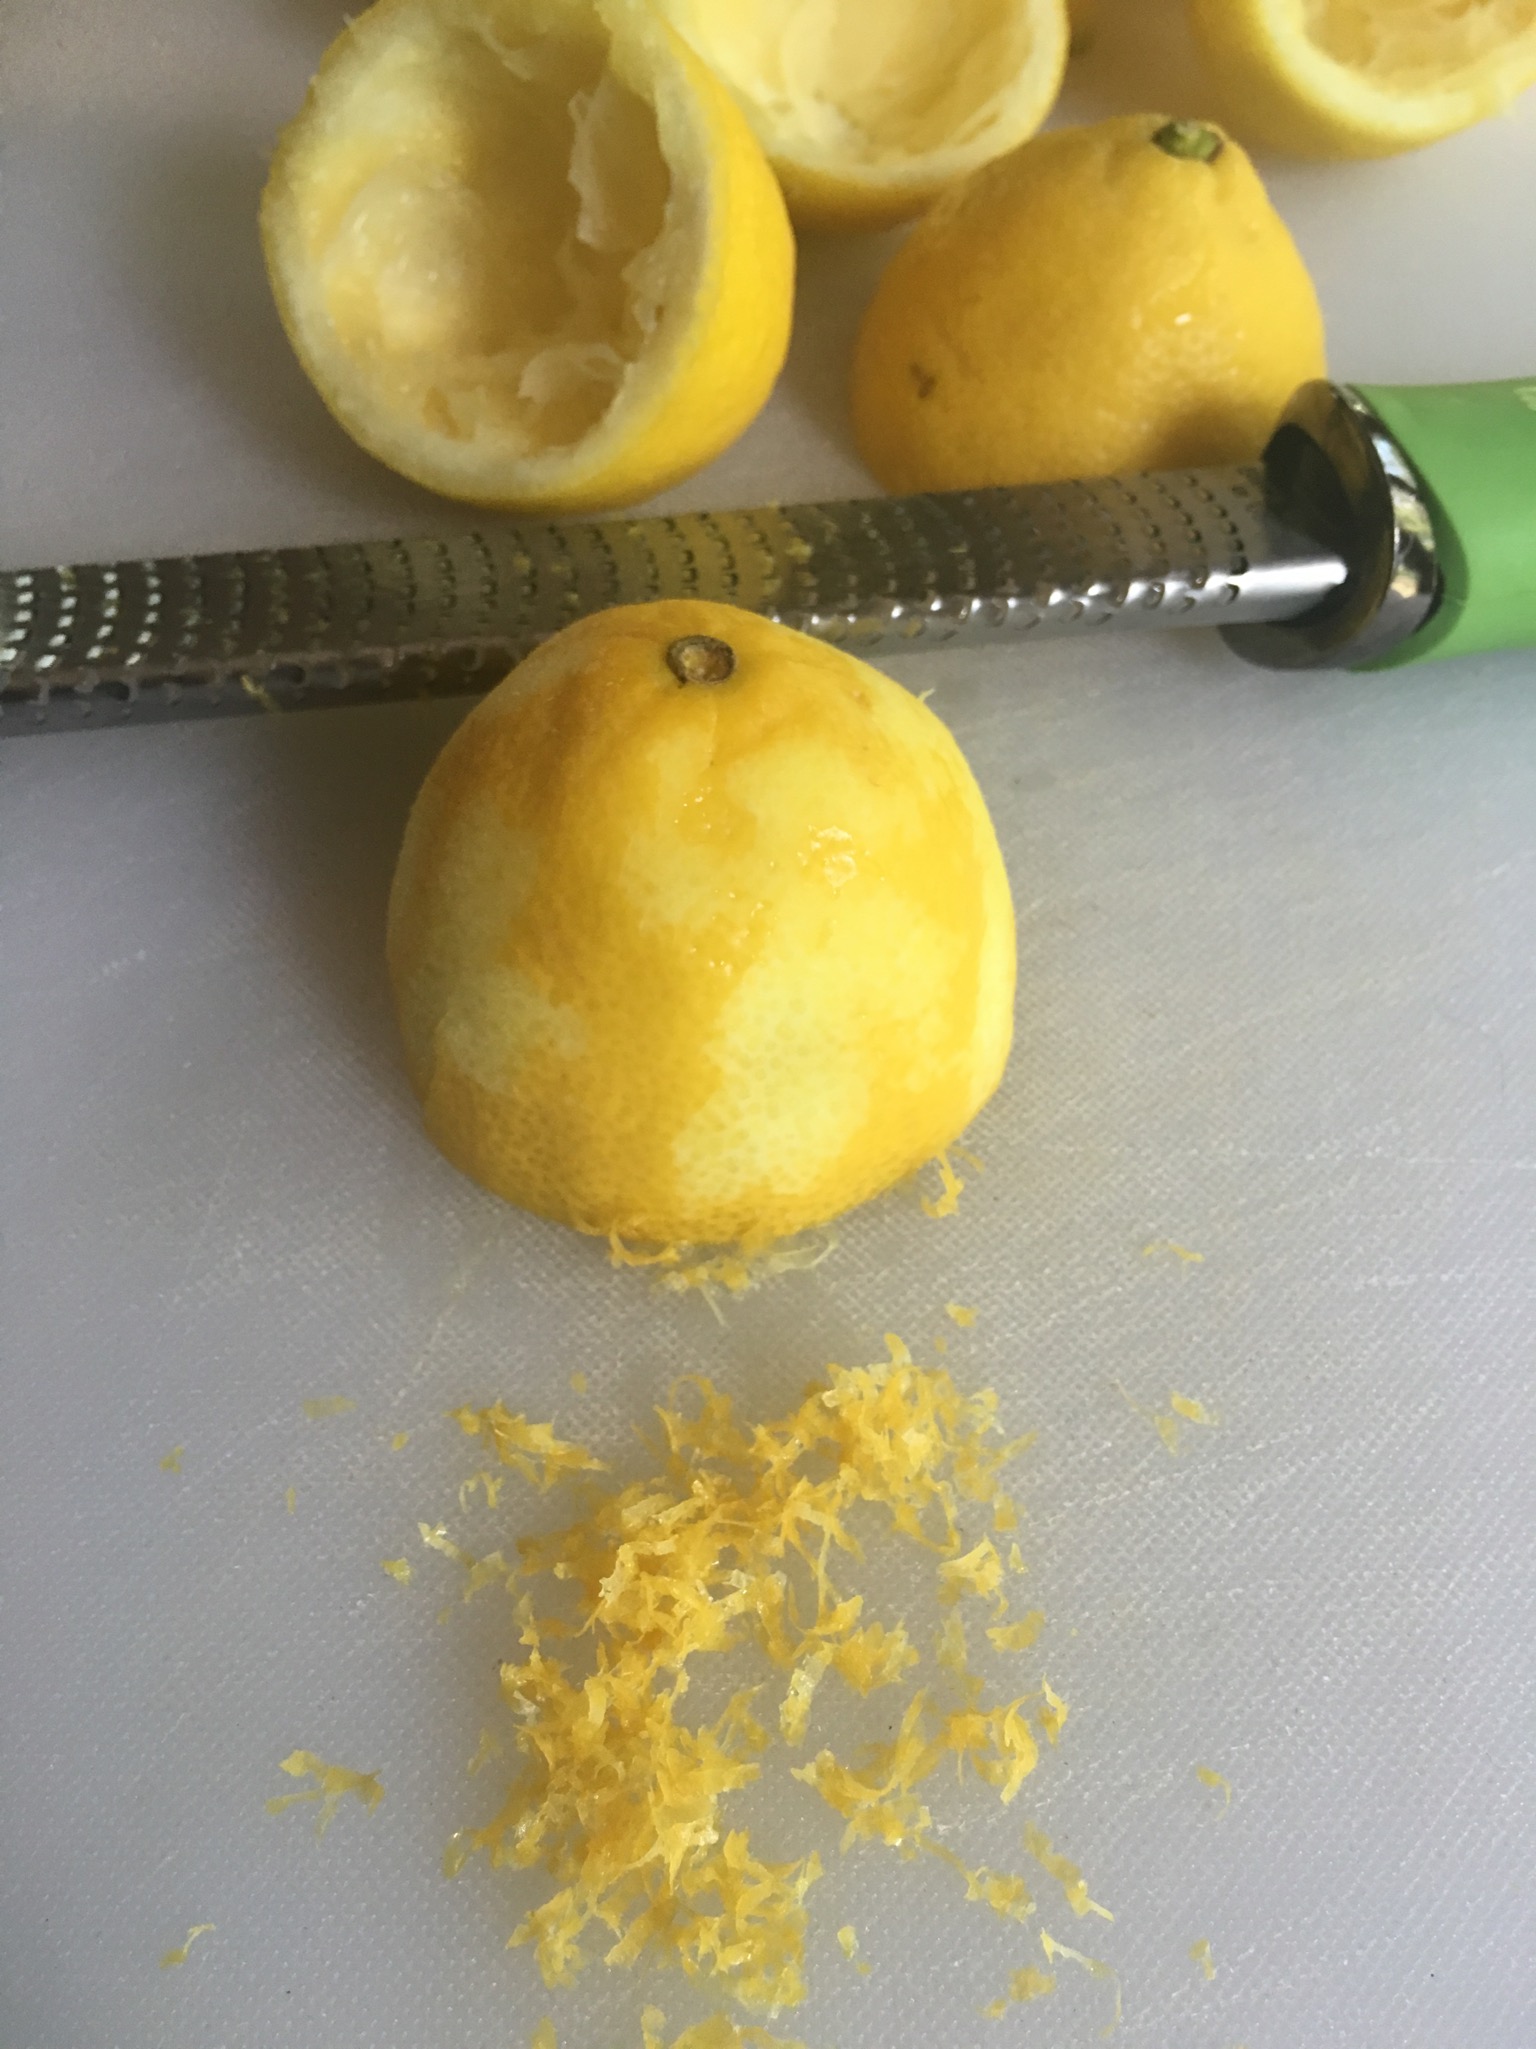
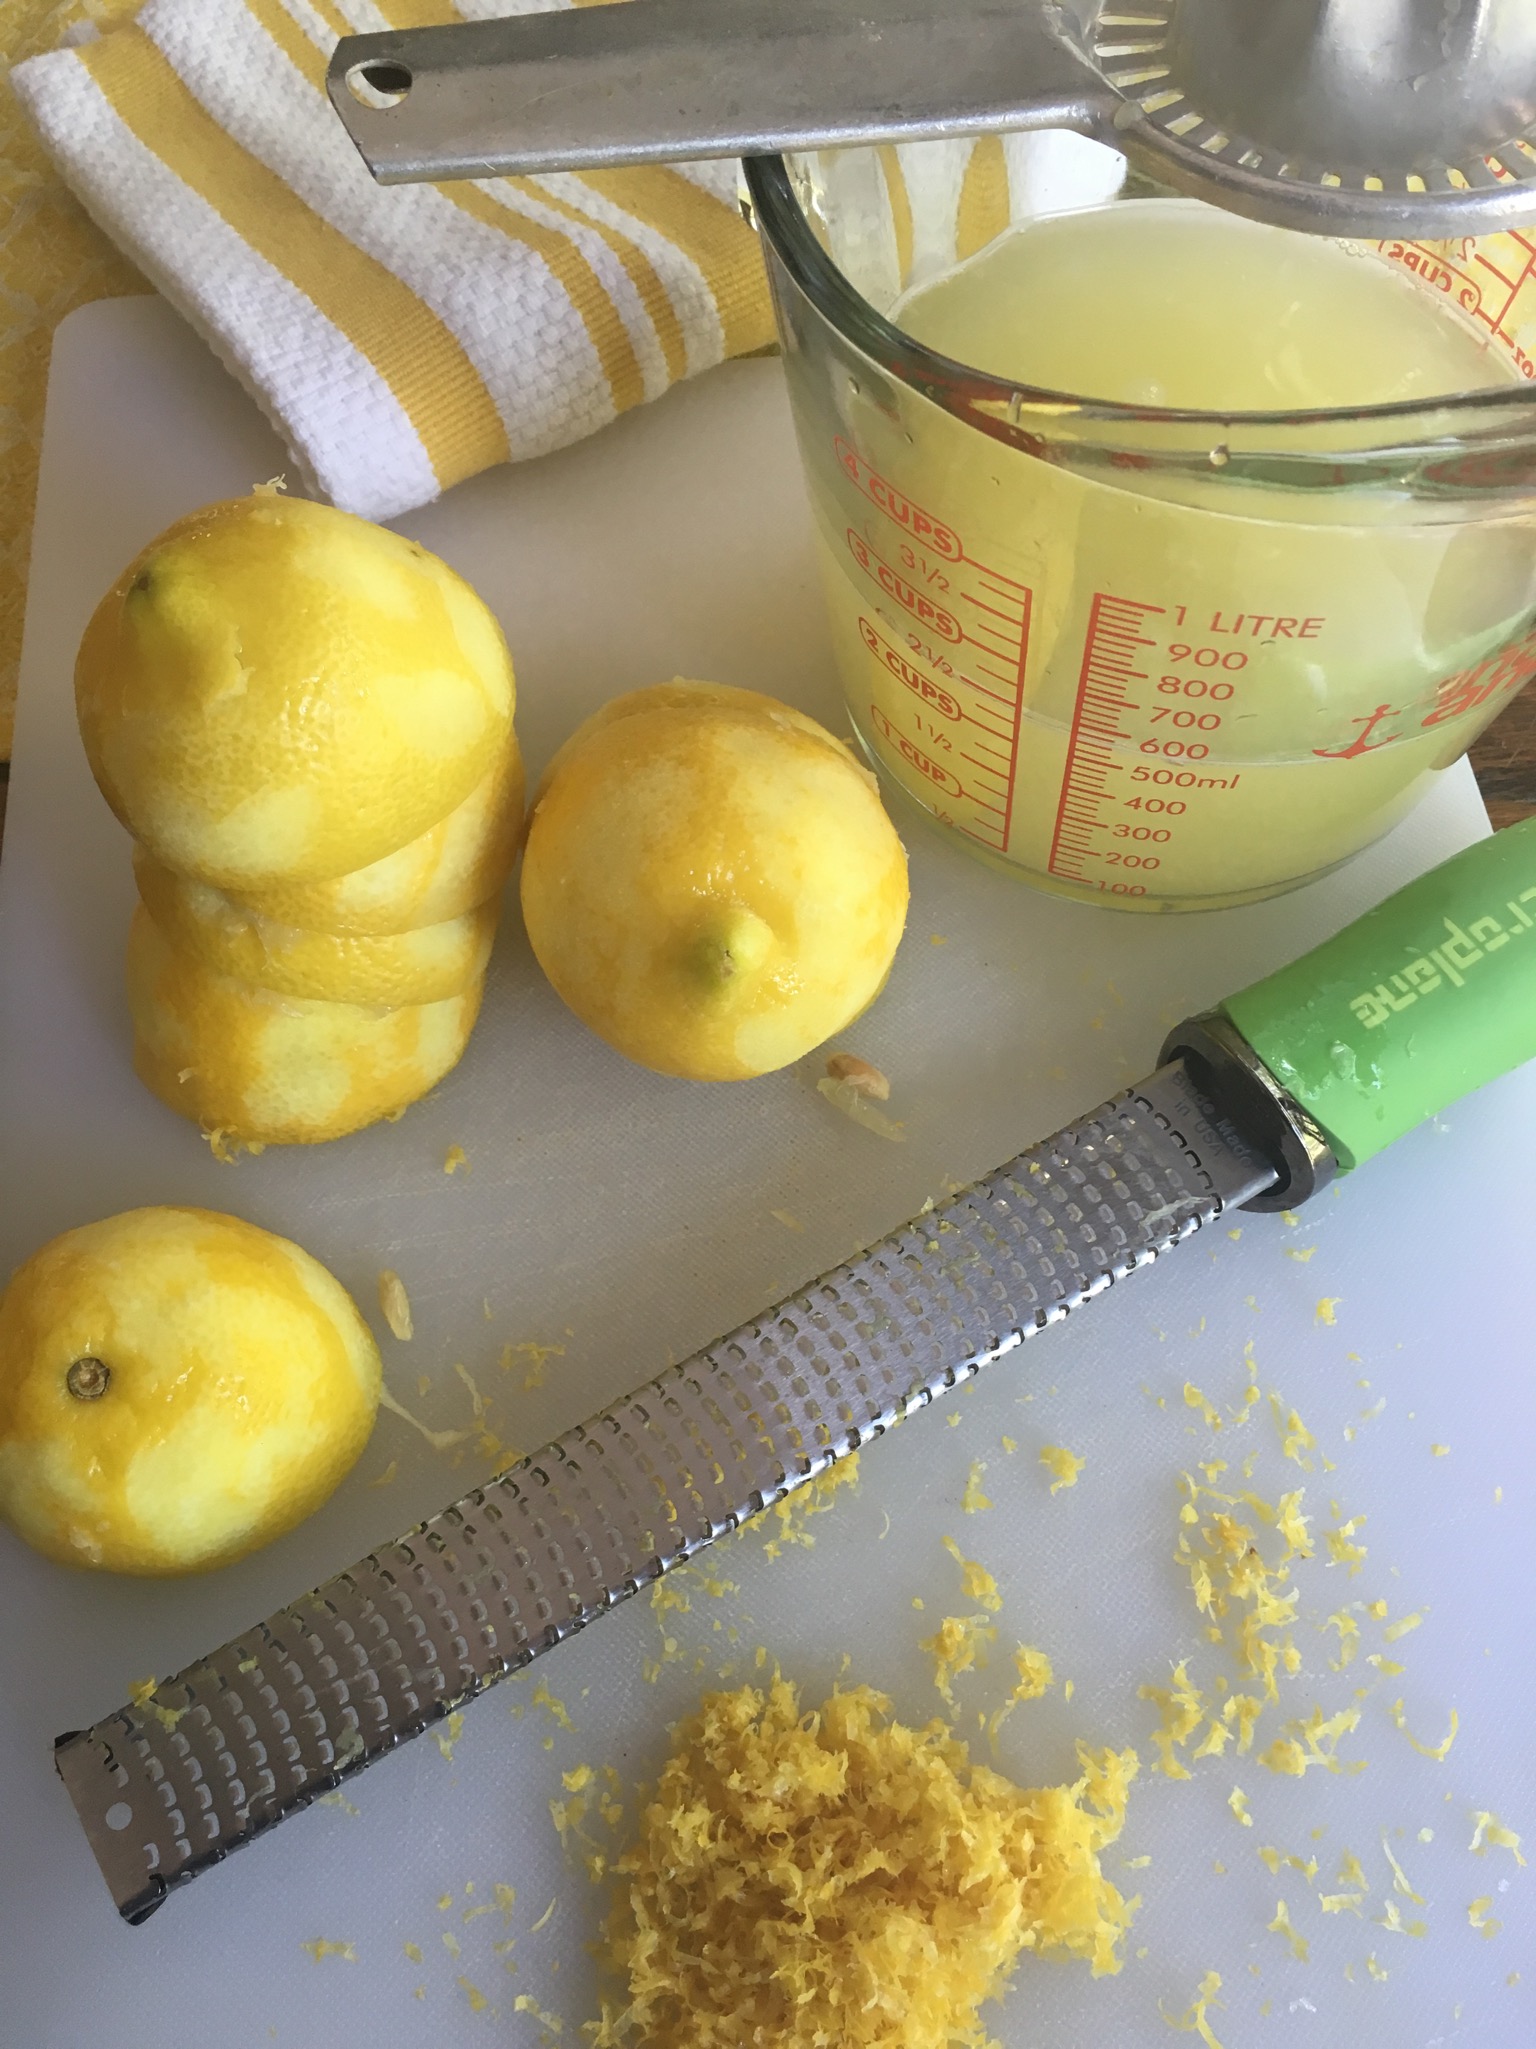
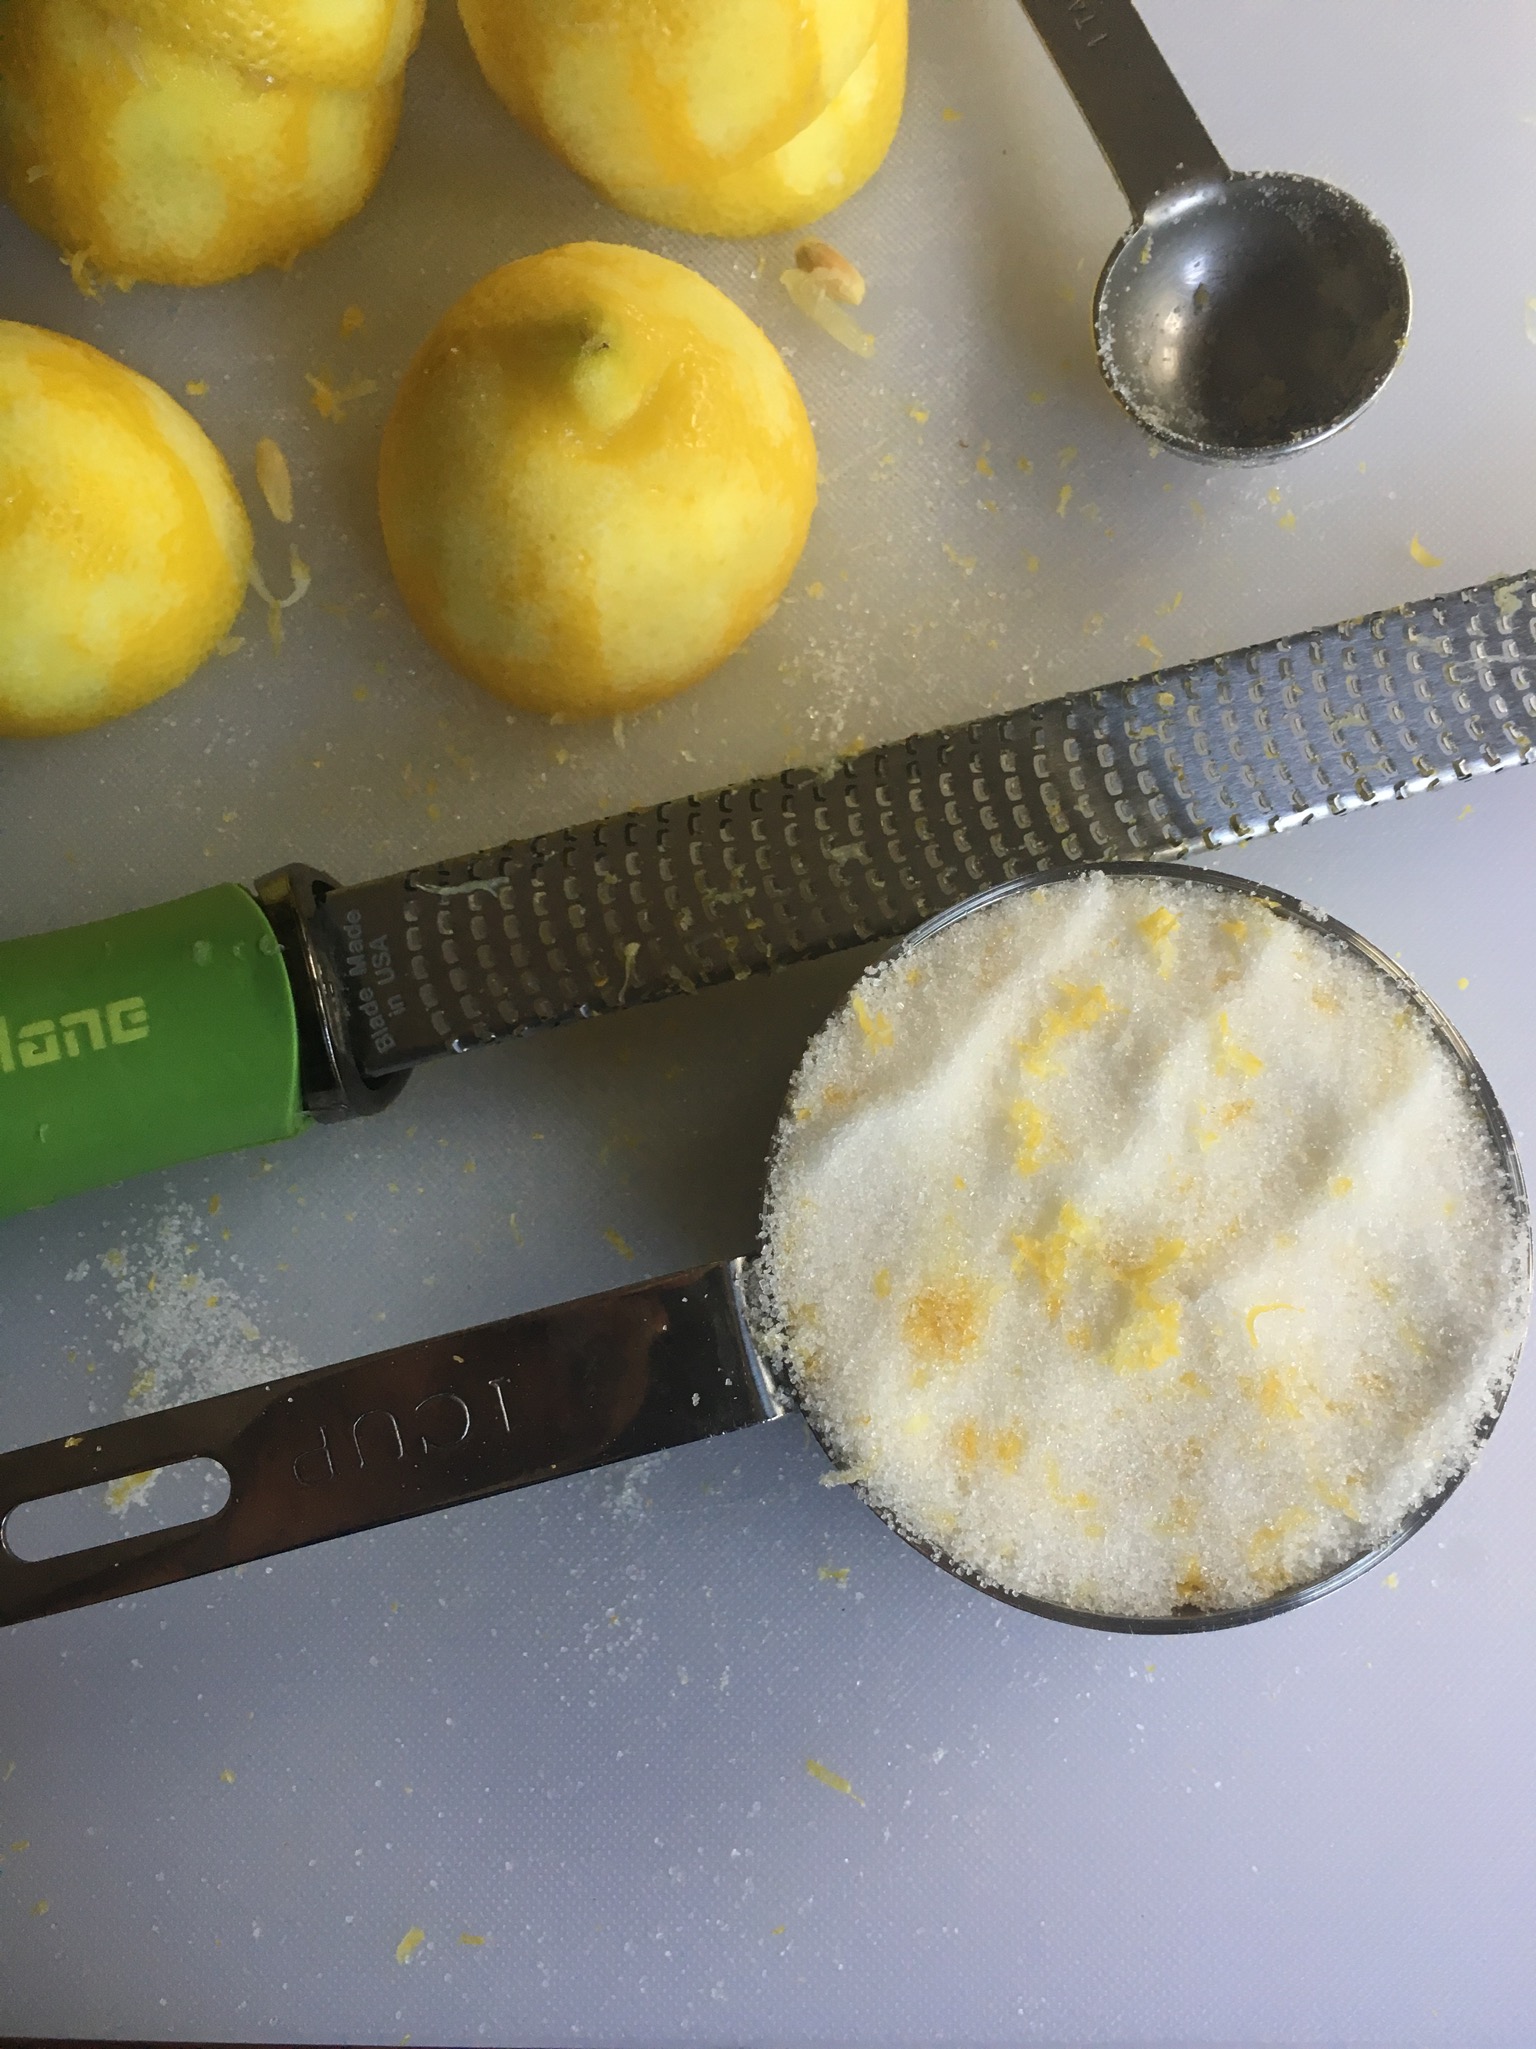
When I'm using lemons for cooking or baking, I always zest them first before juicing them. I put the zest in a quart sized Mason jar filled with granulated sugar. I add the zest to the sugar and shake it up- that way, when I want to make lemon simple syrup, I have the lemon sugar ready to go. It will keep in the Mason jar for 2-3 months but best if used within a few weeks.

LEMON SIMPLE SYRUP

Makes 1 cup

INGREDIENTS

2 tablespoons lemon zest (about 4 lemons)

1 cup granulated sugar

1 cup water

DIRECTIONS

Add the lemon zest to the sugar. Put water in a pan over high heat.. Add the lemon sugar. Stir. Bring to a boil and remove from heat immediately, stirring to make sure the sugar is completely dissolved. Allow to cool completely.

Strain into a glass container, like a Mason jar. Press the remaining zest with the back of a wooden spoon to remove all of the syrup from it before discarding it.

Use the lemon simple syrup for one of these LEMONADE RECIPES!

Print Friendly and PDF

HOW-TO: CLEANING AND RE-SEASONING CAST IRON COOKWARE

HOW TO CLEAN AND PRESERVE YOUR CAST IRON

I am so fortunate to be in possession of some of my mother’s cast iron skillets, probably the most precious thing I own besides the tiny diamond engagement ring my father gave her when they married. I remember as a kid, on Sundays after church, standing on the wobbly kitchen stool beside the stove, hovering over that big cast iron Dutch oven, just waiting for my mom to signal for me to turn the fried chicken. The menu rarely changed: fried chicken, rice, gravy, biscuits, and English peas or string beans.

How to clean and reseason cast iron

My collection has grown over the years… and because I have so much, I don’t use all of it like I should. That is the key to keeping your cast iron in perfect condition, my mom taught me.

Every winter, I find an afternoon to go through my collection of cast iron. I wash, dry, and oil it well, re-seasoning the pieces that need it. I’ve been asked many times how I do it---here’s the way I was taught (and a few tips from Lodge and Southern Living, too). Hope this helps you keep your treasured heirloom cast iron pieces in perfect condition to hand down to your own kids someday.

CLEANING CAST IRON

  1. Always hand wash your cast iron with a very mild soap with a sponge or cloth. Never use harsh soap, a metal scrubber or rough scouring pad on cast iron unless you intend to re-season it.

  2. If there is baked on food residue, place the warm pan under running water and use a plastic spatula to gently push the residue from the surface.

  3. Dry immediately.

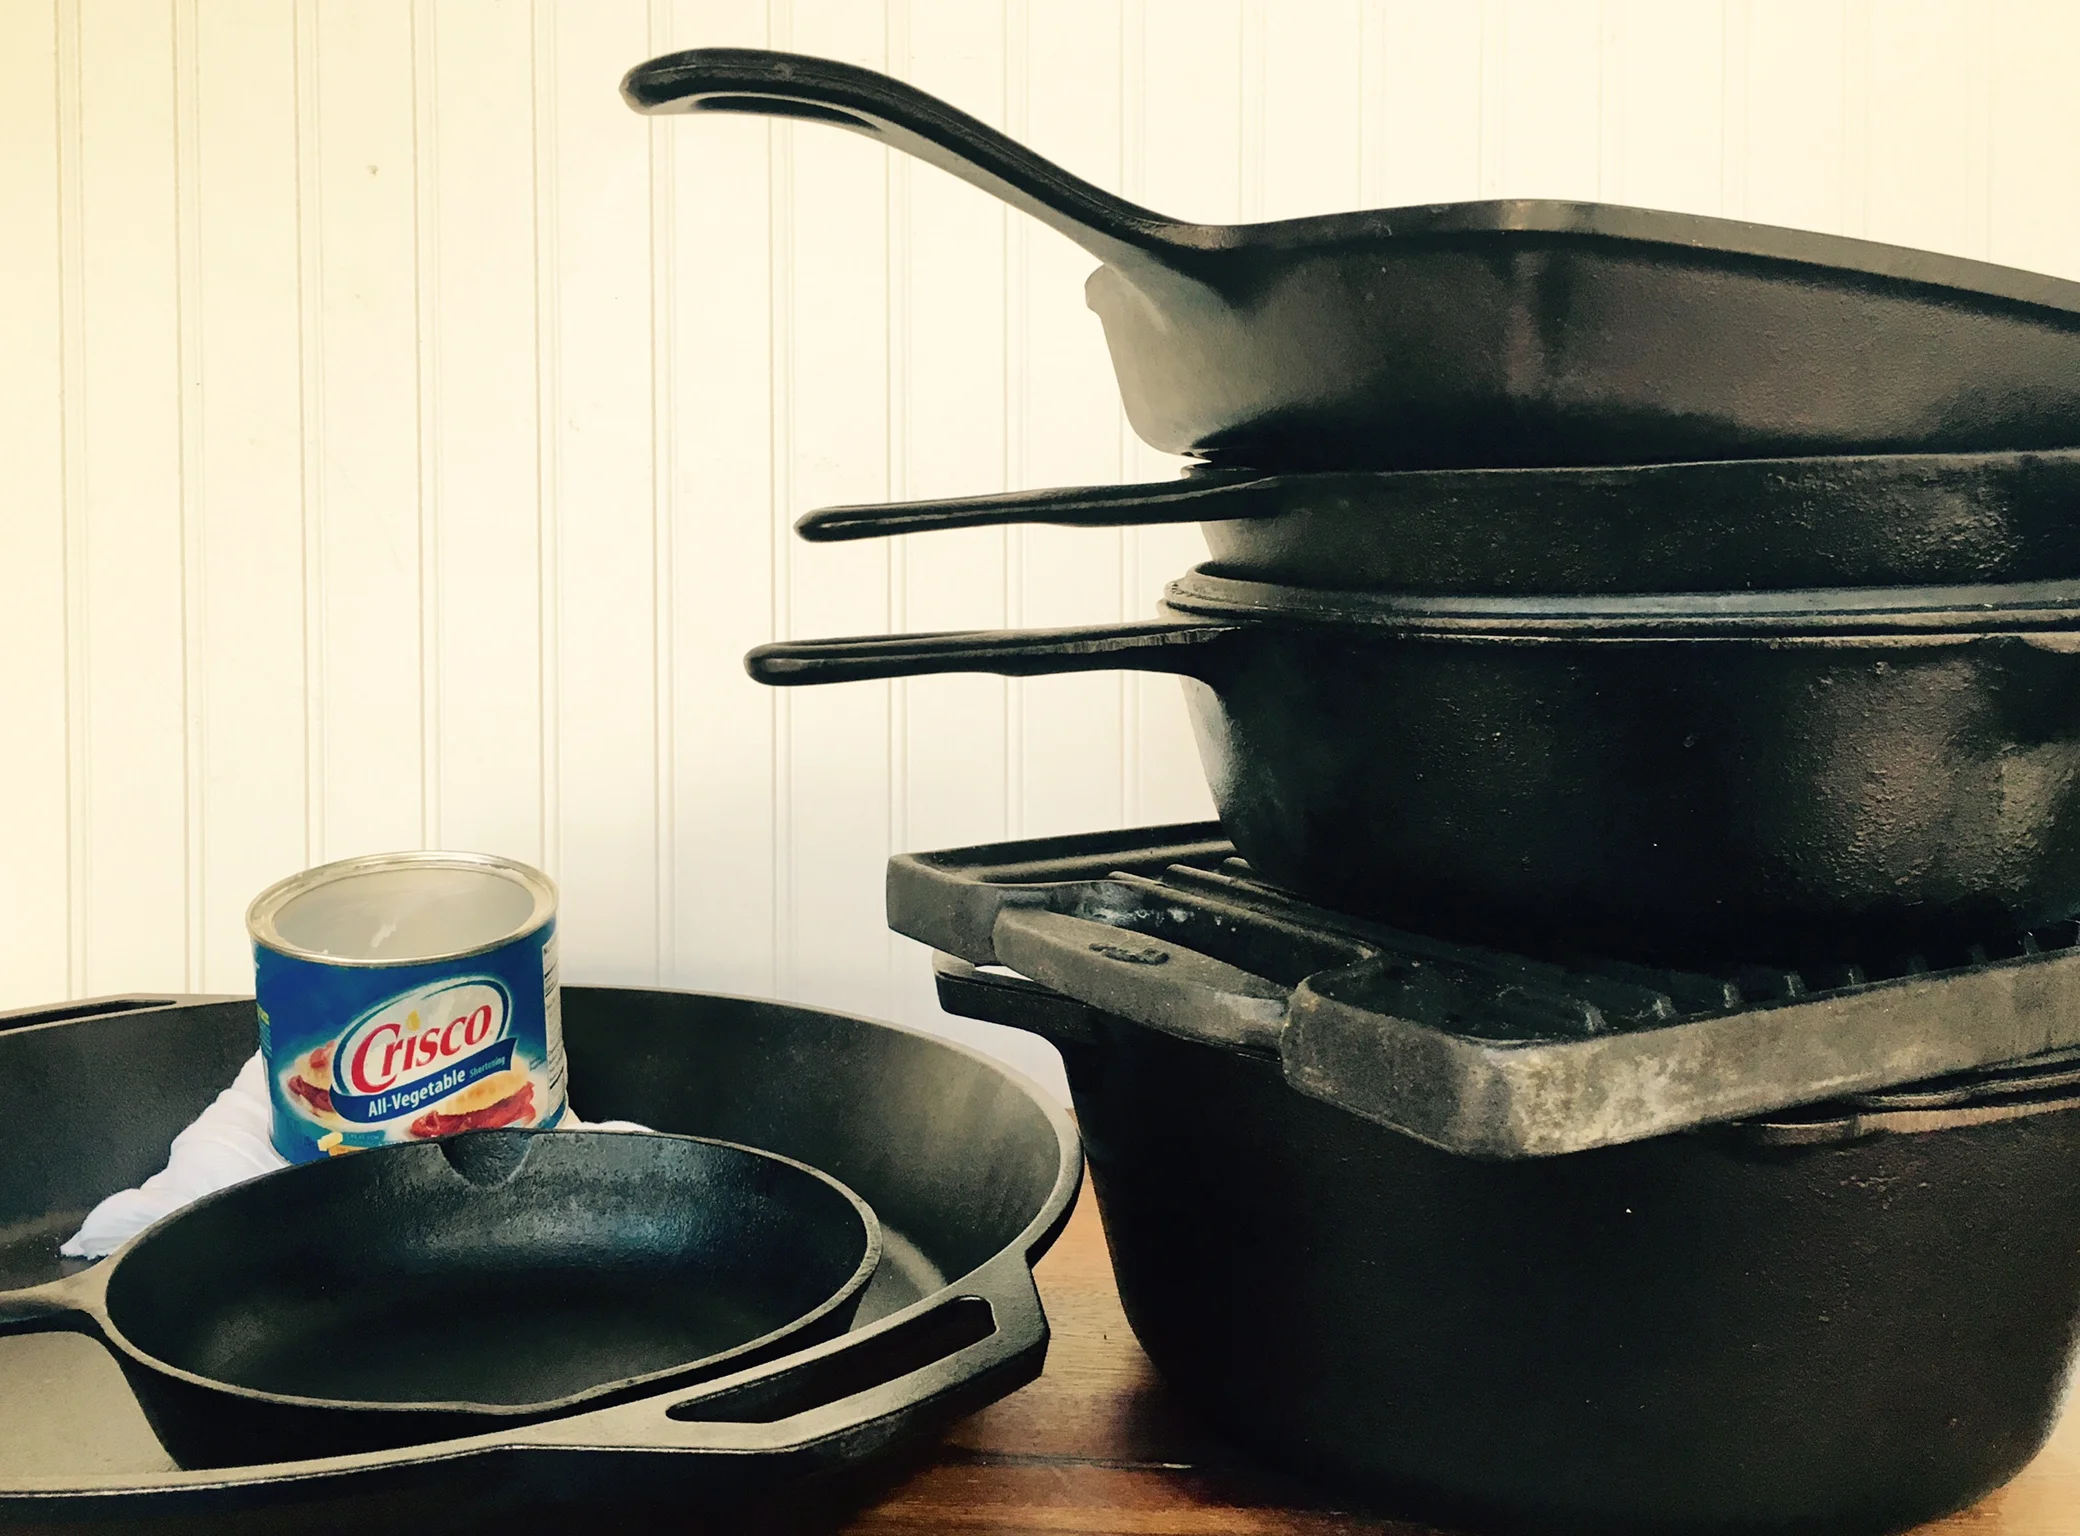
  4. Apply a very light coat of vegetable oil (I use Crisco shortening). Wipe it onto the pan, making sure to get into the corners or curves of the pan.

  5. Wipe the excess away using a lint-free cloth or towel. Paper towels leave a residue. You want a light coating of oil, not a sticky surface. The oil helps protect the pan from moisture.

WHAT TO DO WHEN YOU FIND RUST OR DISCOLORATION

  1. Use a scouring pad to scour the rust from the pan.

  2. Follow steps 1-3 above.

  3. If the situation doesn’t improve, re-season the pan to restore it to its original condition.

How to properly clean a cast iron skillet

RE-SEASONING CAST IRON

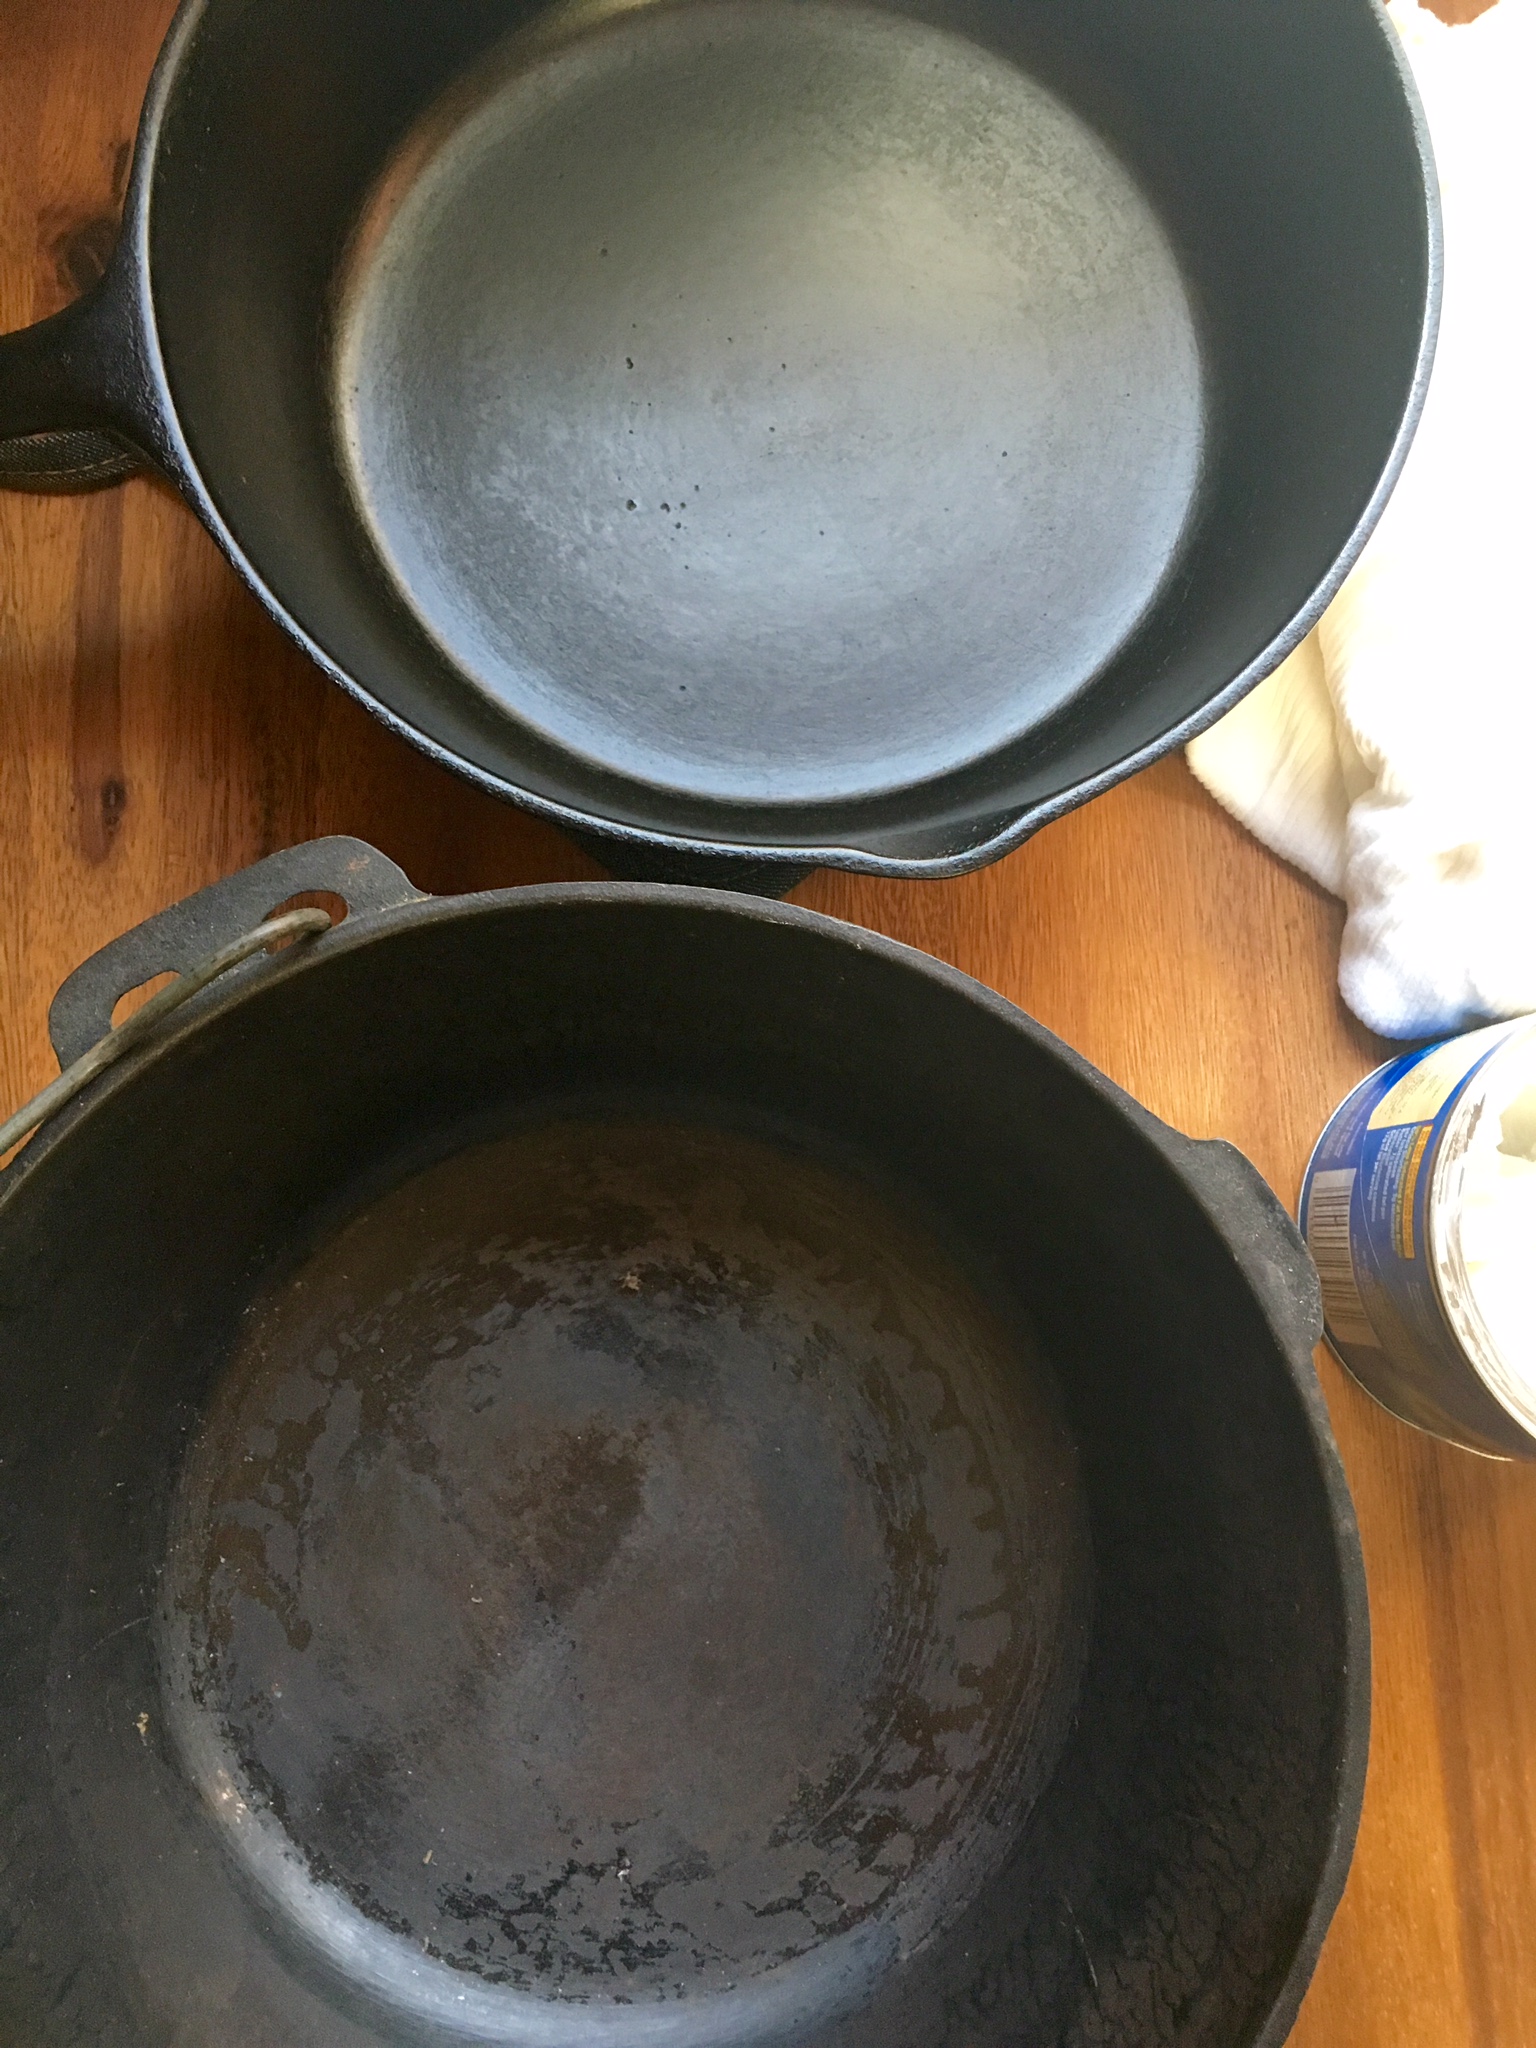
If food begins to stick to the surface of your cast iron or if you see a discoloration as shown on the image above on the cooking surface, you will need to re-season the piece. You may have to do this more than once to achieve a glossy, smooth black surface.

How to clean cast iron cookware
  1. Preheat your oven to 400°F.

  2. Clean the surface of the pan or piece with hot water and a stiff wire brush.

  3. Rinse and dry completely using a lint-free cloth.

  4. Add a thin coat of melted Crisco shortening (use a solid shortening only) to all of the inside and outside surfaces of the piece. Too much shortening will result in a sticky surface.

  5. Place a sheet pan or piece of aluminum foil on the bottom rack of your oven.

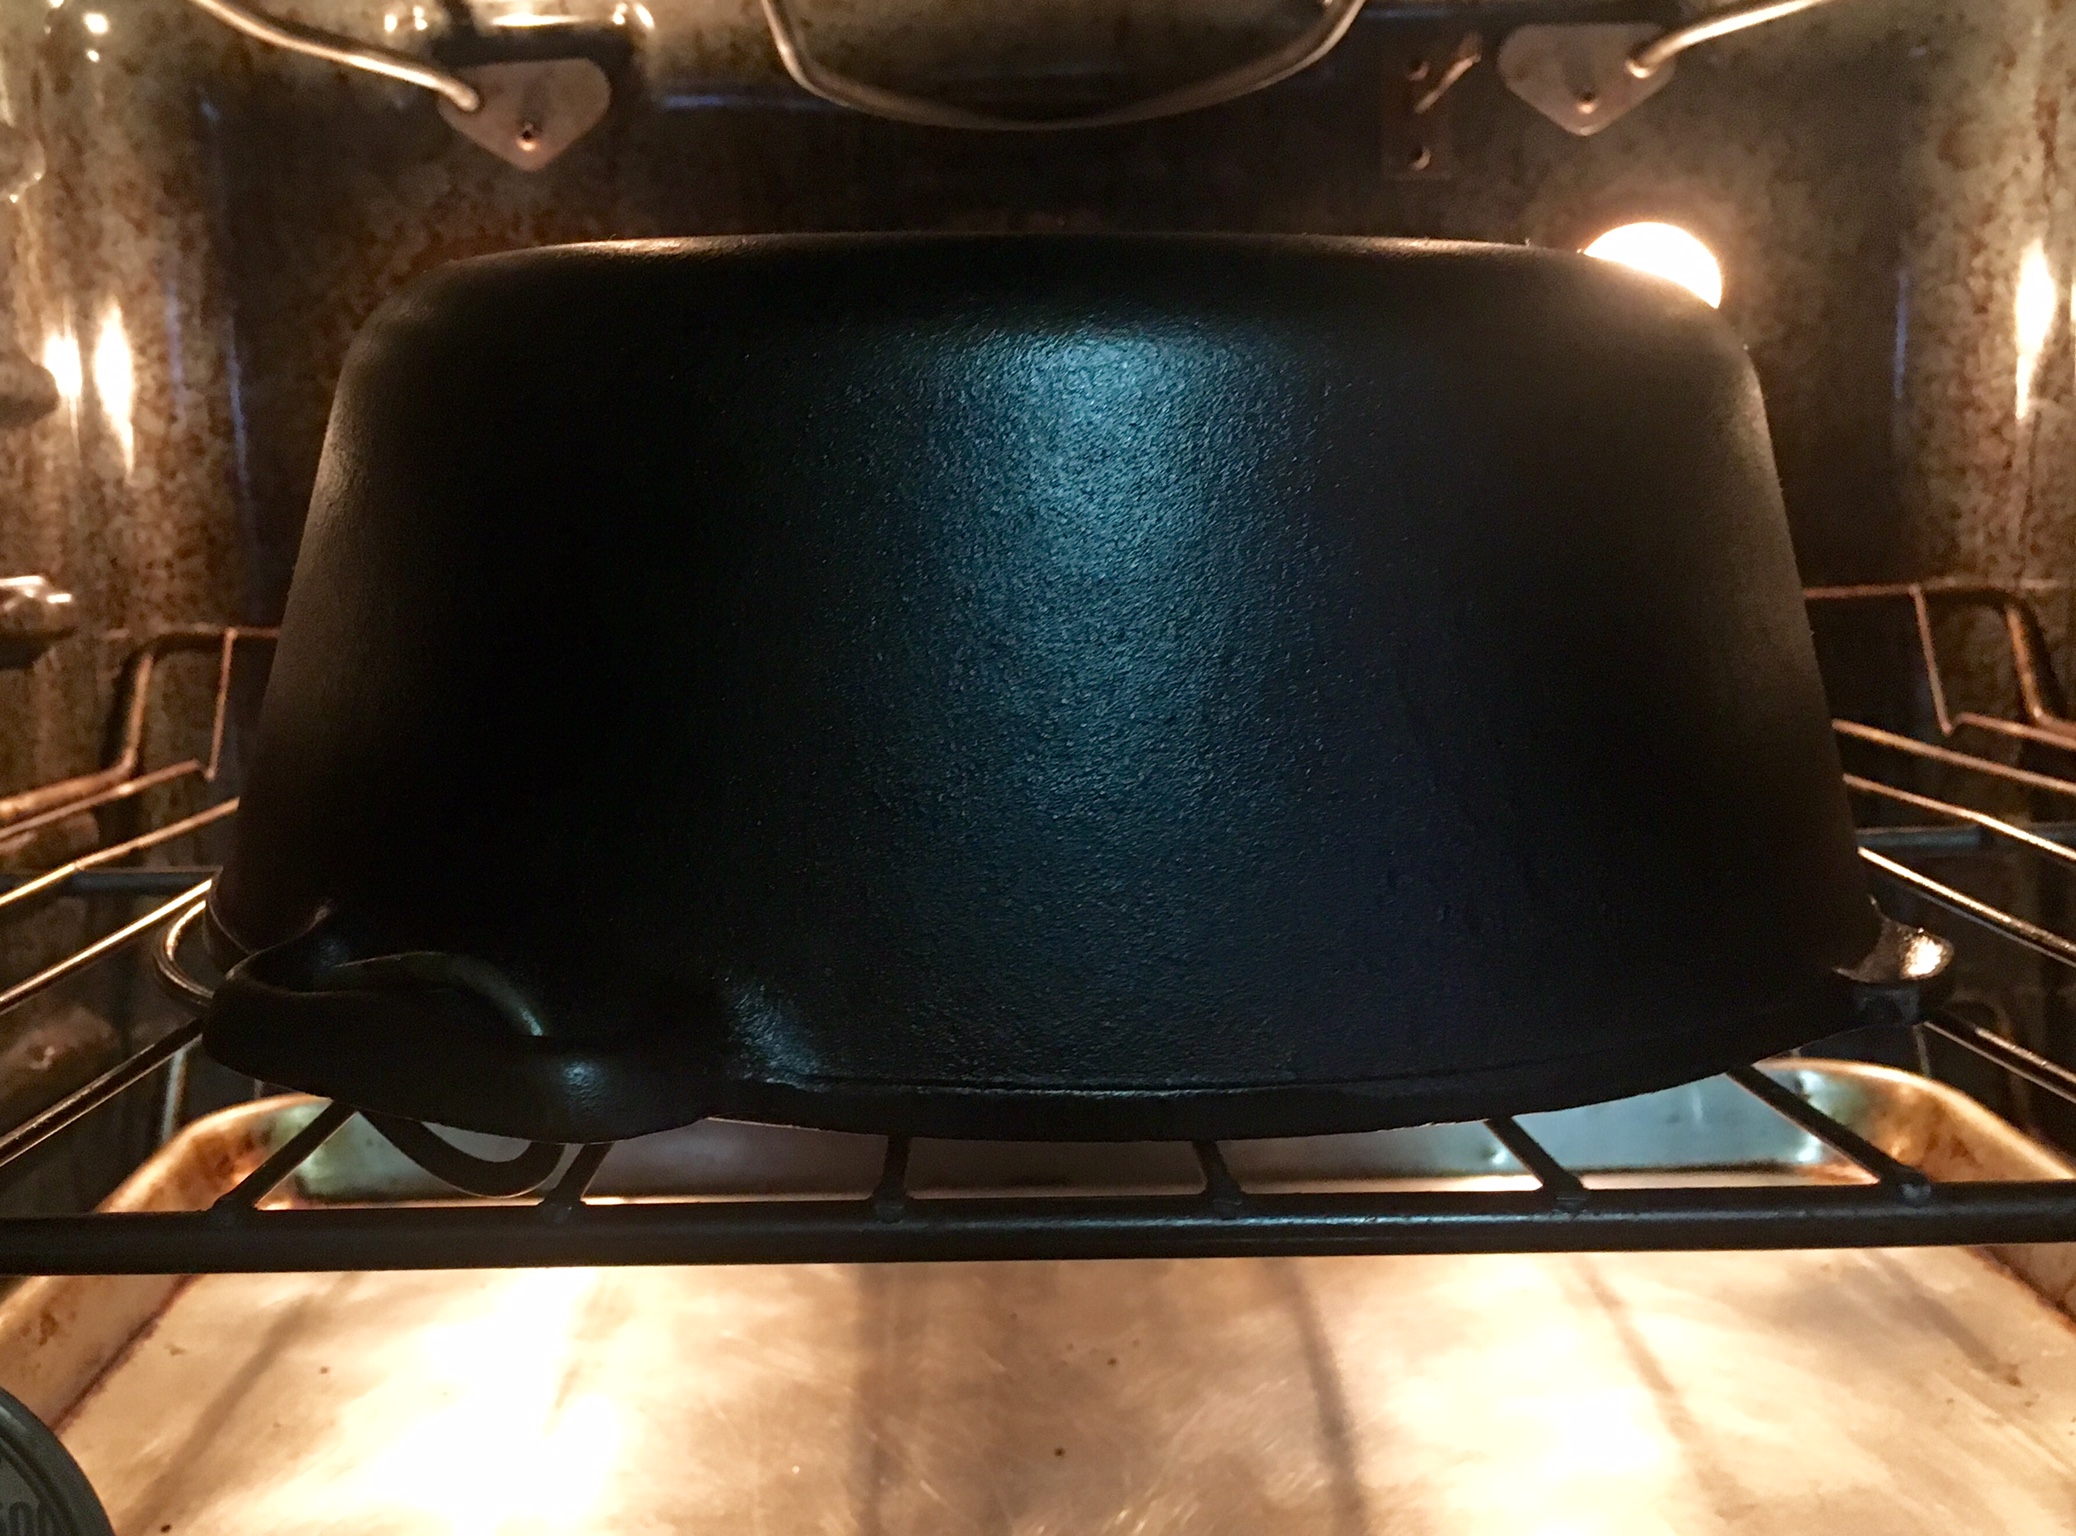
  6. Invert the pan and put it directly onto the top rack.

  7. Bake for one hour and then turn the pan over. Turn the oven off and allow the oven and pan to cool completely before you remove it.

  8. Repeat as necessary.

How to reseason a cast iron skillet
Print Friendly and PDF

KITCHEN HACK: HOW TO RIPEN OR SOFTEN AN AVOCADO QUICKLY

Did you know that we Americans will consume more than eight million pounds of guacamole on Super Bowl Sunday? Wow---That is a lot guac!

Many of you use store-bought guacamole but there is no need--guacamole is one of the easiest recipes to master and tweak to your own taste. All guacamole recipes begin with ripe avocados and therefore requires some planning. Get my CREAMY PARTY GUACAMOLE RECIPE...

If you are making the guacamole that day, you will need to purchase ripe avocados which are that dark purple-black color, are somewhat firm but the skin yields to gentle pressure. Avoid over soft or blemished fruit.

Store not quite ripe avocados in a brown paper bag for 2-5 days before you use them to insure they are ripe. Refrigerate already ripe avocados- this will prolong their life by a day or two.

There are two hacks you can use to ripen avocado at home: 

BROWN BAG METHOD

Since avocados release a natural ethylene gas, storing them in a paper bag will promote the ripening process. Adding whole apples or kiwi to the bag will actually speed up the process. The more apples or kiwi you add to the bag, the faster the avocado will ripen. Check the avocado daily and move to the refrigerator if they begin to ripen too quickly.

The first two avocados are hard and bright green. To ripen, simply put them into a clean brown paper bag along with a whole apple or kiwi. Seal the bag and store for 24 hours in a warm, dry spot. You should find the avocados perfectly ripened when you open the bag. To cut the avocados, use a sharp knife and cut lengthwise to the pit on both sides. Twist the two halves away from each other and they will separate. Use your tap the pit with your knife and it will come out easily.

OVEN-FOIL METHOD

Here is another hack you can use to quickly soften a hard avocado. (Note: The flavor and the consistency of a softened avocado will not be the same as a ripe avocado.) To quickly soften a hard avocado, wrap it tightly in foil (trapping the ethylene gas) and place in a 200° Fahrenheit oven for 30 minutes. Check the avocado like you would a baked potato; prick the surface with a knife or fork to check it and return it to the oven if it hasn’t softened sufficiently. Depending on the size of the avocado, this may take up to 45 minutes. Allow it to cool completely before cutting.