RECIPE: THE BEST EVER CHOCOLATE BIRTHDAY CAKE WITH CHOCOLATE BUTTERCREAM FROSTING

Nothing says party like cake... and for me, nothing says delicious like a homemade chocolate cake. I've used this recipe for so many years, I cannot remember where I first got it. I know it did not come from my mother because she rarely made cakes and because my father didn't like chocolate, she certainly never made a chocolate cake. I started making this cake when I was in high school for parties I'd have at my house. There may have been a bakery in our neighborhood in those days but I never went to it because we made everything from scratch. There was a time when I made 7-Minute Icing for this chocolate cake but 7-minute icing is finicky and people seem to like the chocolate on chocolate better.

Make sure to use fresh baking powder and baking soda so you get a nice, fluffy cake.
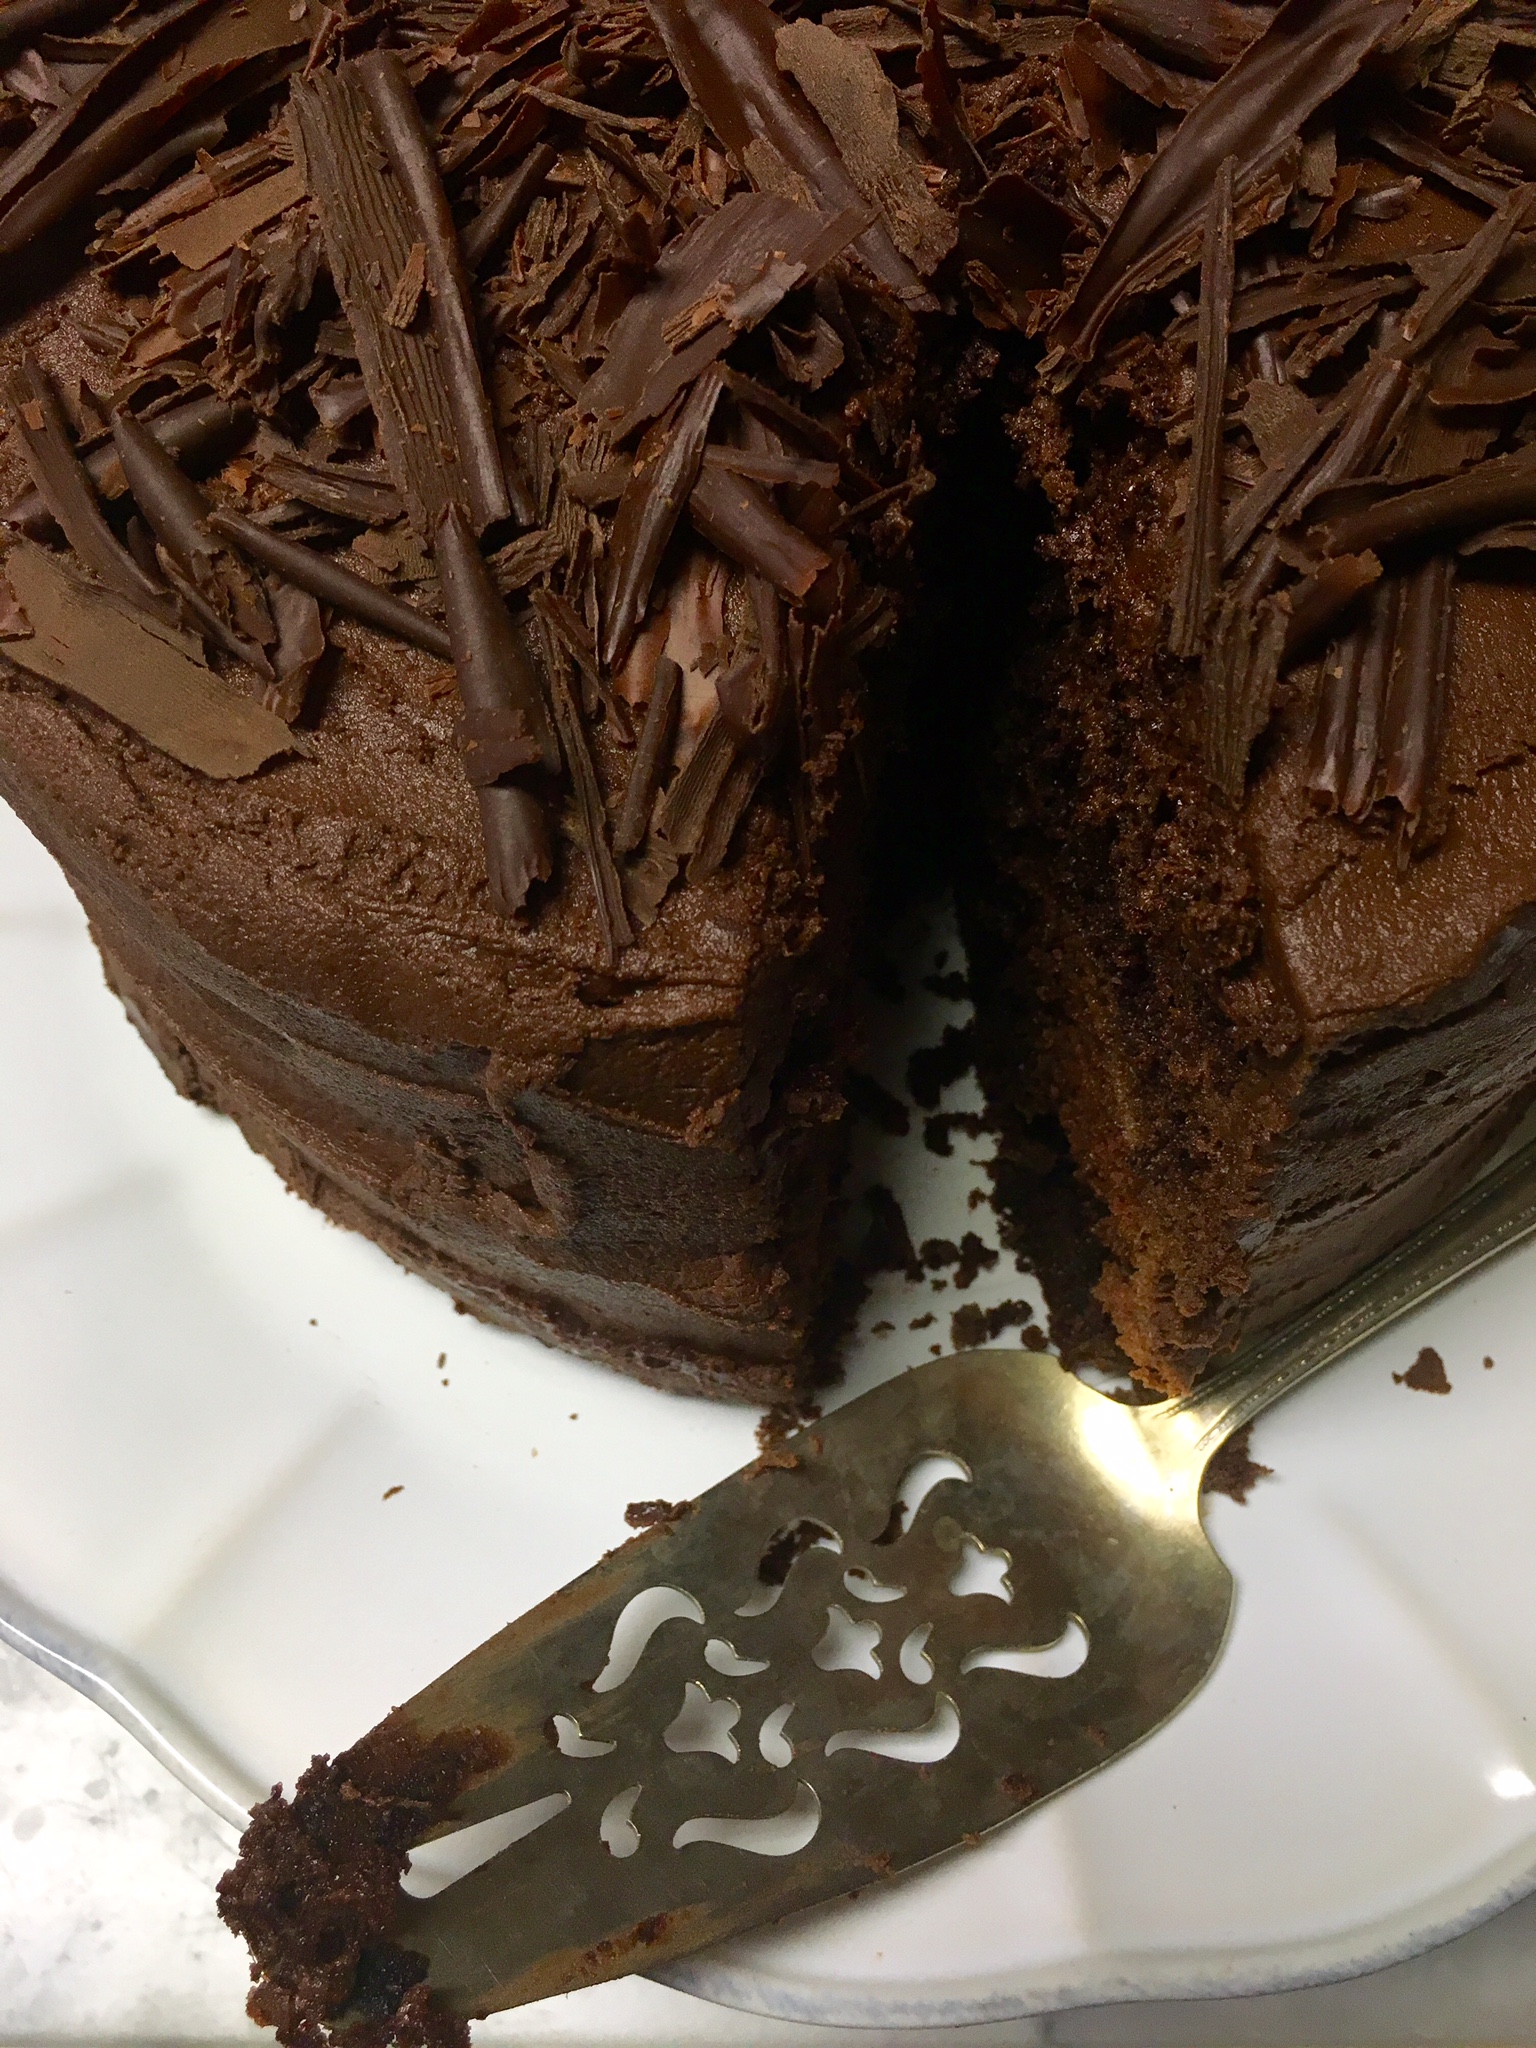
PERFECT CHOCOLATE BIRTHDAY CAKE

INGREDIENTS

2 cups granulated sugar

1 3/4 cups all-purpose flour

3/4 cup cocoa powder

1 1/2 teaspoons baking soda

1 1/2 teaspoons baking powder

1 teaspoon kosher salt

2 large eggs

1 cup whole milk

1/2 cup vegetable oil

2 teaspoons pure vanilla extract

1 cup boiling water

1 recipe Chocolate Buttercream Frosting (recipe follows)

DIRECTIONS:

Heat oven to 350°F. Grease and flour three 8-inch round baking pans. (You can use Baker's Joy but I prefer the outcome using the grease-flour method)

Sift together the sugar, flour, cocoa, baking soda, baking powder and kosher salt and add it to the bowl of your mixer. With the mixer on low, add the eggs, one at a time. Add the milk, oil, and vanilla and beat on medium speed for 2 minutes. Remove from the stand. Stir in the boiling water (the batter will be thin). Pour the batter into the prepared pans.

Bake 30 to 35 minutes or until wooden pick inserted in center comes out clean. Cool 10 minutes; remove from pans to wire racks. Allow to cool completely before icing with the Perfect Chocolate Buttercream Frosting recipe below.

(For a sheet cake, use a 13x9x2 pan and bake for 35-40 minutes)


CHOCOLATE SWISS MERINGUE BUTTERCREAM

A Swiss buttercream is made using egg whites and not just butter (or shortening as some old recipes call for) to make it extra fluffy and lighter than a butter only buttercream. I like both but wanted to share this one-- or you can make traditional buttercream using just butter, powdered sugar, and chocolate. The one on the Hershey's Cocoa box is perfect. Can't go wrong with that!

INGREDIENTS

1 pound bittersweet chocolate

12 ounces semisweet chocolate

3/4 cup egg whites (4-5 extra-large eggs), at room temperature

1 1/2 cups granulated sugar

1/4 teaspoon cream of tartar

3/4 teaspoon kosher salt

1 1/2 pounds unsalted butter, room temperature

2 teaspoons pure vanilla extract

DIRECTIONS:

Chop the chocolates and place them in a heat-proof bowl set over a pan simmering water. Stir until melted and set aside until cooled to room temperature.

Mix the egg whites, sugar, cream of tartar, and salt in the bowl of an electric mixer fitted with a whisk attachment. Place the bowl of egg whites over the pan of simmering water and heat the egg whites until they are warm to the touch, about 5 minutes. Return the bowl to the electric mixer and whisk on high speed for 5 minutes, or until the meringue is cool and holds a stiff peak.

Add the butter, 1 tablespoon at a time, while beating on medium speed. Scrape down the bowl, add the melted chocolate, vanilla, and mix for 1 minute or until the chocolate is completely blended in. If the buttercream seems very soft, allow it to cool, and beat it again. If you want to make it extra special or cannot get your icing to look exactly perfect, top with chocolate curls like I did in the photo above. There are easy to make.

HOW TO MAKE CHOCOLATE CURLS

Melt some chocolate using a double boiler. Remove from the heat. Take a clean baking sheet and spread a thin layer of the chocolate onto it and place it in the freezer for 5 minutes. To make the curls, use a thin metal spatula or a clean putty knife. Press the edge of the spatula under the edge of the chocolate and push it forward... the chocolate will roll up. Place on another baking sheet lined with parchment paper and put back into the freezer to firm up. When you are ready to use, simply decorate the cake as desired... also a great garnish for ice cream!

Print Friendly and PDF

RECIPE: BELFAST (IRISH WHISKEY) LEMONADE

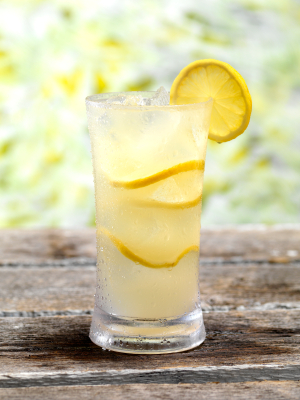
There are a lot of green drinks and beer drinks out there for St. Patrick's Day... The cocktail I came up with features Irish whiskey so that's plenty Irish in my book. Plus this recipe got a big thumbs up from the guys and the girls alike making it perfect for spring and summer BBQ's, lake parties, and yes, even wedding celebrations. Since Bushmills, my favorite Irish whiskey, is made close to the Irish city of Belfast, I named it Belfast Lemonade. I used just a little Limoncello to smooth out the cocktail, but it is very good without it if you want to keep your cost down.

IRISH WHISKEY LEMONADE

Makes 1

INGREDIENTS

4 ounces fresh lemonade (fresh squeezed lemon juice plus simple syrup to taste)

1 1/2 ounces Bushmills Irish Whiskey

1/2 ounce Limoncello

DIRECTIONS:

Mix and serve in a tall glass over ice. Garnish with a sprig of mint or a lemon wheel.

For a crowd:

Serves 15+ guests depending on serving size

INGREDIENTS

1 gallon fresh lemonade

1 bottle (750ml) Bushmills Irish Whiskey

2 cups Limoncello or other lemon liqueur

DIRECTIONS:

Add more or less whiskey to your taste. Mix ingredients in a large dispenser. Add lots of ice to the dispenser but also provide clean ice along side the dispenser because the drink tastes best served over ice. If it is a hot day, make sure to freeze lemonade and use that in place of the ice so you don't water down or dilute the drink. Add mint or lemon wheels to the dispenser to add some color and style to the presentation.

Print Friendly and PDF

HOW-TO: CLEANING AND RE-SEASONING CAST IRON COOKWARE

HOW TO CLEAN AND PRESERVE YOUR CAST IRON

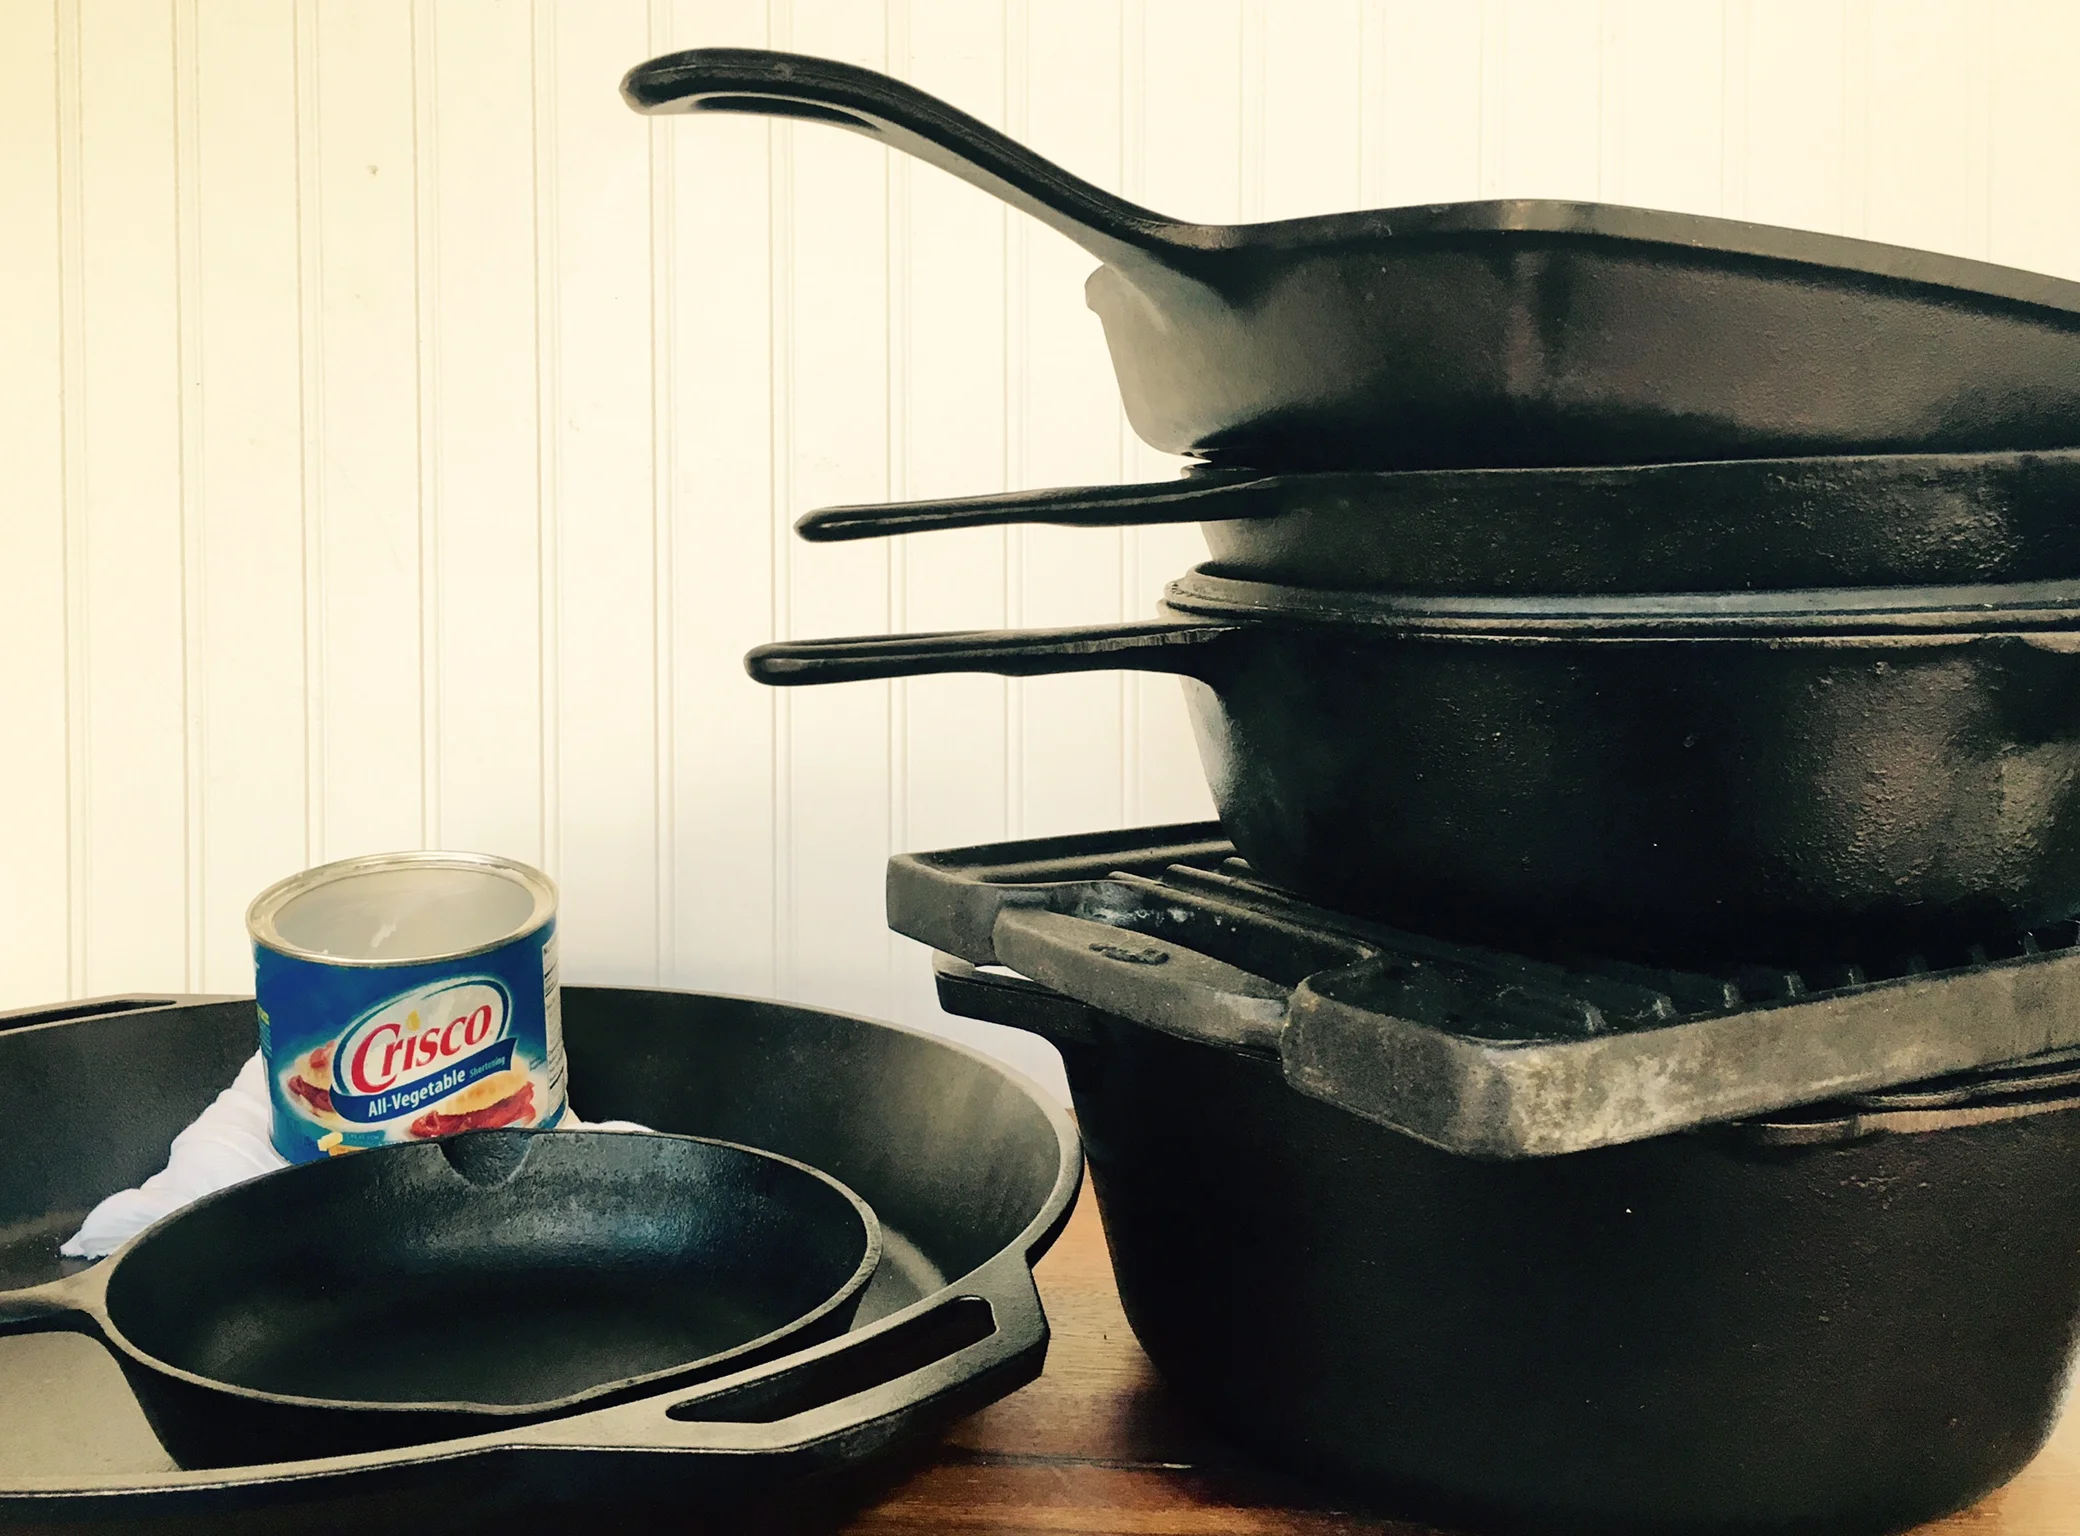
I am so fortunate to be in possession of some of my mother’s cast iron skillets, probably the most precious thing I own besides the tiny diamond engagement ring my father gave her when they married. I remember as a kid, on Sundays after church, standing on the wobbly kitchen stool beside the stove, hovering over that big cast iron Dutch oven, just waiting for my mom to signal for me to turn the fried chicken. The menu rarely changed: fried chicken, rice, gravy, biscuits, and English peas or string beans.

How to clean and reseason cast iron

My collection has grown over the years… and because I have so much, I don’t use all of it like I should. That is the key to keeping your cast iron in perfect condition, my mom taught me.

Every winter, I find an afternoon to go through my collection of cast iron. I wash, dry, and oil it well, re-seasoning the pieces that need it. I’ve been asked many times how I do it---here’s the way I was taught (and a few tips from Lodge and Southern Living, too). Hope this helps you keep your treasured heirloom cast iron pieces in perfect condition to hand down to your own kids someday.

CLEANING CAST IRON

  1. Always hand wash your cast iron with a very mild soap with a sponge or cloth. Never use harsh soap, a metal scrubber or rough scouring pad on cast iron unless you intend to re-season it.

  2. If there is baked on food residue, place the warm pan under running water and use a plastic spatula to gently push the residue from the surface.

  3. Dry immediately.

  4. Apply a very light coat of vegetable oil (I use Crisco shortening). Wipe it onto the pan, making sure to get into the corners or curves of the pan.

  5. Wipe the excess away using a lint-free cloth or towel. Paper towels leave a residue. You want a light coating of oil, not a sticky surface. The oil helps protect the pan from moisture.

WHAT TO DO WHEN YOU FIND RUST OR DISCOLORATION

  1. Use a scouring pad to scour the rust from the pan.

  2. Follow steps 1-3 above.

  3. If the situation doesn’t improve, re-season the pan to restore it to its original condition.

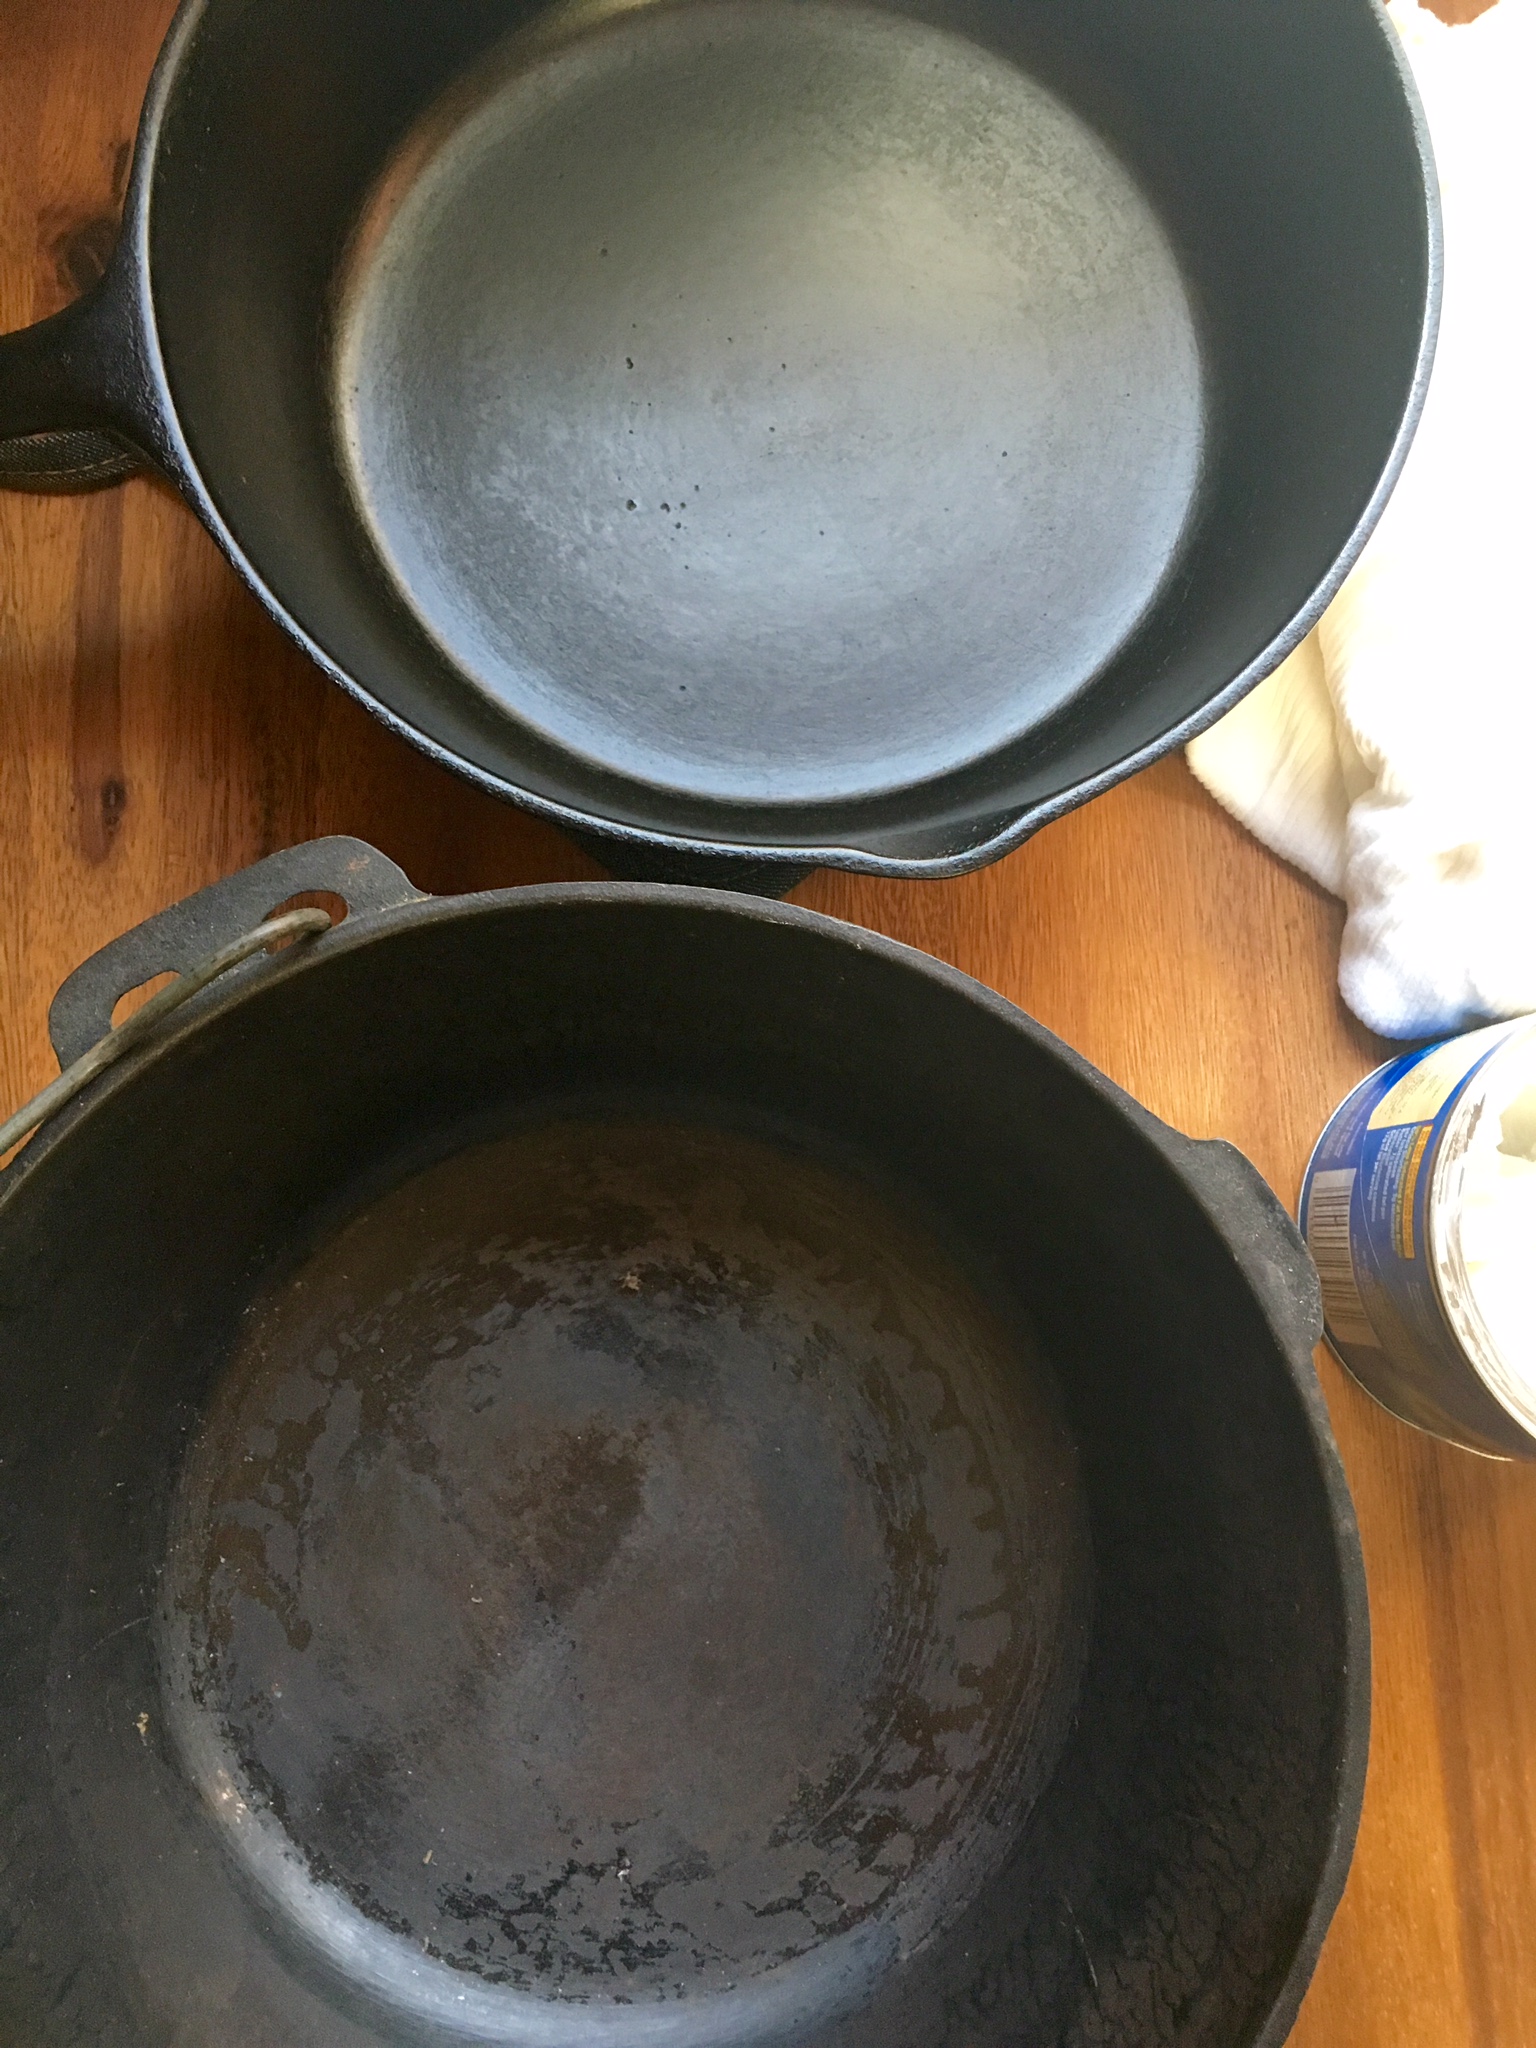
How to properly clean a cast iron skillet

RE-SEASONING CAST IRON

If food begins to stick to the surface of your cast iron or if you see a discoloration as shown on the image above on the cooking surface, you will need to re-season the piece. You may have to do this more than once to achieve a glossy, smooth black surface.

How to clean cast iron cookware
  1. Preheat your oven to 400°F.

  2. Clean the surface of the pan or piece with hot water and a stiff wire brush.

  3. Rinse and dry completely using a lint-free cloth.

  4. Add a thin coat of melted Crisco shortening (use a solid shortening only) to all of the inside and outside surfaces of the piece. Too much shortening will result in a sticky surface.

  5. Place a sheet pan or piece of aluminum foil on the bottom rack of your oven.

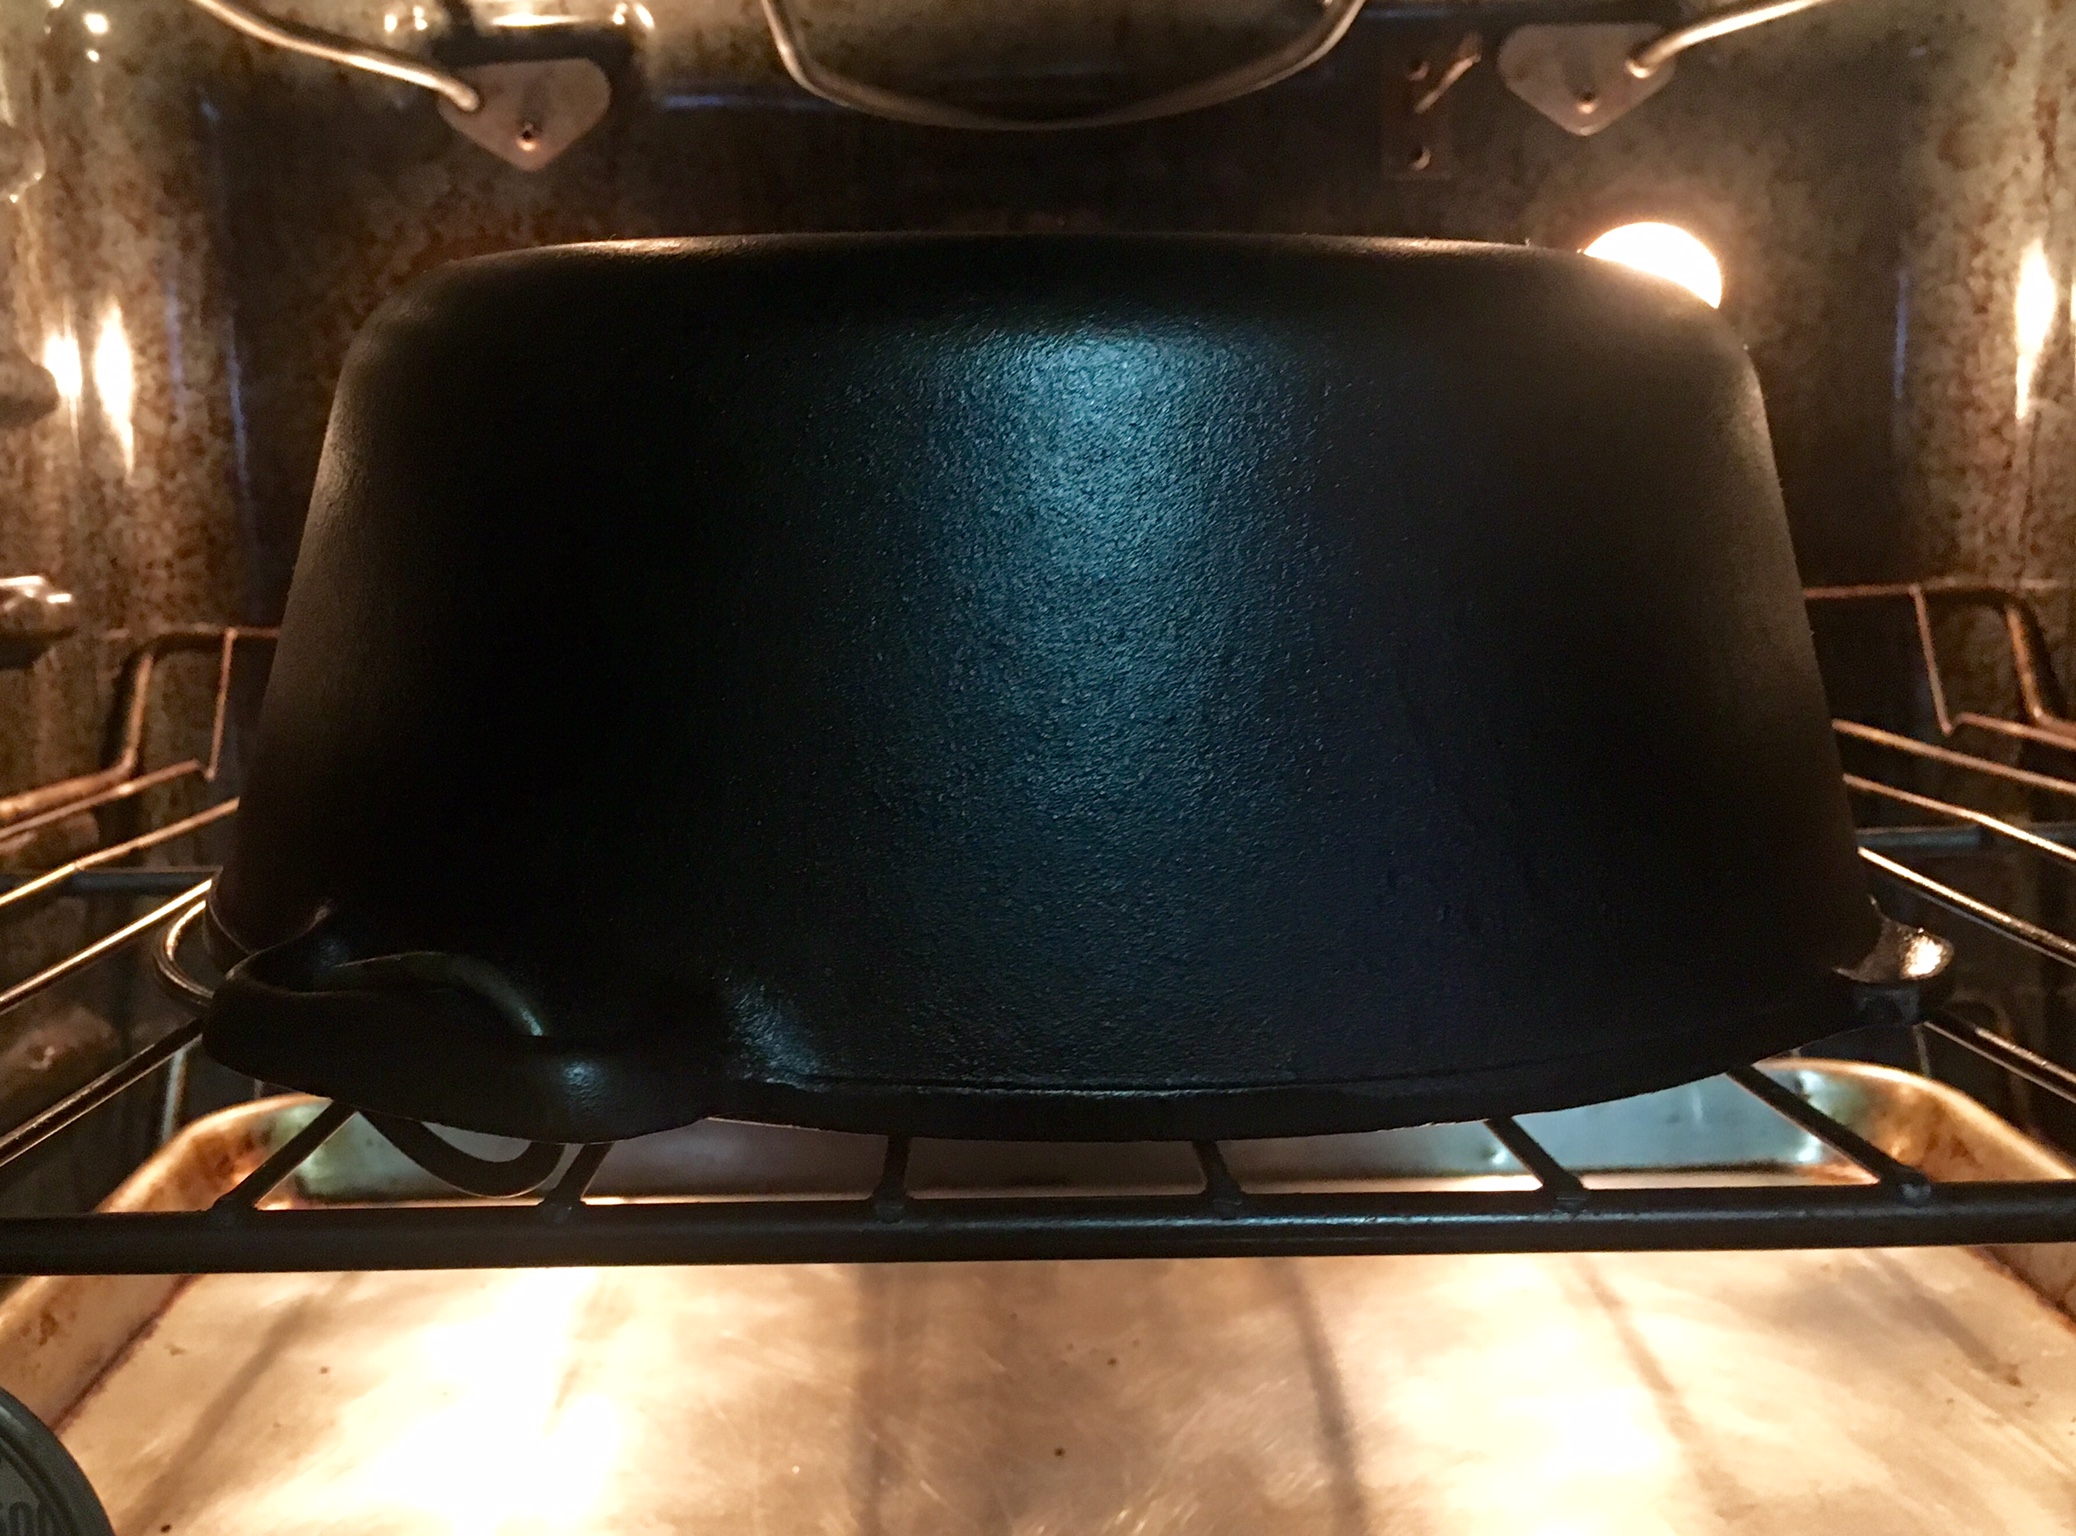
  6. Invert the pan and put it directly onto the top rack.

  7. Bake for one hour and then turn the pan over. Turn the oven off and allow the oven and pan to cool completely before you remove it.

  8. Repeat as necessary.

How to reseason a cast iron skillet
Print Friendly and PDF