
I am not sure I can say anything about sweet tea that has not already been said... but on the chance you have no idea what it is... it is our life's blood in the South.
Well, just about. If you go to a restaurant here and order "tea" the waitress will respond: "sweet or unsweet" .... that meaning sweet tea or unsweetened tea. The "iced" part goes without saying. Everyone in the South has their favorite sweet tea. It might be your mama's, your aunt's, your Nana's, or a restaurant down the street. No matter who makes your favorite sweet tea, you will never forget it and on a hot summer day, you will just about do anything for it. I grew up making the tea at our house. Mom would tell me to put the water and sugar on to boil and then add the tea bags.
These days, I make my sweet tea a little differently, opting to make a simple syrup so guests can add a little or a lot to their own taste. In the Spring and Summer, when I have wild mint growing on the side of the yard, I always add mint to the simple syrup to make mint tea. Anyone who has tried it says it is their favorite and it is just so refreshing. Here's how I do it....
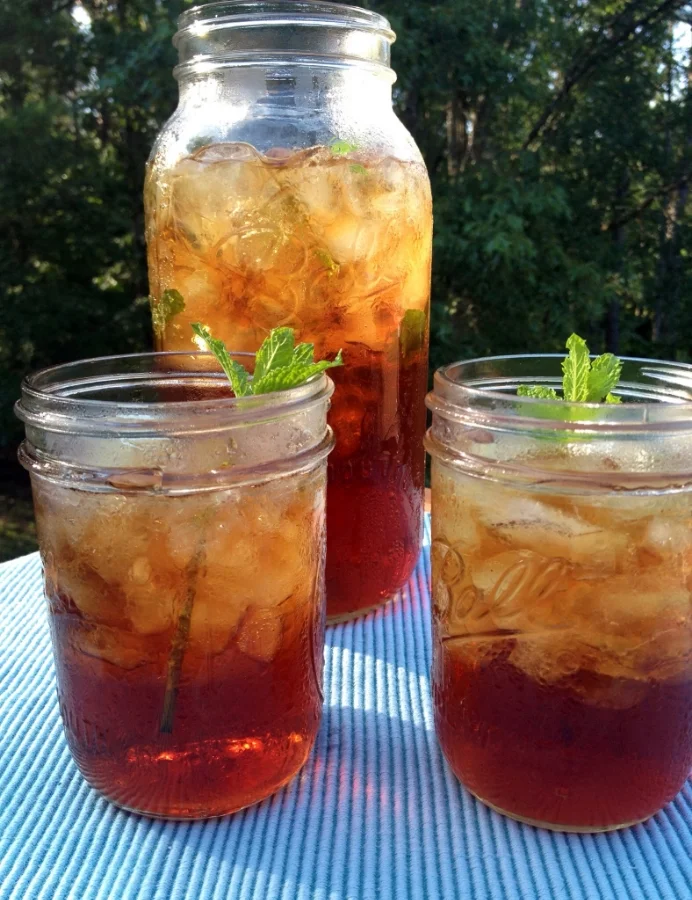
Summer in the South: Mint Sweet Tea with wild mint from the yard is a treat on a hot day!
MINT SWEET TEA
For a quart of tea you need a 1-quart tea bag and 4 cups cold water. Put the water in a pot or large saucepan. Bring to a boil. Remove from heat. Drop in the tea bag. Let steep for 7 minutes. Discard the tea bag and let the tea cool completely.
For a "Double Mint" version- my niece Sarah likes this one- we add a few sprigs of mint to the hot tea so we flavor the tea and have mint in the syrup, too.
MINT SIMPLE SYRUP
(simple syrup is equal parts sugar and water)
1 cup sugar
1 cup cold water
25-30 mint leaves
DIRECTIONS:
Put the sugar and water in a saucepan over high heat. Stir it once and bring to a boil. Remove from heat. Stir again, making sure the sugar is totally dissolved. Add the mint leaves. Allow to cool completely. Strain the simple syrup into a mason jar. Discard the leaves.
To make the tea, pour 1 quart of tea into a pitcher with 1/2 cup mint simple syrup. Stir. Serve over ice with a sprig of fresh mint.
FYI: I don't dilute the tea with water because it will be too weak when you serve it over ice.
The ratio is 8 parts tea :1 part simple syrup or to your own taste.
For 1 gallon of tea, add 2 cups simple syrup.


