SUMMER'S BEST RECIPES: FRESH PEACH PIE

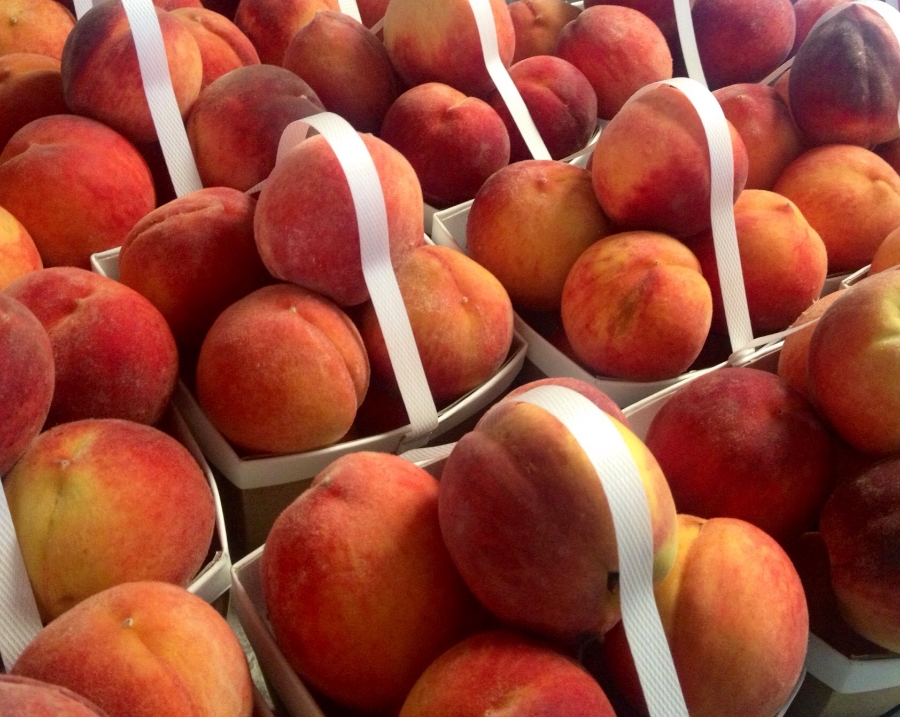
Let's just call this one summer. To me, nothing says summer like fresh peaches and blueberries. Probably because we grow our own blueberries and the world's very best, juiciest, sweetest, and most delicious peaches come from Chilton County, Alabama, just minutes away. Growing up, peaches were a huge part of summer because I'd help my mom pick, peel, and slice tons of peaches to put up. I can remember picking them from the tree in the backyard; they would be warm from the sun and the fuzz would make your skin itch... so I'd wash them under the freezing cold water from the hosepipe (Alabama-speak for water hose) before we ate them.

Here's a super fast recipe for pie crust you can use for a single or double crust pie. I just prefer the rustic simplicity of this method to using a pie pan. You can whatever fruit you like but this time of year, I'm making peach. Add fresh blackberries or blueberries to this if you like; just toss them in with the peaches or sprinkle some on top if they are really ripe and sweet.
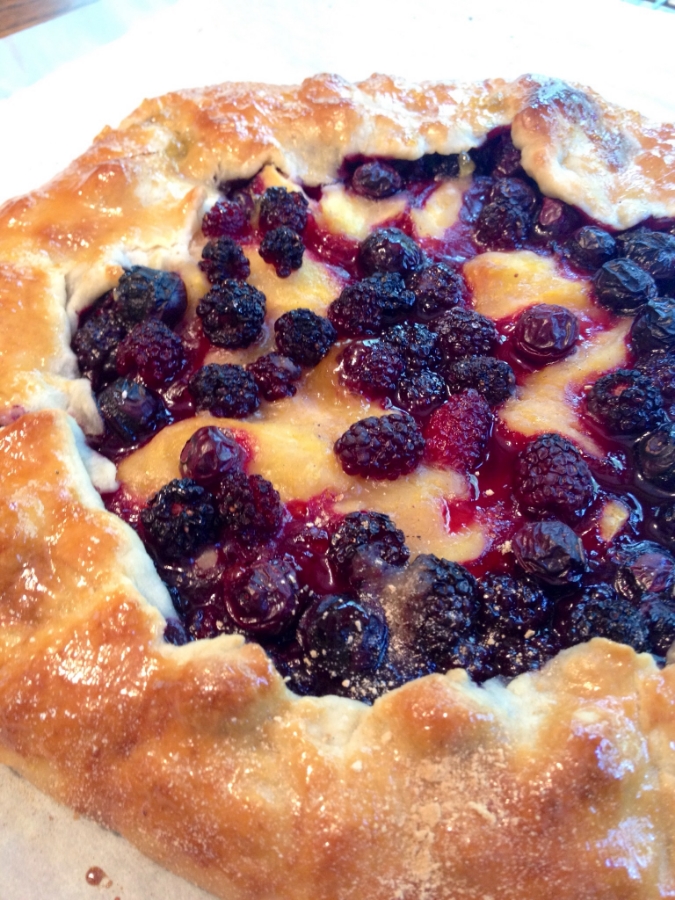
RUSTIC PEACH PIE

Prep Time: 20 minutes plus 1 hour chill time for the dough

Cook Time: 20-25 minutes

INGREDIENTS

Pastry

1 cup all-purpose flour, plus 2 tablespoons to roll out the dough

2 tablespoons granulated or superfine sugar plus ½ tablespoon to sprinkle on crust

1/4 teaspoon kosher salt

1/4 pound (1 stick) very cold unsalted butter, diced

3-4 tablespoons ice water, maybe a slight bit more depending on how dough comes together

Filling

11/2 pounds fresh peaches (6 large peaches; not too ripe work best)

1/4 teaspoon grated lemon zest

1 ½ teaspoons fresh lemon juice

1/4 cup flour

2-3 tablespoons granulated sugar (I like mine less sweet; add more if you like or need to based on how sweet your fruit is)

1/4 teaspoon kosher salt

1/4 teaspoon ground cinnamon

1/4 teaspoon nutmeg

1/8 teaspoon ground allspice

2 tablespoons cold unsalted butter, diced into small pieces

Egg Wash (optional)

1 egg, beaten

1 tablespoon cold water

Glaze (optional)

½ cup Orange Marmalade, Apricot Preserves, or Apple Jelly

Directions:

Preheat the oven to 425 degrees F. Line a baking sheet with parchment paper. Stretch a 12 x 12 piece of plastic wrap out on the counter and dust with a little of the flour, about 1 tablespoon.

For the pastry, place the flour, sugar, and salt in the bowl of a food processor fitted with a steel blade. Pulse a few times to combine the dry ingredients. Add the butter, a little at a time, pulsing between additions until the butter is the size of peas. With the motor running, add the ice water all at once through the feed tube-stop the machine just before the dough becomes a solid mass. Turn the dough onto the well-floured plastic wrap. Handle as little as possible. Fold over the plastic and form into a round. Don’t over handle or over mix because your dough will be tough. Refrigerate for at least 1 hour. When you are ready to make the pie, flour a rolling pin and put a little flour around the plastic and on both sides of the dough; roll the pastry into an 11-inch circle on the plastic wrap. Wrap it over the rolling pin and transfer it to a baking sheet. Remove the plastic wrap.

For the filling, peel, and slice the peaches, working around the pit. I will sometimes drop the peaches in boiling water for 10 seconds and then simply use a paper towel to drain and then slide the skin off the peach. You can use an ice bath if you want to stop the cooking process but since I'm going to cook them anyway, I don't bother.

I like the look of slices- I usually slice a medium peach into 10 slices. Put the peach slices into a bowl and toss with the lemon juice and the lemon zest. Next, add the flour, sugar, salt, cinnamon, nutmeg, and allspice. Add the cold butter. Mix all of the ingredients together until the peaches are well coated. Turn the peaches out onto the crust, leaving a 2-inch border all the way around.  Gently fold the border over the peaches to enclose the dough, pleating it to make a circle. Finish with the egg wash and sprinkle with granulated sugar before baking.

Bake the pie for 20-22 minutes, until the crust is browned and the peaches are tender. (Note: If you are not using the glaze, bake for another 4-5 minutes or until golden brown)

For the glaze: Microwave the preserves in a heatproof container for 10 seconds. Remove the pie from the oven. Using a pastry brush, lightly brush the crust and the filling with the melted preserves. Return to the oven for 4-5 minutes or until the pie is golden brown.

Allow to cool slightly before cutting.

Print Friendly and PDF

RECIPE: WICKED DEVILED EGGS

I like these spicy deviled eggs for a BBQ; they really stand up to the bold flavors! Take my classic deviled egg recipe and add spicy Wickles Pickle Relish in place of the sweet relish. Sub Dijon for the yellow mustard and some hot sauce for an extra kick!

Wicked Deviled Eggs

WICKED DEVILED EGGS

Difficulty: Easy

Prep Time: 45 minutes including 17 minutes for the hard-boiled eggs

INGREDIENTS

12 hard-boiled eggs (get the how-to)

5 tablespoons mayonnaise

1 teaspoon Dijon mustard

1 teaspoon dry mustard (like Coleman's)

1 teaspoon Worcestershire

1/2 tablespoon Sriracha

1 1/2 tablespoons Wickles brand spicy pickle relish (or add a couple of dashes Tabasco to your favorite sweet relish)

1 teaspoon kosher salt

1/2 teaspoon black pepper

Pinch cayenne pepper

Paprika for garnish

DIRECTIONS:

Carefully cut the boiled eggs in half. Set the whites aside to stuff. Put the yolks into a glass bowl. Add the mayonnaise and mustard. I prefer a thicker consistency but add more or less mayo depending on the consistency you like. Use a fork to mash it all together until somewhat creamy; if there are some bits of egg peeking through, that's ok. Add the salt, pepper and relish. Check the seasoning. Combine well. Spoon the yolks into the egg whites or make a pastry bag from a plastic zip top bag. Spoon the mixture into the bag and push it into the corner and squeeze out the air. Snip the end and pipe nice little swirls onto your egg. I can do this so trust me, it's not hard. Chill until serving time, at least 1 hour.

GET THE HOW TO ON THE PERFECT HARD-BOILED EGG

Print Friendly and PDF

PHOTO CREDIT: ARDEN PHOTOGRAPHY

RECIPE: EASY, FAST, AND ALWAYS PERFECT GRILLED CORN ON THE COB

It's just about corn season! To me, nothing says summer more than fresh picked corn and I cannot wait to bite into that first piece of corn from the grill. Some of my friends think it is hard to grill good corn- that it gets dried out, etc. I've got a super easy way to grill corn for a crowd that is perfect every time. Here's how:

MARTIE'S PERFECTLY EASY GRILLED CORN

SUPPLIES

Large tub or bucket

Large Styrofoam ice chest

Grill (charcoal, gas, wood fire or whatever you like)

Long handled tongs

Oven mitt or heat-proof glove

INGREDIENTS

2 dozen ears of fresh corn in the husk (you don't have to remove the inner silks but it does make it easier for your guests if you do) Estimate 2 ears of corn per guest.

Butter

Salt

Pepper

DIRECTIONS:

Check the ears for any evidence of bugs, etc. Snip the silks off of the tip of each ear. I usually don't slice the bottom off so people have something to hold on to... but you can cut them level if you are using plastic corn holders.

Submerge the ears in cool water and let them soak for at least 30 minutes and up to 2 hours.

While the corn is soaking, fire up your grill. You want a medium heat and an indirect heat zone-so move some of your coals to the outer edge of the grill if you are using charcoal. so you can move the corn off direct heat. Make sure the grill rack is not down too low. You want indirect heat so the husks don't burn. A bit of charring is good but if the heat is too high or the grill is too low over the coals, you'll burn up the husks before the corn cooks inside.

Once the coals are ready, drain the water.

Place the corn on the center of the grill- stay away from the outer edge where there could be hot spots.

Cover the grill and leave it alone for 12 minutes. (you may need to adjust the time if you have a larger quantity of corn)

Open and turn the ears to char the other side. Close the grill and let cook for another 5 minutes.

Remove the corn and immediately put it in the Styrofoam ice chest and put the top on it as fast as you can. Put something heavy on top of the chest to keep the lid down tight.

Allow the corn to continue to steam in the chest until serving time- at least 15 minutes. I usually do this an hour or more before the party and it is perfect to serve when guests arrive. The ice chest keeps the corn steaming hot!

To serve: Put the corn in a big bowl and pass family or simply allow guests to serve themselves. Provide tongs and heat-proof mitts. Guests simply peel back the husks and the silks fall off with it. Set up condiments like butter, salt, pepper, lime, queso fresco, cilantro, or spices.

So easy, so fast, and soooo dang good! Have a trash can nearby where they can dispose of the husks and cob.

Print Friendly and PDF