RECIPE: TRADITIONAL SOUTHERN FRIED CHICKEN

People usually associate Southern cooking with three things: Biscuits, BBQ, and Fried Chicken. I probably need to get my passport revoked because I have not until today, put up a single blog post or recipe on fried chicken. Fried chicken is a lot like BBQ sauce or potato salad. Every Southern cook has their own version and usually, a couple of good stories to go with it. Here's mine...

My mom grew up in a children's home in Troy, Alabama during very hard times. The kids all had to have a job and my mom always preferred to be in the kitchen. Once a week there would be fried chicken and they would have to go out in the yard and catch the chicken, kill it, clean it and then help cook it. Ugh. Hard to imagine. Mom taught me how to cut up a whole chicken and her techniques for frying. The big secret is the buttermilk. Don't skip that step... makes the chicken so juicy.  Here is my mom's recipe. I still use her cast iron skillet when I make it.

I don't often make fried chicken these days but when I do, it is always the star of the party.

I don't often make fried chicken these days but when I do, it is always the star of the party.

TRADITIONAL BUTTERMILK SOUTHERN FRIED CHICKEN

INGREDIENTS

1 whole chicken with skin, cut up (about 3 pounds)

2 cups buttermilk

1 tablespoon kosher salt + 1 teaspoon

1 teaspoon black pepper + ½ teaspoon

1/4 teaspoon cayenne

1 teaspoon paprika

3 cups self-rising flour

6-8 cups Canola oil for frying based on the size of your skillet or Dutch oven

Special equipment: Thermometer for frying and a meat thermometer

DIRECTIONS:

Put the chicken pieces in a large zip top bag. Pour the buttermilk over it and close. Toss to coat all of the chicken. Put the bag in a bowl and place it in the refrigerator for 8-24 hours to soak, turning the bag occasionally.

When you are ready to fry, fit a deep cast iron skillet or Dutch oven with a thermometer. Pour in the oil about 1 ½ to 2’ deep. Over medium high heat, bring the oil up to 360 degrees. You want to try to keep the oil at 360 during frying process. It will drop as you put in the chicken but let it come back to 360 degrees before adding more.

Combine the 1 tablespoon salt, 1 teaspoon pepper, cayenne, and paprika. Remove the chicken from the buttermilk and discard the buttermilk. Season the chicken liberally with the spice mixture on all sides.  

Put the flour plus 1 teaspoon salt and ¼ teaspoon pepper in a zip top bag. (Back in the day, we used a brown paper bag.) Take the chicken, one or two pieces at a time and put into the flour mixture. Shake well to coat. Lightly shake off excess. Put on the baking rack after you have coated each piece.

When the oil is up to temperature, use the tongs to carefully put the coated pieces of chicken into the hot oil. Do this in batches, taking care not to overcrowd or put too many pieces in the pan at one time. You will lower the oil temperature and the skin will not be crispy. Cook the chicken for 15-20 minutes, turning occasionally until the chicken is deep golden brown and delicious. Remove one piece of chicken and check the temperature with a meat thermometer at the thickest part of the breast or thigh but away from the bone. Chicken should be cooked to 165 degrees F. Drain on a rack covered with a brown paper bag. You may want to lightly sprinkle the hot chicken with a little salt. That’s how my mom did it. Hope you like it as much as I love remembering those days standing by the stove with my mom, on chicken duty.

Print Friendly and PDF

SUNDAY POT ROAST WITH ONIONS, CARROTS, AND POTATOES

My mom made a pot roast every other Sunday. On the alternate Sundays we had fried chicken, or a rump roast. I don’t know how she did it- getting four kids ready for church and then minutes after we arrived home, she’d whip up some cornbread and take the pot roast out of the oven. She did not even have to call us in from the yard. We were already at the table. I helped my mom make this dish a hundred times. I wish I’d written down exactly how she did it. She cooked it in her big cast iron Dutch oven- what I always called the “chicken pot” because she used it to fry chicken. Even though I still have that same Dutch oven, it has taken me ten years of trying different options to get the flavor just right. I finally discovered I was leaving out the bay leaf… that was the missing ingredient. Make this recipe for your family. You can be assured that 40 years later, your kids will still remember the taste and the times gathered around the table when you served it.

SUNDAY POT ROAST WITH ONIONS, CARROTS AND POTATOES

INGREDIENTS

1 ½ teaspoons salt

½ teaspoon pepper

1-(3 pound) chuck roast, trimmed (boneless or bone-in, if you prefer)

2 tablespoons all-purpose flour

1 tablespoon olive oil

2 small yellow onions, quartered

3 cups beef broth

1 tablespoon Worcestershire

2 bay leaves

3 thyme sprigs

6 carrots, peeled and halved

6 Yukon gold potatoes, peeled and quartered into wedges

DIRECTIONS:

Preheat oven to 350° F. 

Remove the roast from the fridge. While it is still cold, trim any excess fat from the sides of the cut. In a small bowl, combine the salt and pepper. Season each side of the roast liberally with it. Allow it to sit out for 15 minutes on the counter.

Next, sprinkle 1 tablespoon of flour over each side of the roast, patting it into the top, bottom, and sides.

In a large Dutch oven, heat the olive oil over medium high heat. When the oil and pan are hot, add the roast and sear it well on all sides; approximately 3 minutes for the top and bottom and a minute or so for the sides.

Remove the roast to a plate. Set aside. Add the beef broth a little at a time, scraping up any browned bits from the bottom of the pan. Add the Worcestershire. Bring to a boil. Reduce to a simmer and cook for 2 minutes, whisking occasionally. Remove from heat. Add the onion, bay leaves, and thyme to the pan. Add the roast on top. Cover with the lid and put into the oven at 350° F for 1 ½ hours.

Add the carrots and potatoes. Cook for another hour or until the vegetables are tender (not mushy) and the roast pulls apart easily.

Remove the roast to a plate and shred it. Serve with potatoes, carrots, onion, and a bit of the cooking liquid as gravy.

Note: If you want a thicker gravy, you can make a slurry with flour. Remove the roast and the vegetables to a platter or bowl. Discard the thyme and bay leaves. Add 3 tablespoons of the hot liquid to 1 teaspoon all-purpose flour and whisk until smooth. Turn up the heat under the pan to medium high. Whisk the flour mixture into the cooking liquid and bring to a boil, whisking constantly. Reduce the heat to low and cook for 2-3 minutes more so you cook out the raw flour taste. If the gravy is too thick, you can add more beef broth as desired. Before serving, check the seasoning, adding more salt and pepper to taste.

Print Friendly and PDF

RECIPE: ARANCINI (ITALIAN RICE BALLS) WITH HOMEMADE MARINARA SAUCE

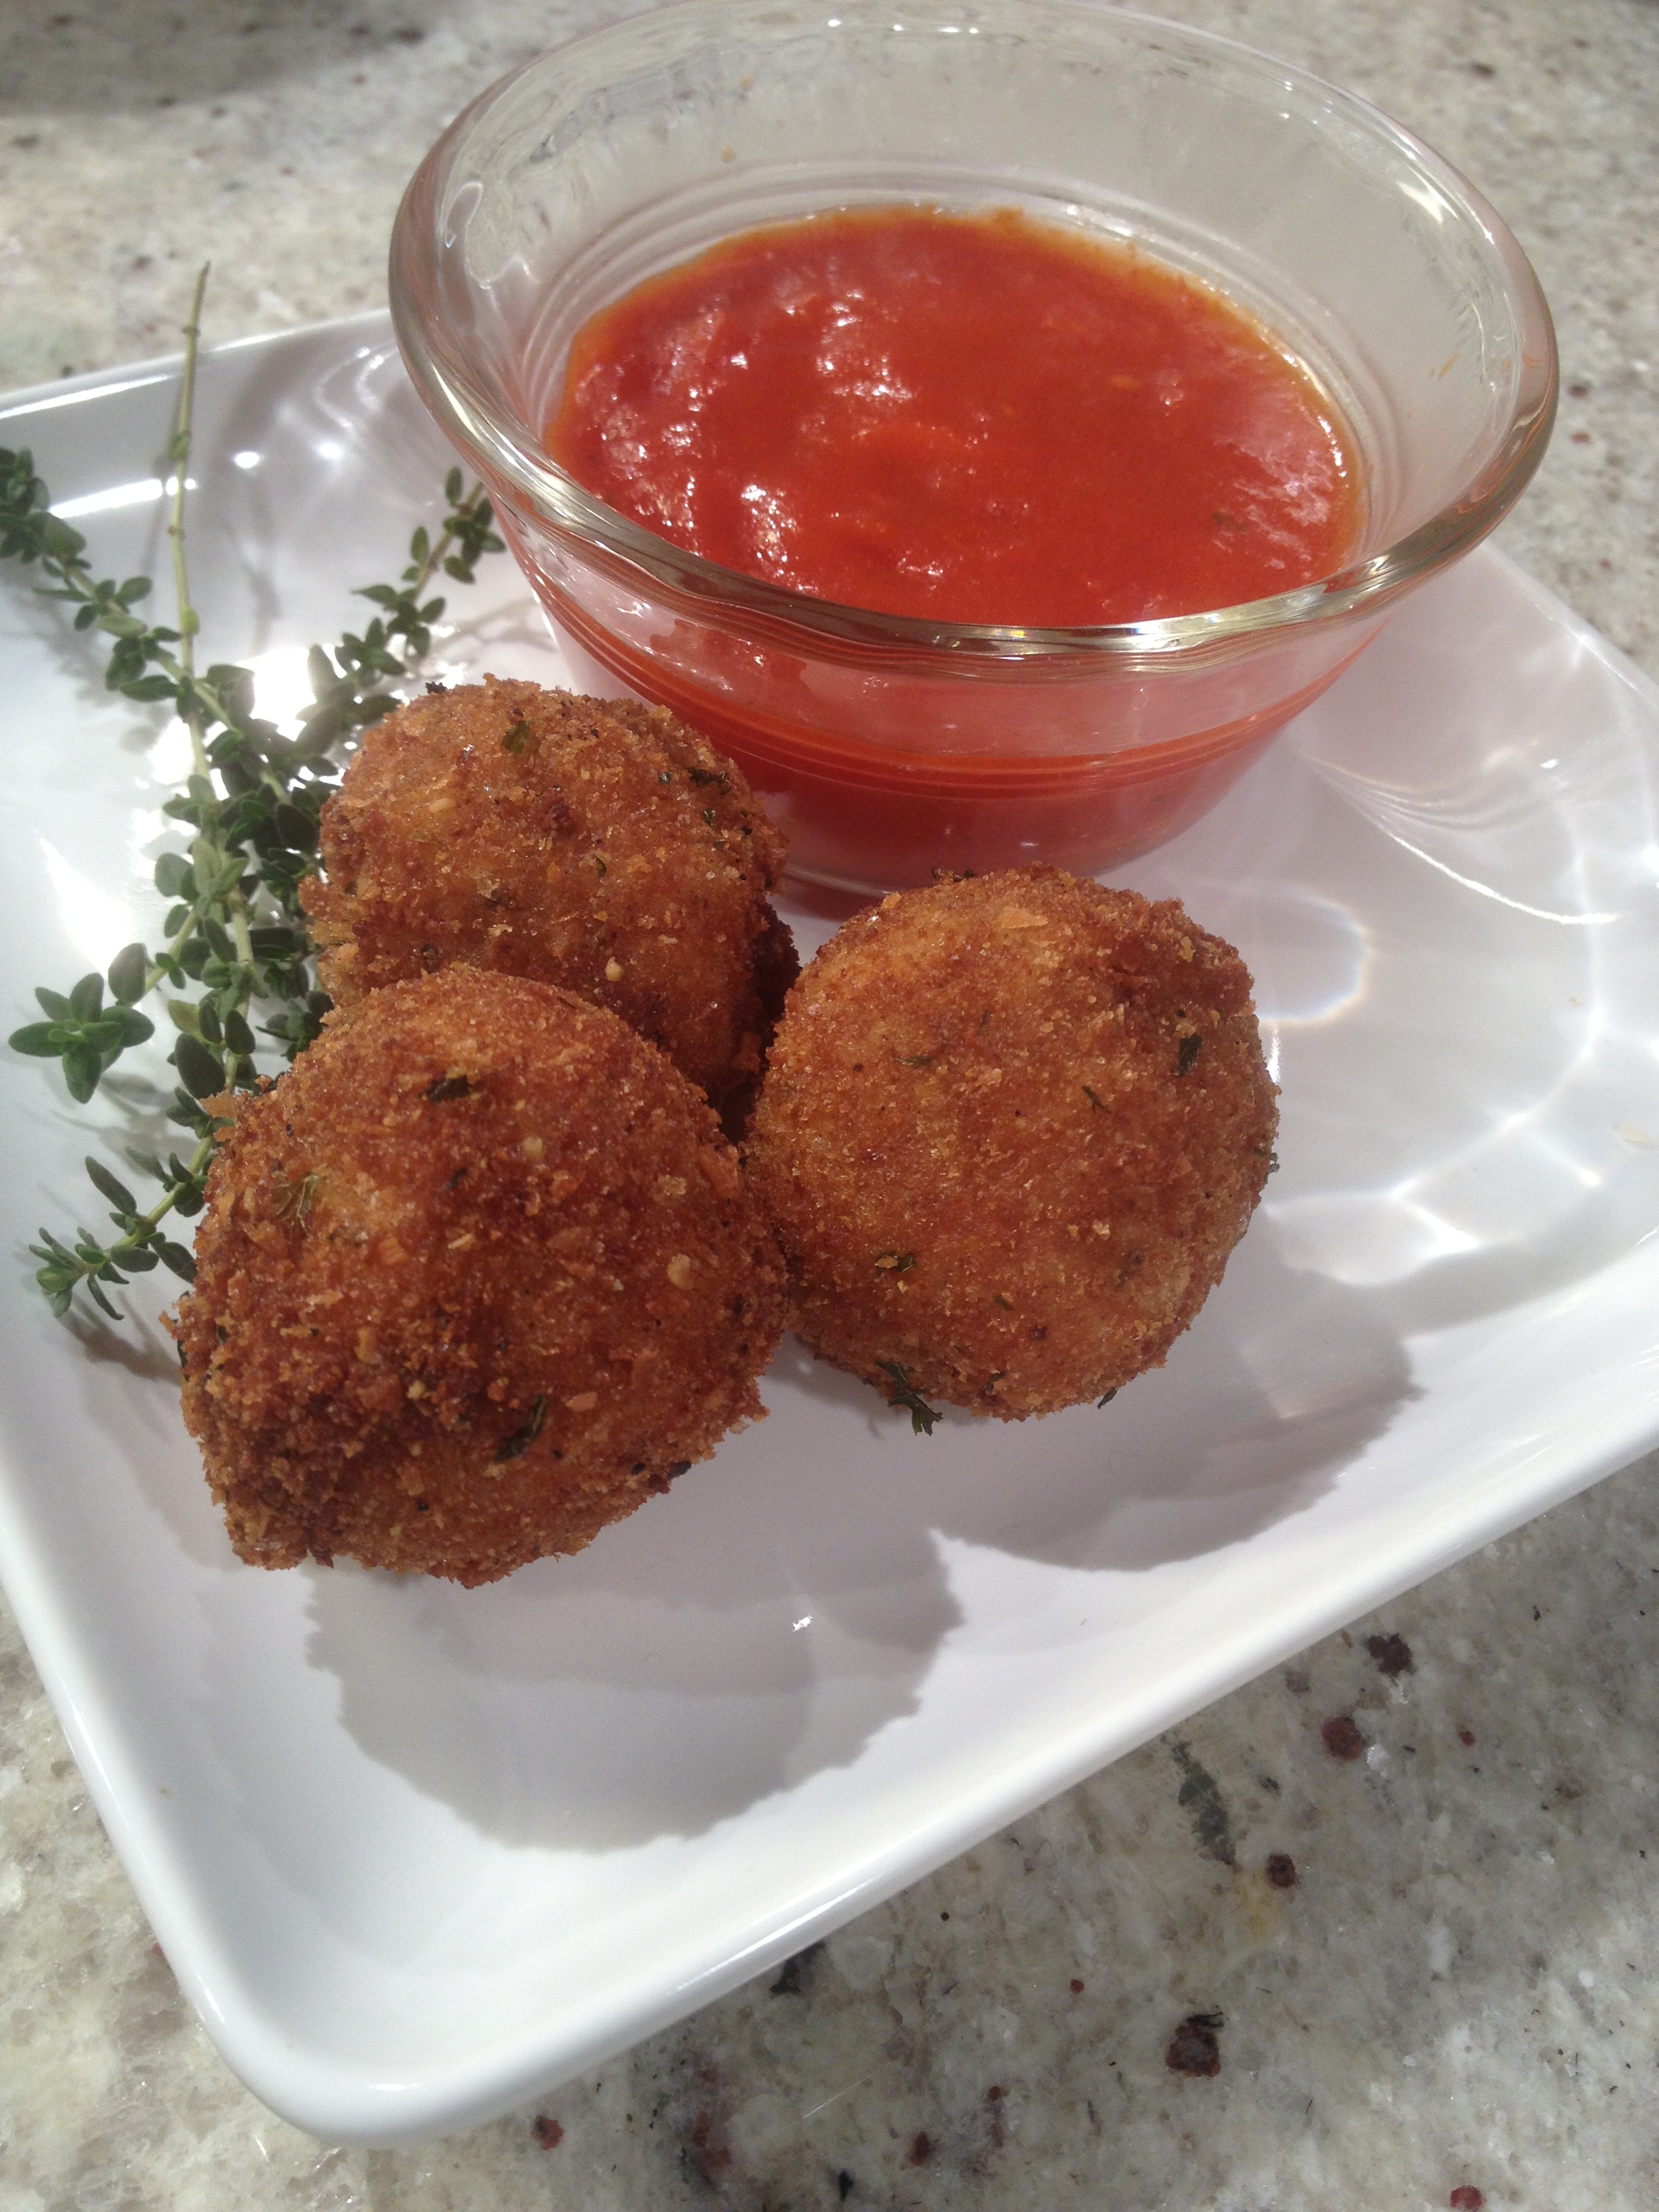
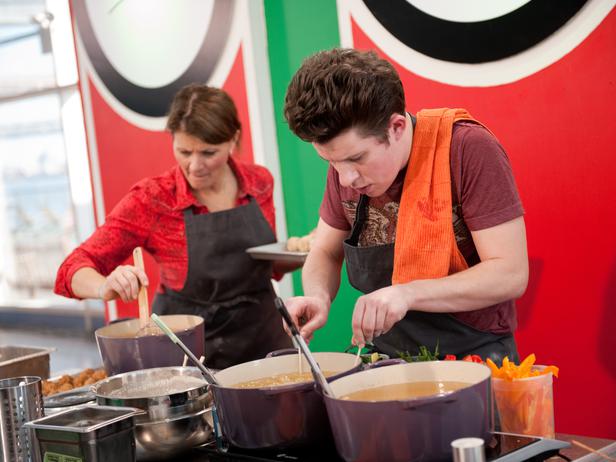
I have to tell the story of this recipe. During taping for Food Network Star, my cast mate, Michele Ragussis made her mom's Arancini for us one night and let me help her make it. A few days later when my team had to create a food court restaurant with an Italian theme, I asked Michele if it was okay if I made it for the competition but with my own twist. Yes, she gave me her blessing but choked back a laugh since I'd only watched it made once and had never actually made it myself. It came out pretty well, I guess. We won. And I even got a marriage proposal on set from an Italian guy in the audience who told me these arancini and the marinara I made to accompany it was better than his Italian mother's. (That is why I call it “Marriage Proposal Marinara”) Thank you, Michele and Mama Phyllis, for sharing your family tradition with me.

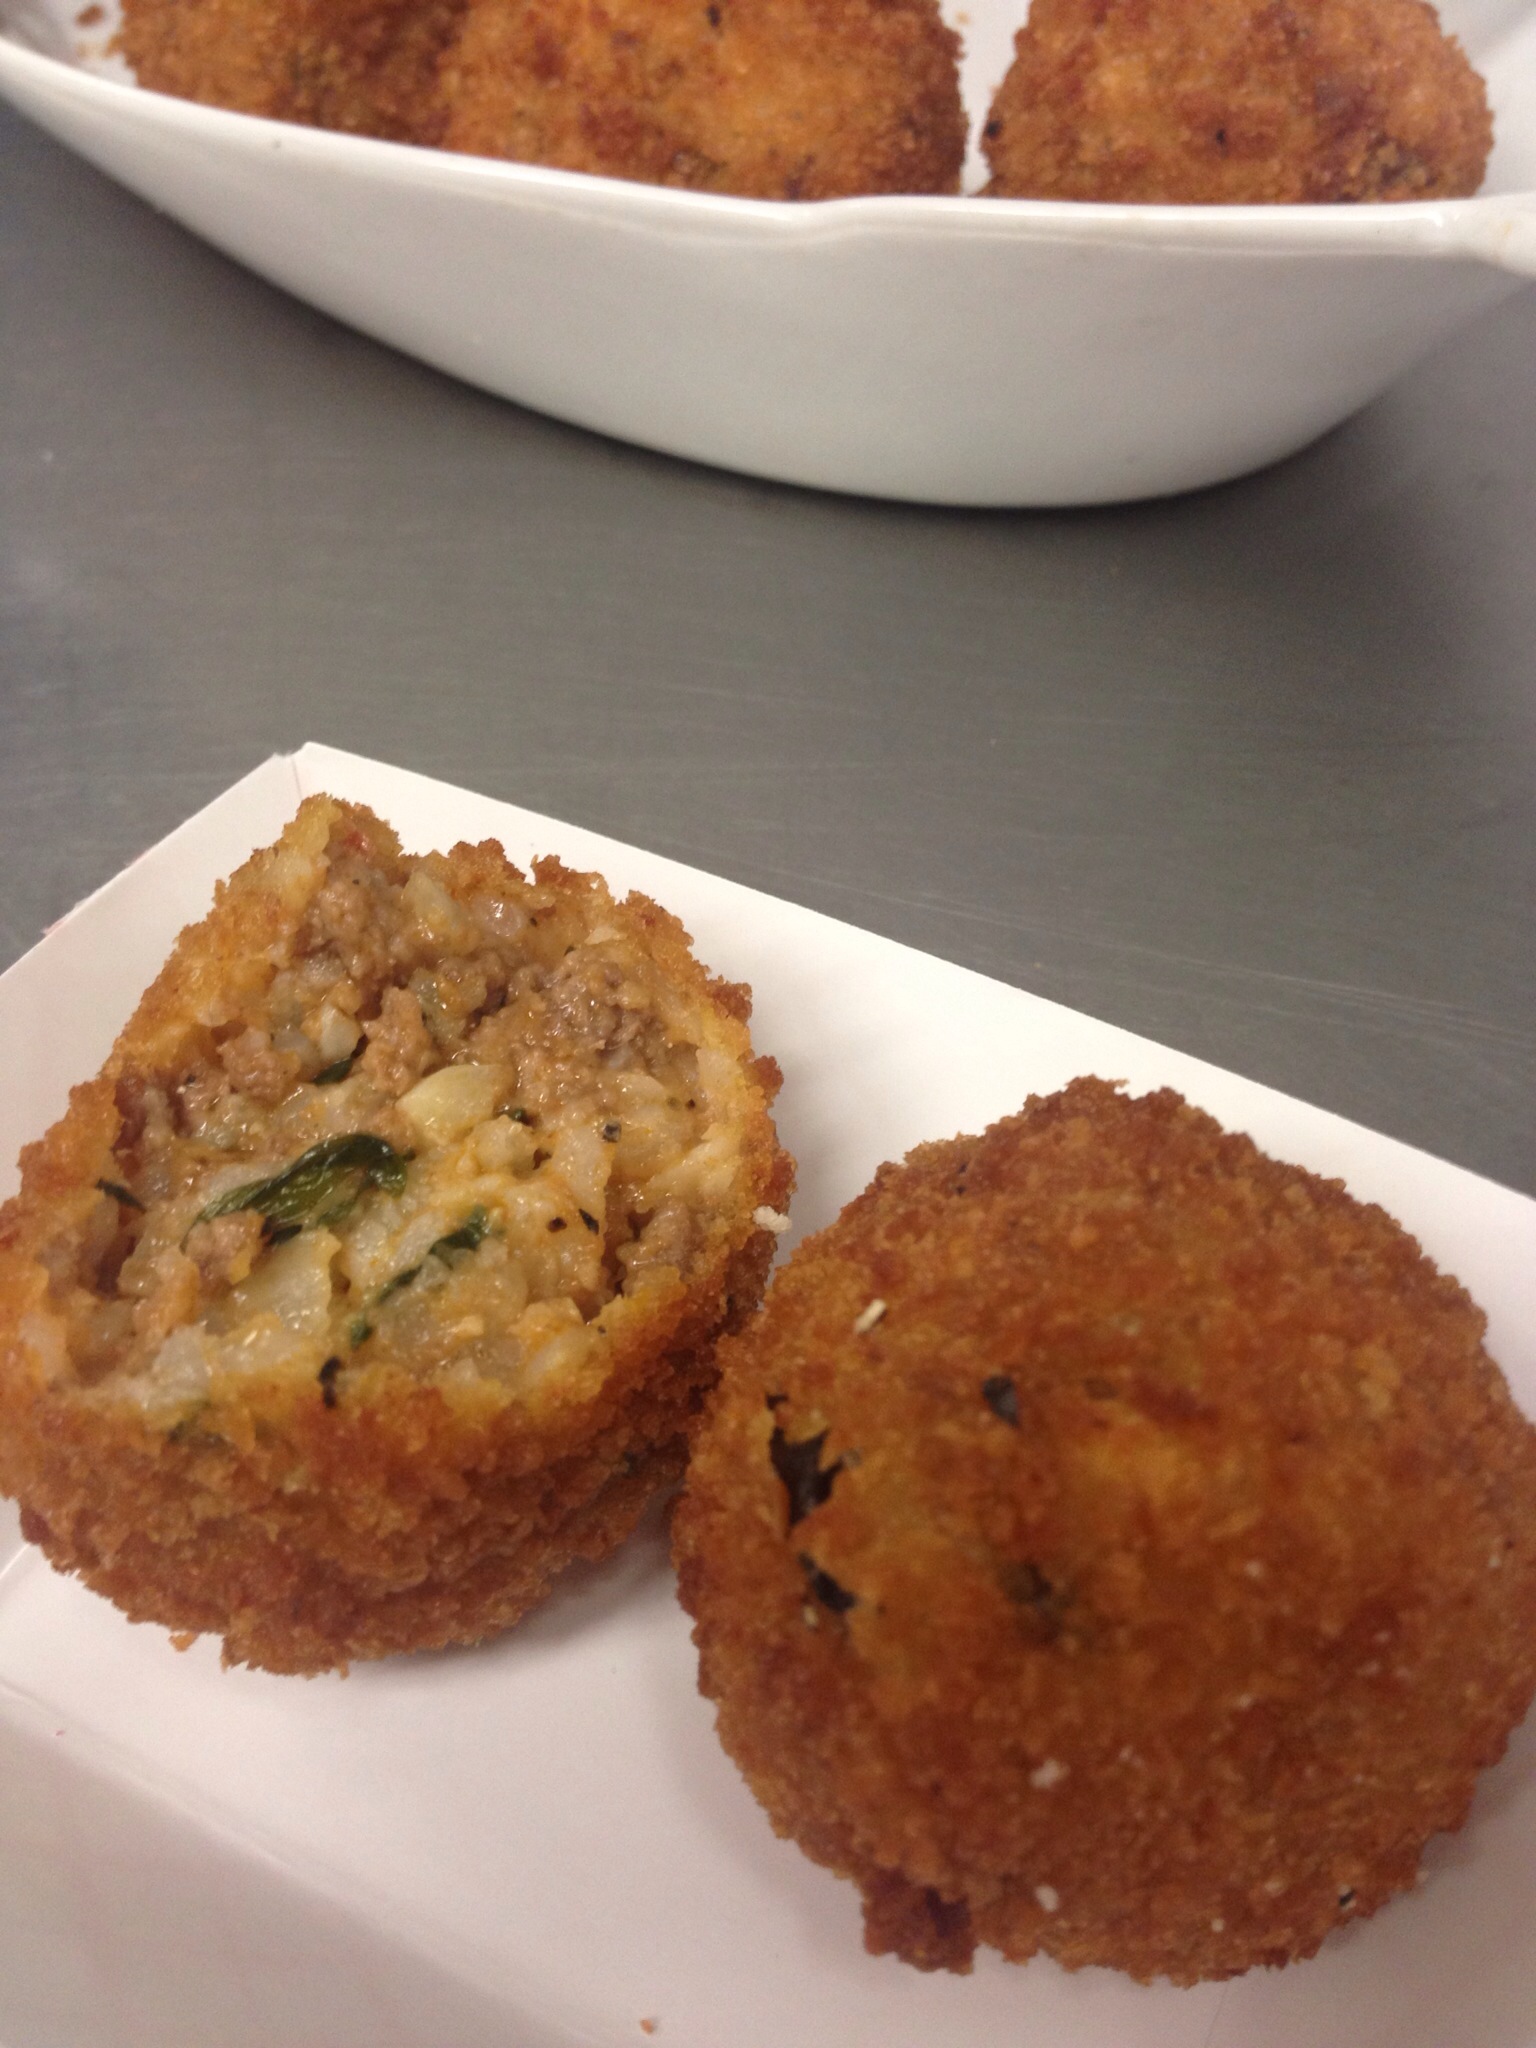
Arancini is the perfect party dish. If you use ground beef, it is very inexpensive to make for a crowd and you can easily double the recipe. I make them early in the day and just drop them into the fryer right before serving. You can even make them in advance and freeze them- just thaw and fry just before guests arrive. These are cheesy and delicious. Try them and let me know how you do.

ITALIAN RICE BALLS --ARANCINI WITH SPICY MARINARA

INGREDIENTS

2 tablespoons olive oil

1 medium onion, diced small

5cloves garlic, minced

1 pound ground beef

1 pound ground veal (optional- you can sub ground beef or pork)

1 cup Italian flat leaf parsley minced

2 tablespoons fresh thyme, minced

1 tablespoon dried oregano

2 teaspoons kosher salt

1 teaspoon black pepper

1/2 teaspoon red pepper flakes

1/4 teaspoon cayenne pepper

1 ½ cups tomato sauce

2 cups grated Parmesan cheese grated

2 cups cooked and cooled Arborio rice

5 eggs

3 cups breadcrumbs with Italian seasoning (I make my own but store brands are good)

Canola oil for frying

3 tablespoons minced fresh basil

Marinara Sauce (see recipe below or use store-bought)

Special equipment: #10 (small-medium) ice cream scoop

DIRECTIONS:

Cook the rice according to package directions but you want the rice to be sticky so I cook a bit longer than I should and don't add butter or olive oil to the water. You don't want it to be mushy. Set aside.  

Heat 2 tablespoons olive oil in a large skillet over medium heat and sauté onions and garlic for 2 minutes until softened. Add meat and cook until browned, breaking up large pieces as it cooks. Strain off excess fat from the pan. Add parsley and cook 3 minutes. Add thyme, oregano, and pepper, and salt, cayenne, red pepper flakes. Taste and add more seasoning if needed.

Keep in mind that rice and cheese contain salt so be careful not to over salt the meat mixture. Let the meat mixture cool a bit. Add the tomato sauce. Combine rice with cheese but be careful not to mash the rice. Add the rice mixture to meat mixture and stir gently to combine. Check the seasoning. Add additional salt and pepper if necessary.

Line a baking sheet with parchment paper. Use ice cream scoop to shape the balls so they are a consistent size, then hand roll the balls as tightly as you can.

Pour enough canola oil into a deep skillet or Dutch oven to reach 5”. Heat oil over medium heat to 350-degrees. Use a thermometer to check the oil temperature.

Whisk eggs in a small baking dish. Place breadcrumbs in another baking dish. Roll rice balls lightly in the eggs then immediately roll in breadcrumbs to form a coating. Shake off the excess breadcrumbs. Place them on the baking sheet and refrigerate or freeze until you are ready to fry.

To fry:

Carefully drop rice balls into the hot oil a few at a time, taking care not to overcrowd and lower the oil temperature. Cook until golden brown, about 2-4 minutes per batch. Bring oil back up to 350-degrees before cooking each batch. Drain rice balls on paper towels before serving.

Serve with homemade or store-bought marinara for dipping. Garnish with the basil leaves.


“MARRIAGE PROPOSAL” MARINARA SAUCE

INGREDIENTS

1 tablespoon olive oil

1 onion, chopped

4 cloves garlic, minced

3 large cans (28 ounces) whole peeled tomatoes, including liquid

1 cup fresh whole basil leaves, loosely packed

1 1/2 tablespoons fresh thyme leaves (about 1/2 tablespoon dried)

1/2  cup fresh whole oregano leaves, loosely packed (about 1 tablespoon dried)

2 teaspoons kosher salt

big pinch granulated sugar (optional)

½ teaspoon black pepper

pinch cayenne pepper

splash Balsamic vinegar

DIRECTIONS:

Heat olive oil in the bottom of a large pot. Add onion and cook for 5 minutes until translucent and softened. Add the garlic and cook for 1 minute. Use some of the liquid from the tomatoes to deglaze the pan, and then add the remaining ingredients. Use an immersion blender to puree, taking care to leave the tomatoes slightly chunky. (If you don’t have an immersion blender, you can add everything to a blender or food processor)

Bring to a boil and cook for 5 minutes, stirring frequently to keep from burning on the bottom. Reduce heat to low and cook for 1 hour or longer so that the marinara thickens as some of the liquid cooks out. Check seasoning prior to serving. Add salt or a pinch more sugar as necessary.

Print Friendly and PDF